


Home Site Map - Steps - Foundations -
Prepare Site - Markout Plot
![]() You need to live the site and mark it out to understand how it will
all work.
You need to live the site and mark it out to understand how it will
all work.
Fence build site and protect
Orange fencing
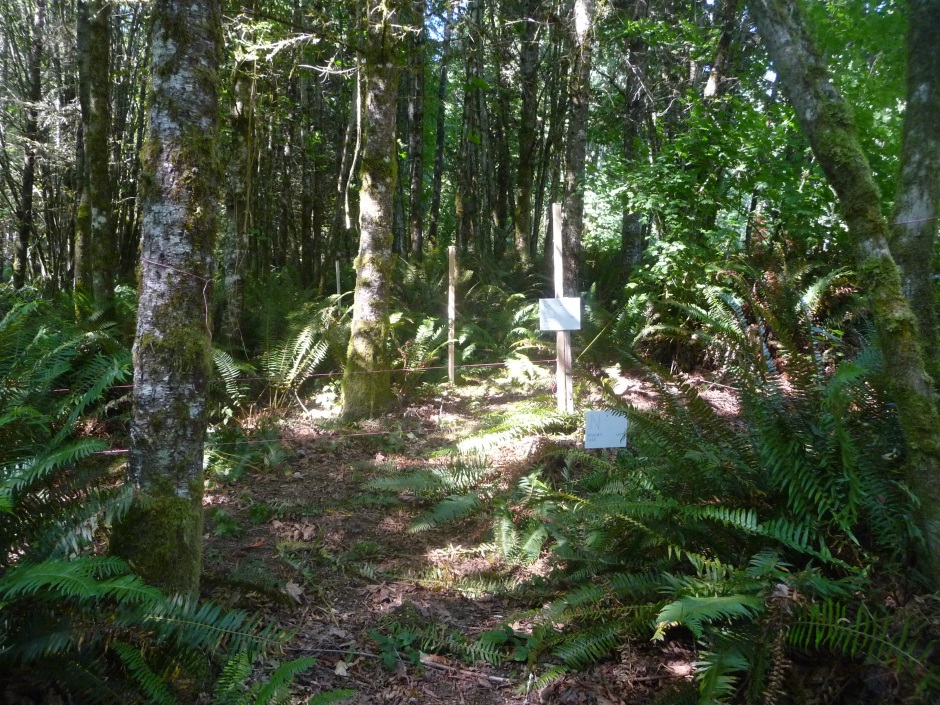
Orange fencing is used to mark the perimeter of the build site. This is way bigger than the house footprint but in my case is way smaller than the whole plot. It needs to correspond with the building perimeter that is shown on your plot map drawing. It is particularly important to make sure it clearly provides protection for any trees you want to keep and protect...
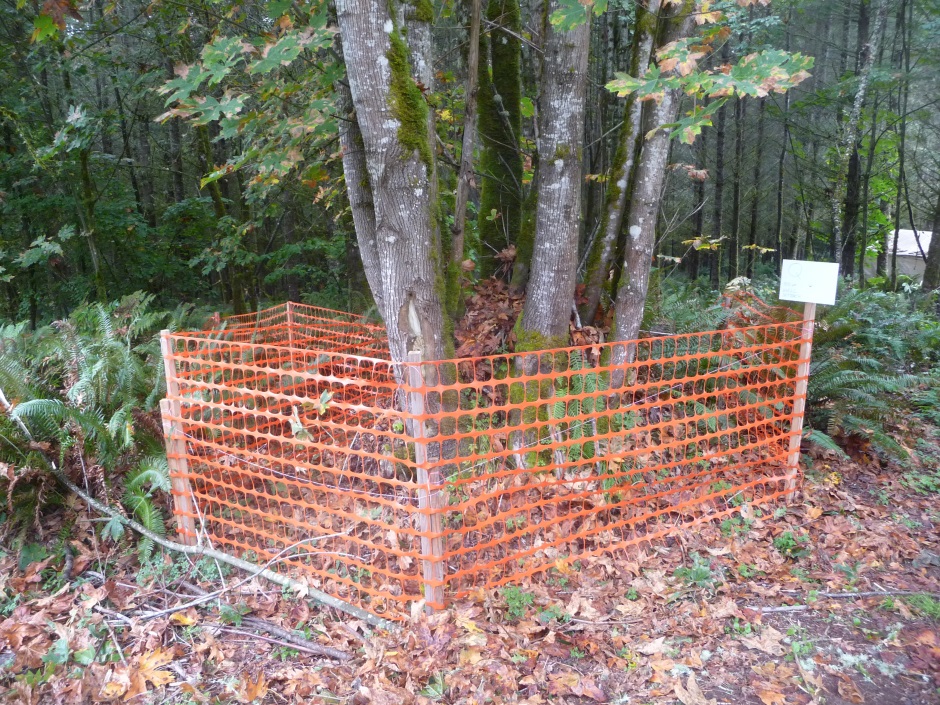
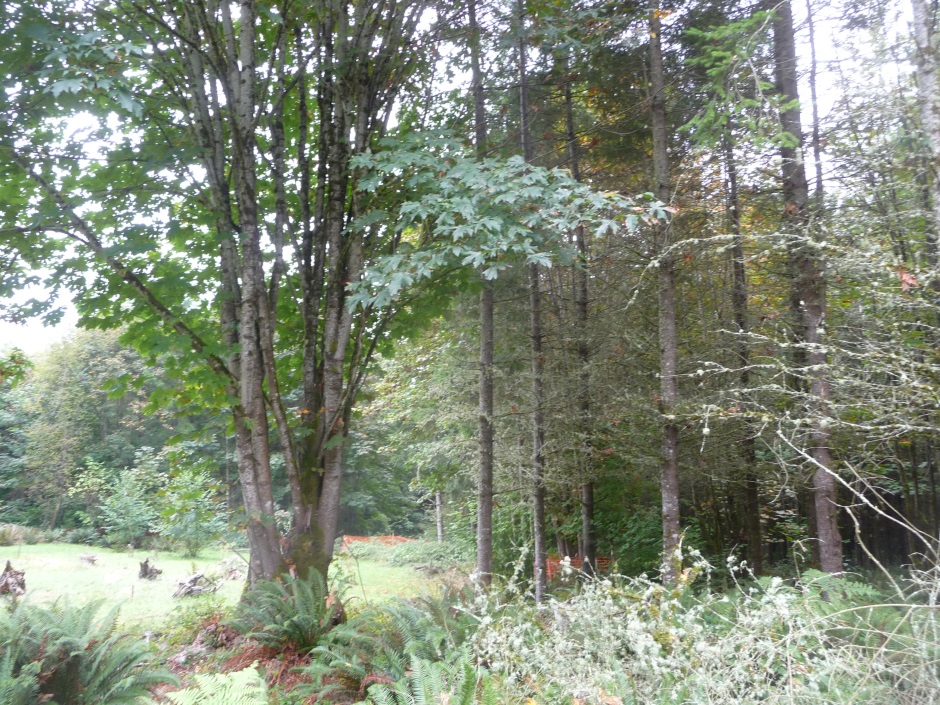
In the picture below you can just see the orange fencing round the outside of the build site. The build site that is very much larger than the house footprint includes the entire area that will be disturbed by building activities, including where trucks park, where you will be changing the grade, and where will be cleared to create a lawn. You should think in terms of never having to set foot beyond the orange fence.
Survey and approximately stake the land
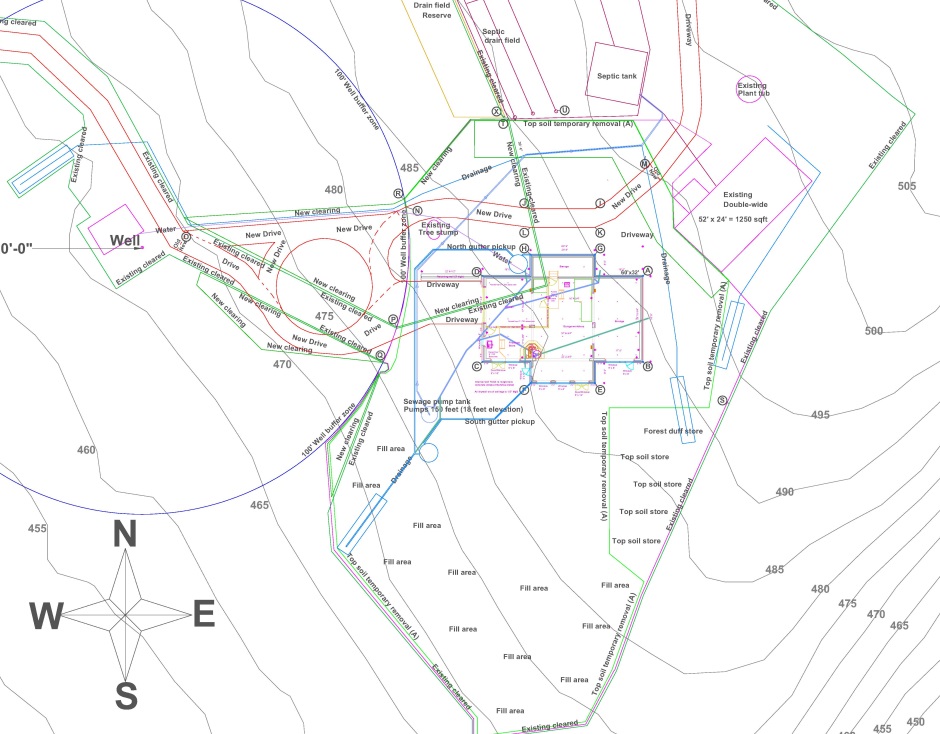
Objective: Transfer drawings to real land
This is the process of transferring your house plot drawings to the actual land. Particularly if the land is sloped, you will not be able to mark things accurately, but you need to try to get a close as possible. Measuring distances assumes that the measuring tape is level or else you will be measuring a hypotenuse (which is a longer length). You will need a bit of estimating and pragmatic judgment when measuring on a slope.
Establish basic location of the house
The first thing to do is to mark the important setbacks. In my case the most critical thing was the 100 foot building exclusion zone around the well. You need to measure the 100 foot accurately to make sure there is no danger of the house (including its foundations) being less than 100 feet. In my case the well cap was something like 18 foot lower than the house site so I fixed an 18 foot pole to the well casing and attached my 100 foot tape measure to the top of the pole. This let me measure 100 foot horizontally. I accurately marked the 100 foot circumference using stakes every 8 foot.
Other setbacks that may apply in your case include critical slopes, wetlands, streams, roads, easement roads, property boundaries, and possibly even the home of a rare animal. Your local planning office will be able to tell you the required setbacks that are needed in your area. For example in my area, a critical slope requires 50 foot of untouched vegetation plus an additional 15 foot that must not have a building, so the setback needed from the top of the slope is 65 feet.
Double check that you really have got all the setbacks correct. It's better to be safe than sorry, so if a setback of 65 feet is required from the top of a critical slope then make it at least 67 feet to allow for differing opinions on exactly where to measure from. A Well setback is typically 100 feet, but using 101 or 102 feet allows a safety margin. In my case I made the western wall of the house just over 124 feet from the well to allow for a 20 foot wide deck (deck foundations must not be within the 100 foot Well setback area).
Once you have the setbacks marked then you know where you are allowed to build and you can decide where within that you want to build.
Establish the house orientation
The next thing to do is decide which way you want the house to face. Typically you will want to try to back the house south, but there may be other things such as a view that will influence the orientation. Perhaps you want to have all the big windows aligned with a picturesque lake in the distance or a particular mountain. Start by stretching a taught colored string from a stake in about the center of where you want the house to be, to another stake in the direction of the object of interest that you want to align on. Look down the string to make sure it is exactly positioned right and adjust as necessary. Note that it is not necessary for the string to be to the center of the house because it is assumed that the thing you are aligning on is far enough in the distance for the sight lines to be essentially parallel wherever within the house footprint you set them from. The actual center of the house will be established by measuring from the various setbacks and reference lines relative to your plot map drawing. This string is now the reference for setting the orientation of the house. I call this the "North South" reference.
Establish north wall position
Now you need to establish another reference that sets where along the North South string the back wall of the house needs to be. Here you need to take into account any things on the site that you need to be set back from. In my case it was the septic system to the north of where the house will be. I needed to allow for a septic setback, a driveway, then a slope down to where the house foundations will be, and then the border needed round the foundations. Taking all this into account, you then position another reference string that sets the position of the north wall and is exactly perpendicular to the North South reference string. The new string I call the "East West" reference.
Iterative process
All of this is in practice an iterative process and very much needs to be done in conjunction with your plot map drawing. You should draw the two reference strings on your plot map and always keep the plot map up to date with any changes you make with the actual strings on the land.
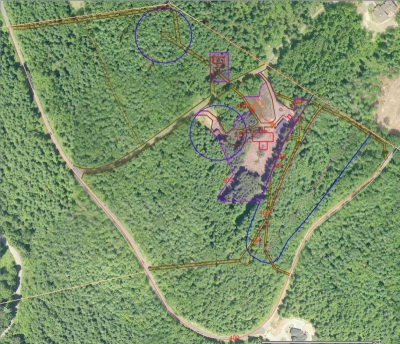
It is useful to measure relative to existing buildings that are shown in the satellite photo. This will help you match up the plot map with the actual land.
You may discover things that you don't like about where you have decided to put your house and that may cause you to incrementally adjust the plot map.
Mark building edges and driveway with stakes
Once you have the two reference strings between stakes on the land and you have those same two reference lines marked on your plot map drawing, then everything else can be marked out with stakes from there. For any stake you want to position, use the plot drawing package to find the distance from the two references and then go outside with a tape measure to find that spot on the actual land.
Use a nice long (ideally 100 foot) tape measure to measure from your reference lines.

For stakes, I take 2x4s and rip them down the center with a table saw and then use a chop saw to make a point on the end. This makes stakes strong enough to be hammered in with a big club hammer. I needed more than 50 stakes to mark out my house and driveway.
On the plot map you should label key points of interest with letters (A, B, C, etc). Typical points of interest are the corners of the house, the edges of the driveway, and the edges of any decking.
On the stakes, attach pieces of plastic (waterproof) "cardboard" (available from HomeDepot). Write with a waterproof marker pen the reference letter and a few description words.
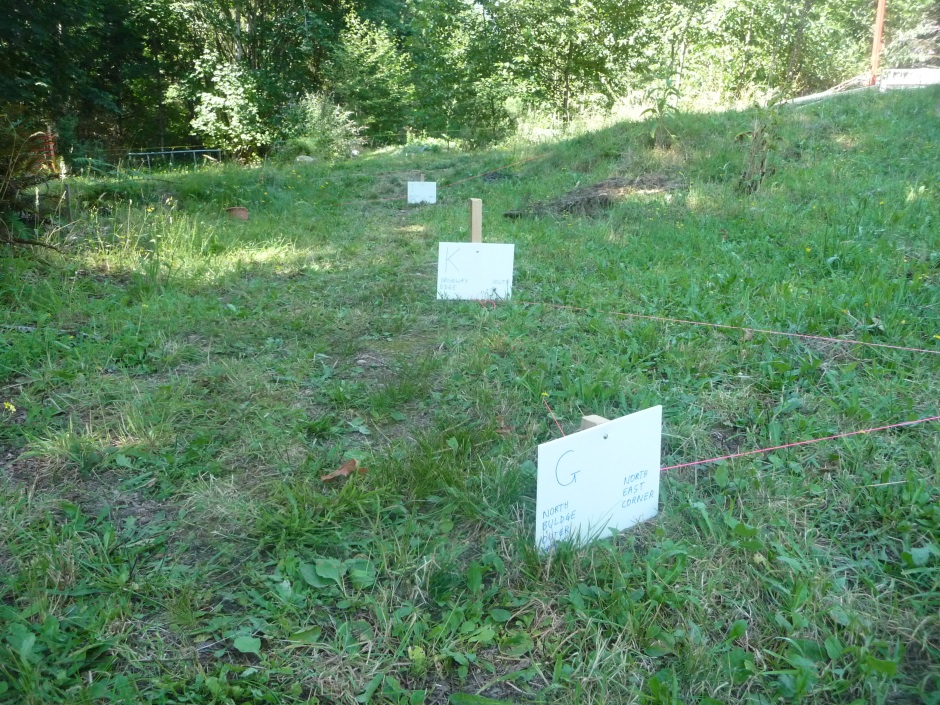
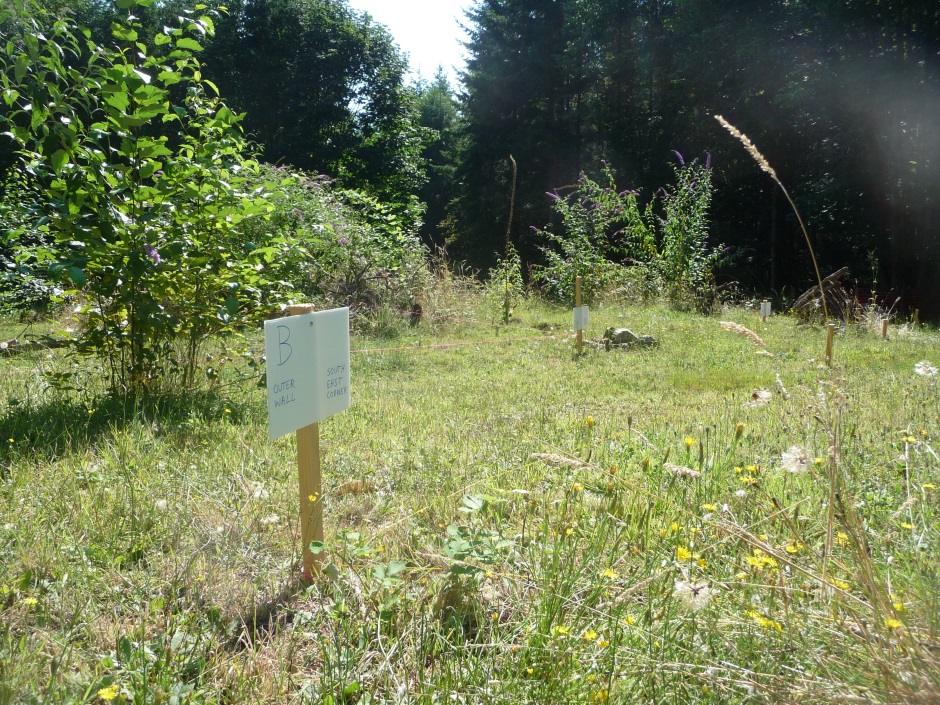
Join the stakes with colored string
You want to make the house layout as clear as possible to help inspectors make sense of what you are proposing to build. You should use colored string to join up the stakes to form the outline of the building and the driveways etc.

Live the house
Having the house perimeter marked on the real land allows you to for example place a chair where the living room will be to see if you like the view. You can pretend to walk in through the front door, then go into the dining room and even setup a picnic table there and eat your lunch. Try to "live the house" to make sure you like everything. Perhaps even invite some friends over and give them a guided tour. Through this role playing, you might decide that moving the house a little to the left will allow you to get the view you want while also allowing you to keep a tree that you particularly like. Making this type of change now just involves moving pieces of string and is a lot easier than deciding later to move concrete walls!
Get into the habit of walking down the driveways defined by the colored strings and if you find yourself tempted to take short cuts then ask yourself if the driveway really is in the right place. The first users of the driveway to your house will likely be a very large truck with crushed stone and a very large concrete truck, so make sure that there is enough width and height clearance to allow for this.