


Home Site Map - Techniques - Plot Infrastructure -
Retaining Walls
![]() A low cost way to hold back a big bank of earth in your yard.
A low cost way to hold back a big bank of earth in your yard.
Needs proper structural engineering
Doing retaining walls is potentially difficult because they often need to hold back the weight of large amounts of soil. Due to freeze thaw cycles the earth will expand and contract especially in in its top 1 - 4 feet which of course is the top of the wall and where the wall is most vulnerable. After lots of rain they also potentially need to hold lots of water pressure, so it is important to let the water drain away quickly. The official answer is that you need a structural engineer to design a retaining wall. What follows here is a description of how to do a low cost retaining wall in your yard, but the suggested implementation should only be used in cases where the result of the wall falling down would not be too serious and would not hurt anyone.
Example application
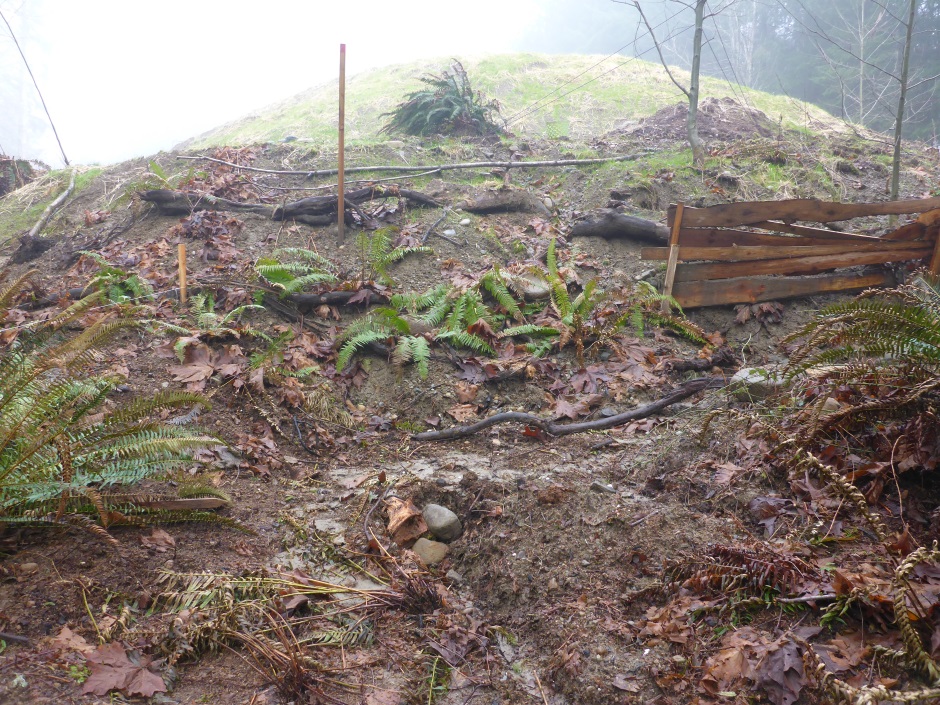
This is the slope that needs to be handled even before digging the hole for the tanks...
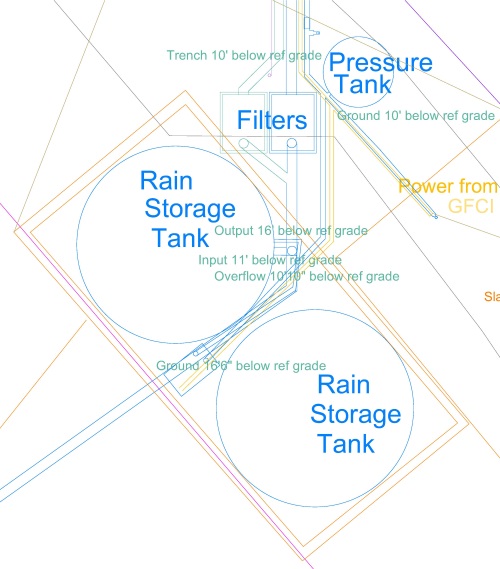
The drawing shows the retaining wall needed for my rain water collection tank. The pipe that fills the tank comes out 11' below reference grade which after the yard slopes down is actually at the original natural grade level. The natural grade then slopes away to the south west. The tank is about 6' high and need to be filled from the top. That means the bottom of the tank needs to be 17' below reference grade which is 6' below the highest part of natural grade. That means I need to dig a 6' deep hole into the natural slope (at it's deepest point which is the north east) and use a 6 foot high retaining wall.
Basic design
A straight long wall is by far the most difficult retaining wall to build and as such should be avoided. What you want are some 90 degree corners in the wall. It's best if the lengths of wall that are perpendicular to the slope are away from the slope so that they act an buttresses in compression. You could do the 90 degree wall sections into the slope but then the concrete would be in tension (requiring lots of rebar), but concrete works way better when in compression.
In the rain water tank example above, the sides are the perpendicular buttresses. These side walls are themselves retaining walls for the soil at the sides of the excavation.
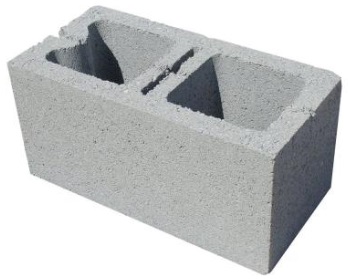
To make the wall you need lots of low cost hollow concrete blocks. The best bet is a Concrete block 8"x8"x16" .
You will glue these together with a PL Premium construction adhesive.
 &
&
After the wall is built you will fill the cavities with concrete and a few pieces of rebar.
The wall is built without a footing or any other sort of foundation. It relies on the shape of the wall with its 90 degree corners to hold it together. If it does sink into the ground a bit that is fine. To avoid frost heave, the wall should begin below the frost line. In my case the frost line is at 1 foot so I start the wall at 1'6" below what will be the level of the ground after the retaining wall.
The blocks are laid with a standard staggered brick pattern.
Leave a 3/8" gap between blocks as you lay them horizontally. This is to allow water to leak out. This means that the blocks are only glued on their bottom faces as you build each row. The divider concrete from the block above goes over the 3/8" gap between the blocks below so that the gap does not get filled with concrete if/when it is later poured.