


Home Site Map - Steps - Foundations -
Dig Foundation - Hand Finishing
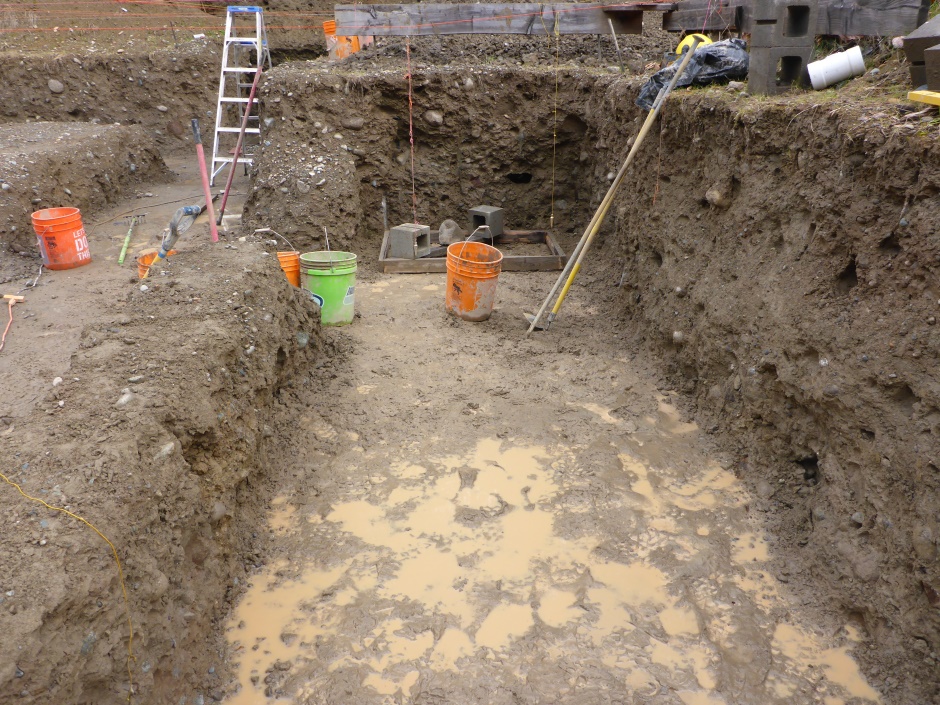
![]() The last bit of excavation needs to be done by hand to achieve the
necessary accuracy and flatness.
The last bit of excavation needs to be done by hand to achieve the
necessary accuracy and flatness.
Finishing off the dig accurately by hand
Need good accuracy
It is important to get your excavation as close as you possibly can to your drawings to avoid cumulative errors later. The best way to do this is have the digger stop 1 inch short of all the figures on the drawings and finish things off by hand digging. It is ok to accidentally go down an extra inch as a bit of extra concrete will fill in the extra, but try to avoid it. If it is lower in a couple of places (eg where a rock was removed) then bag mix concrete directly into the hole can be used to get it up to the required uniform height. If you happen to have soil that sets like concrete then you can potentially use this to fill in rock holes.
Using a self leveling laser go round the whole excavation and put markers to show the actual heights left by the excavator.
If it turns out that the excavator has gone too deep over the whole excavation site (as determined by the median of the values) then the best thing to do is to decide to set your house a little lower in the ground.
Transferring points to the ground
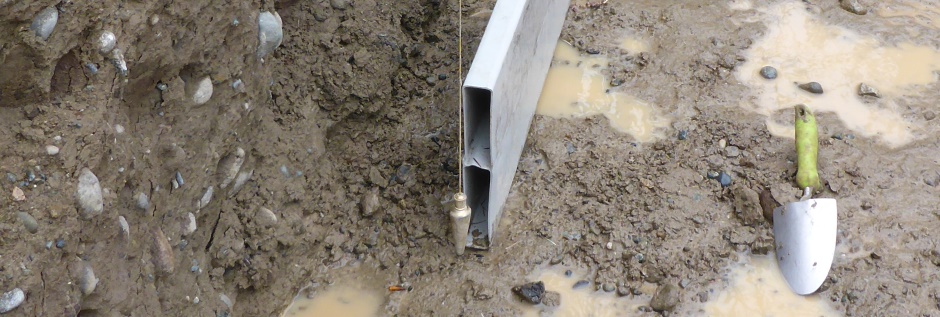
The strings between the batterboards accurately give the outer edge position of the Form-a-drain. What we need is to transfer the position of the Form-a-drain to the earth at the bottom of the footing trench. It's good to use 8 oz Plumb Bobs because they are heavy enough to work but not too heavy that they will cause the batter board strings to sag excessively.
![]()
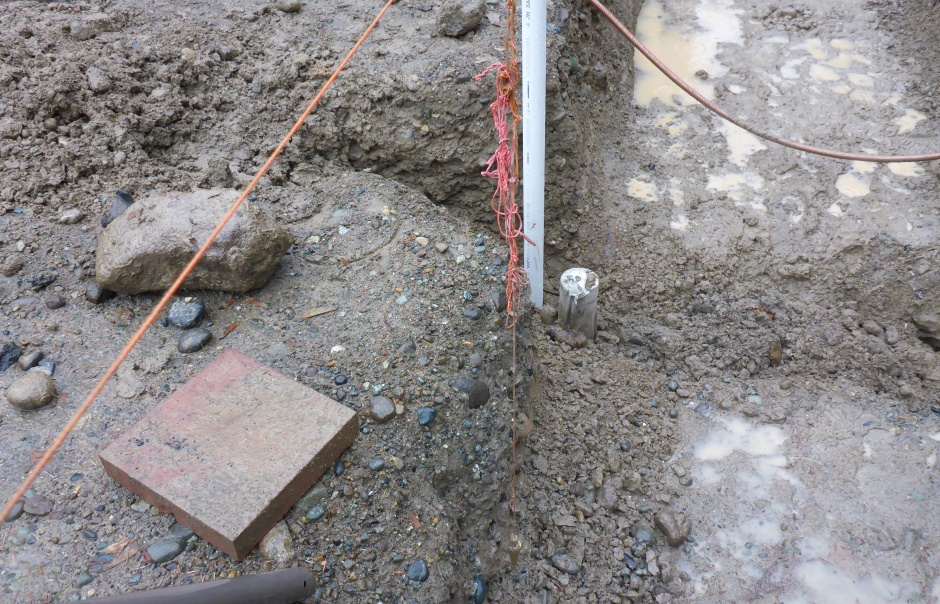
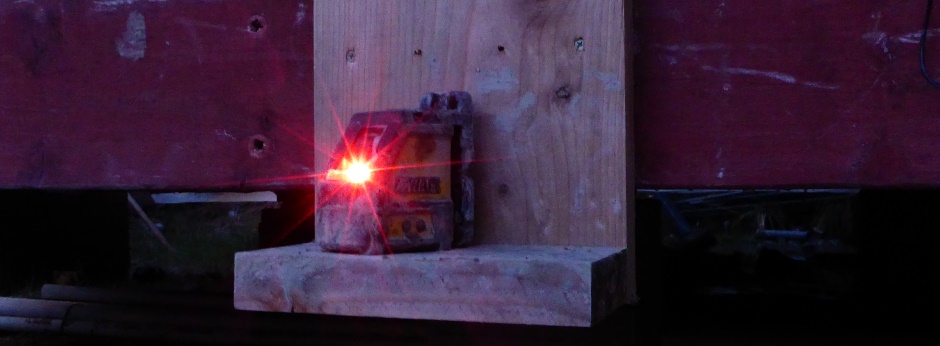
To get a reference for the footing and under-slab heights it is best to use a self leveling laser. Use a length of white 2" PVC pipe with 1" indelible marker marks and the particular heights of interest marked. It is a bit difficult to see the laser line on sunny days so you will need to do most of your height measuring on overcast days or in the early evening.
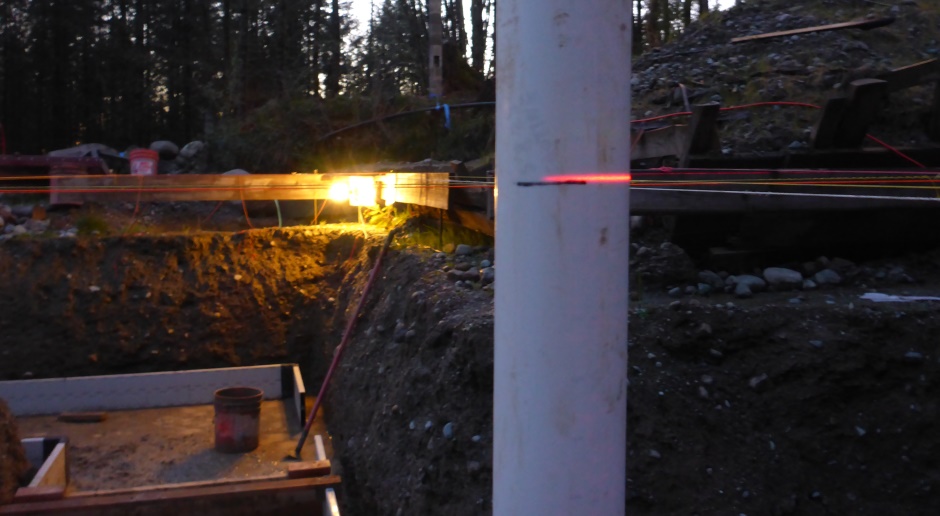
You should establish an immovable reference platform for placing the self leveling laser. If necessary you can setup secondary reference platforms that are closer to where you are actually digging (to get a brighter laser line) but when final accuracy counts then you should use the primary reference platform.
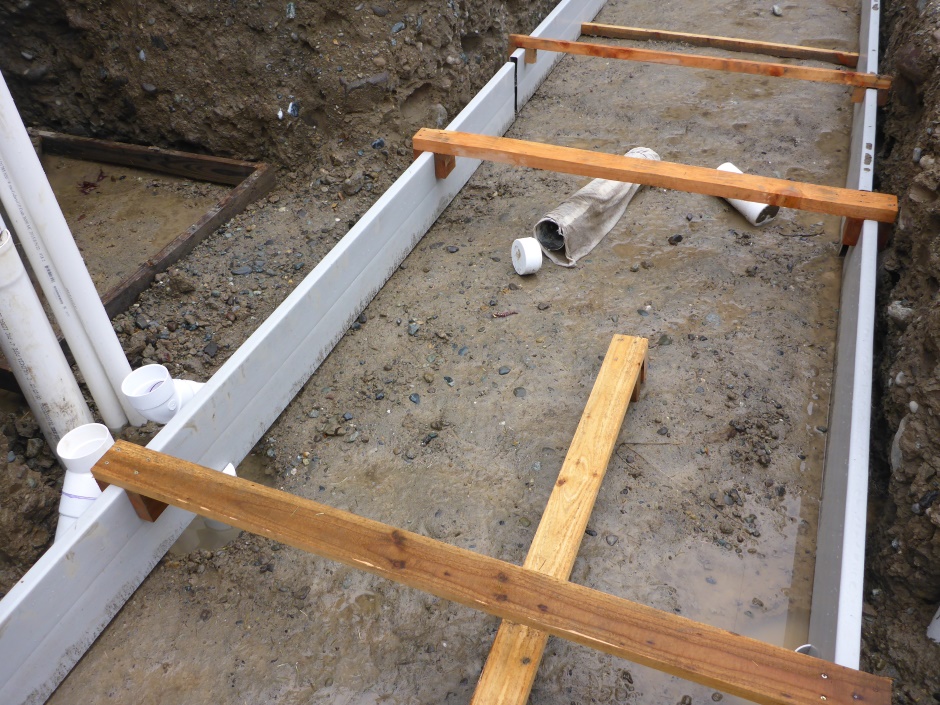
Excavate width beyond string locations
The batter board strings mark the inner and outer locations of the actual footings. Round the outside, the excavation needs to be an extra 6" to allow for the 4" perforated drainage pipe and crushed rock. Round the inside, the excavation needs to be an extra 1" to allow enough space for the stakes that hold the Form-a-drain. These extra width areas need to be excavated to the same depth as the footings.
Actually, where the peripheral pipes go to the T pieces that take the water to the sloping drain that goes across the site, it is good to go a couple of inches deeper under the pipe to give the pipe a slight downward slope.
Use Form-a-drain jig
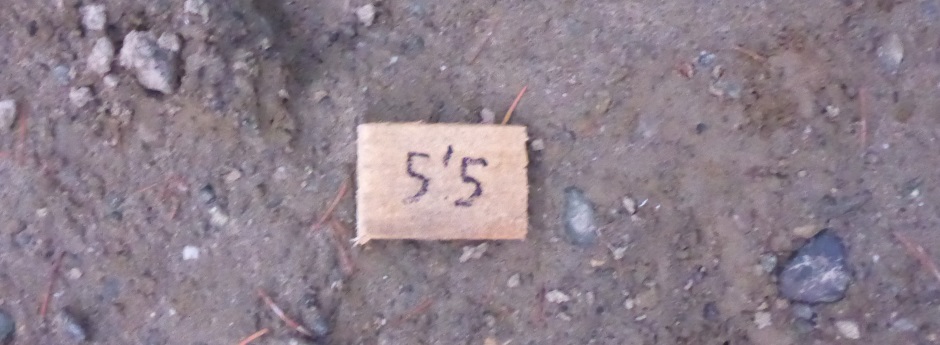
To check that there are no high spots it is best to temporarily fit lengths of Form-a-drain with wooden spacers to hold them the right distance apart. Get the outer edges in the right place using a plumb bob down from the batterboard strings. Measure from the self leveling laser to the top of the Form-a-drain to check it is sitting at the right height. The height should be the footing excavation depth minus 10" for the height of the Form-a-drain. In my case that is 5' 8.25" - 10" = 4' 10.25".

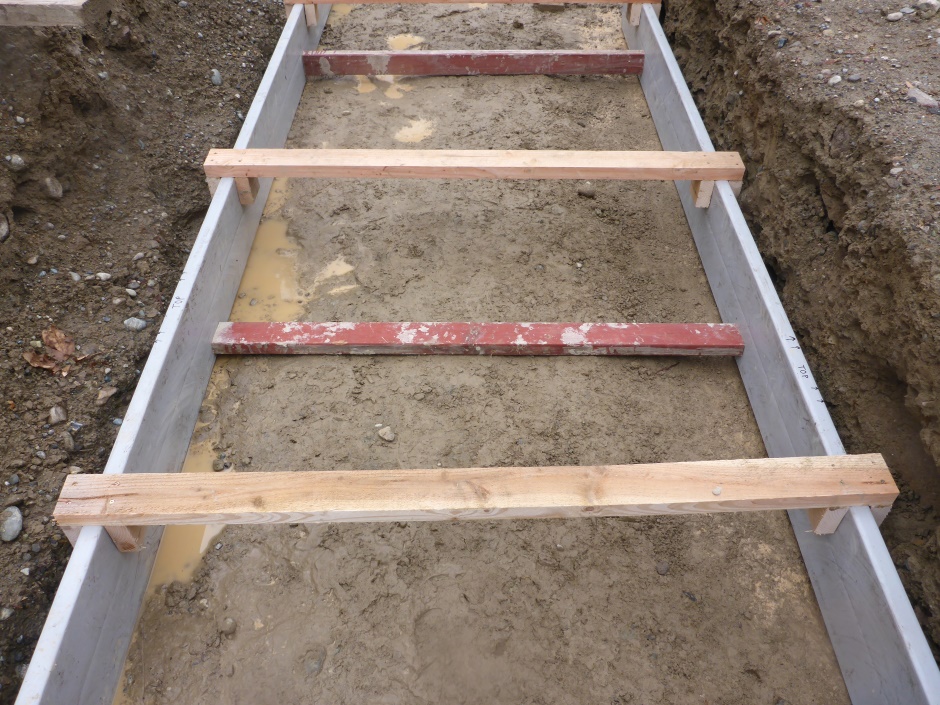
Finish between Form-a-drain jig
Once you have the Form-a-drain jig sitting in the right location (right height and right lateral position) then you can use a 10" wide wooden plank with lips on the end to check that the trench surface between the Form-a-drain is the right height (and correct if it's not).
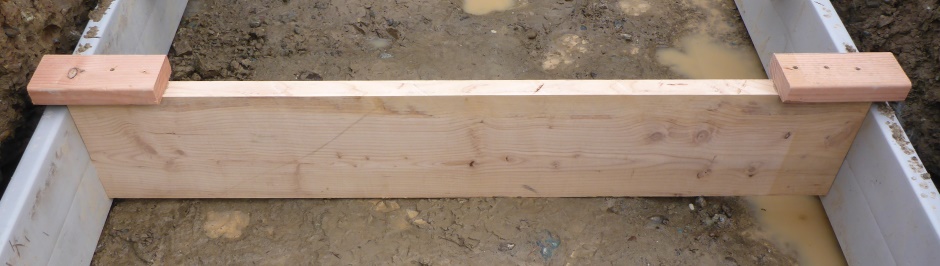
The most important thing is actually not that the ground between the Form-a-drain is exactly the right depth, but rather that it is a smooth surface that will not puncture through the EPS that will be under the footings. Having said that, you should get the height within +/-1".
Compact the soil
Hire a compactor (if required)
Depending on the soil characteristics, the bottom of the excavated footing trench may need to be compacted, particularly in areas where large rocks were removed. (Do not try to compact the under slab area because it will likely cause the edges to cave into the footing trench.) The best way to do the compaction if it is needed is to hire a compactor machine for a day. You need one that is 5HP or more.
The subgrade needs be compacted to 95% relative compaction. Move the compactor over every square foot of soil until the soil is firm and smooth looking. It is possible to have the soil tested to measure the compaction.
For my soil type, compaction was not necessary as it was well compacted by a glacier during the last couple of ice ages and I was careful during excavation not to disturb the soil at the bottom of the footing trench and under the slab area.