


Home Site Map - Steps - Foundations -
Form Footing - Lower Form-A-Drain
![]() Form the inner and outer perimeter of the footings.
Form the inner and outer perimeter of the footings.
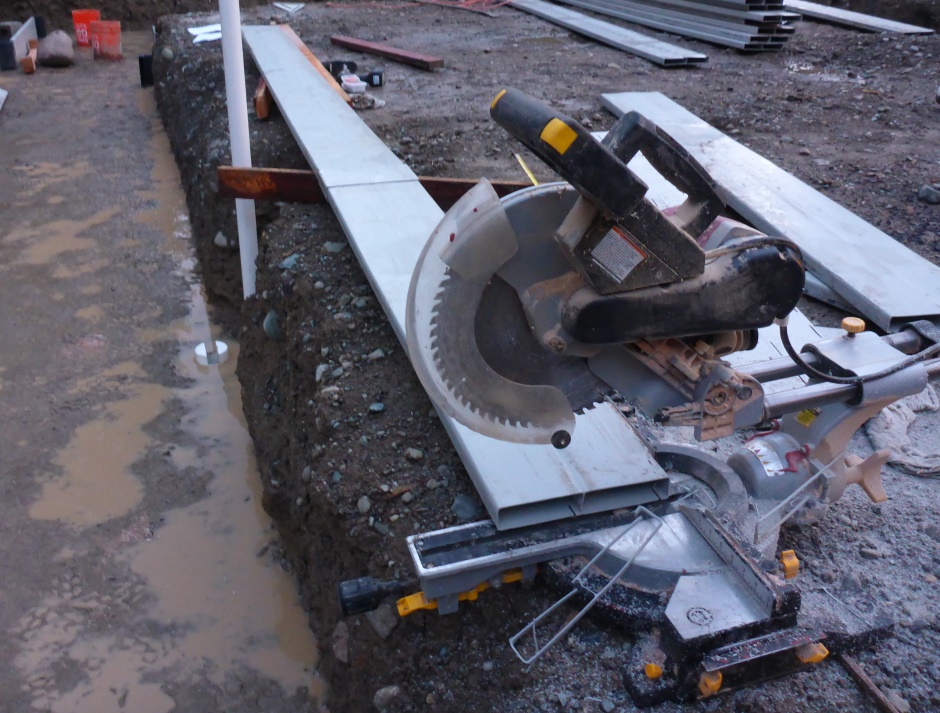
Form-a-drain cutting
Required lengths
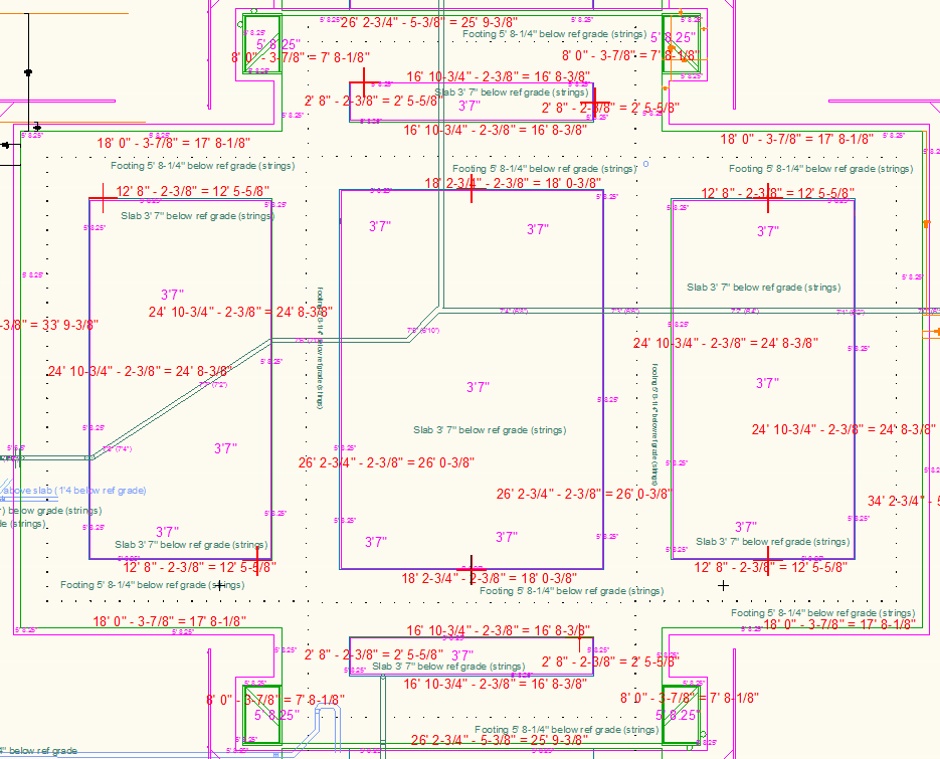
The required lengths can be determined by looking at the foundation drawings. The green line in the drawing below is the outer edge of the outer Form-a-drain and the blue line is the inner edge of the inner Form-a-drain. Note that there is also Form-a-drain used for the footings under the internal concrete walls.
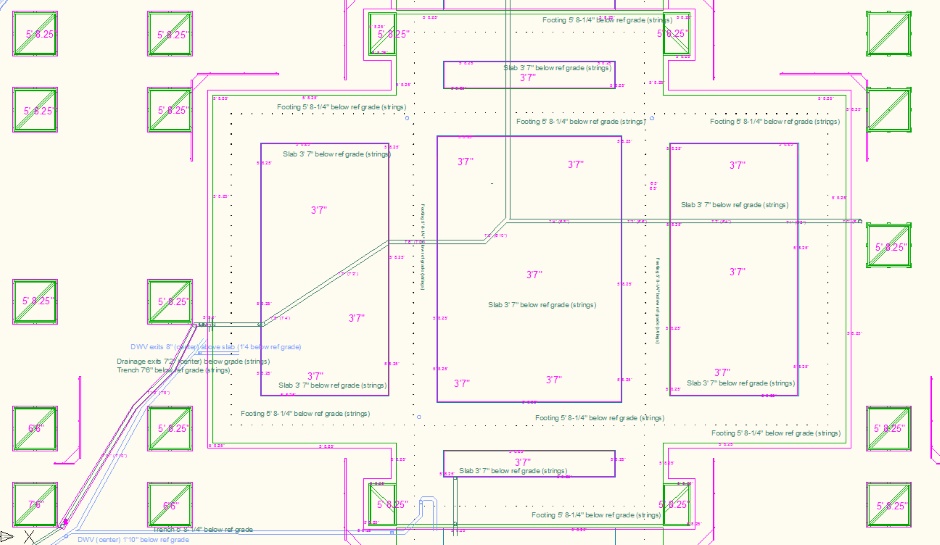
When cutting the lengths of Form-a-drain you need to subtract an amount for the Form-a-drain corner pieces. For the inside bend the amount is 1-3/16" per piece, and for outside of the bend the amount is 2-11/16" per piece. The dimensions required come from your AutoCAD drawings.
The following diagram shows the calculated Form-a-drain lengths.
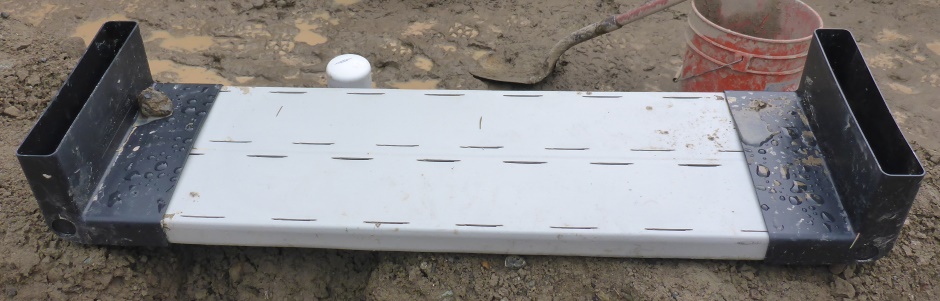
Using connector pieces, join pieces of Form-a-drain together to make a piece that is longer than required and then measure the overall length and cut to the required length using a sliding miter chop saw. Where possible put the self tapping screws on the perforated side so the heads are not in the way of the EPS lining. Use 6 screws per join. Pre-drill the screw holes with a small diameter drill.
Form-a-drain installation
Rest in place over drain pipes
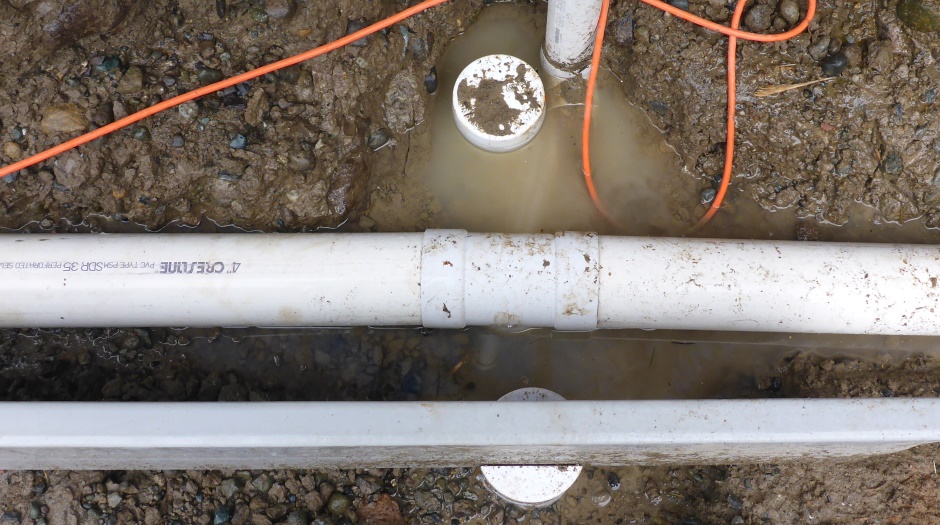
Rest the cut to size Form-a-drain in place over where the drainage pipes with the upward facing T pieces are. Push on the corner joiner pieces. The slits need to face away from from the trench on both the inner and the outer Form-a-drain. The plain side is against where the concrete will be. If the Form-a-drain is slightly bowed then the bowed middle should be down against the soil (and will be shimmed up later). Make sure the bottom of the Form-a-drain is at the right height relative to the batter board strings (5' 8.25" below grade, which in my case is also 5' 8.25" below the batterboard strings). Use wood jigs to keep the Form-a-drain the right distance apart.
East side
North side
West side
Assemble Form-a-drain to make perimeters
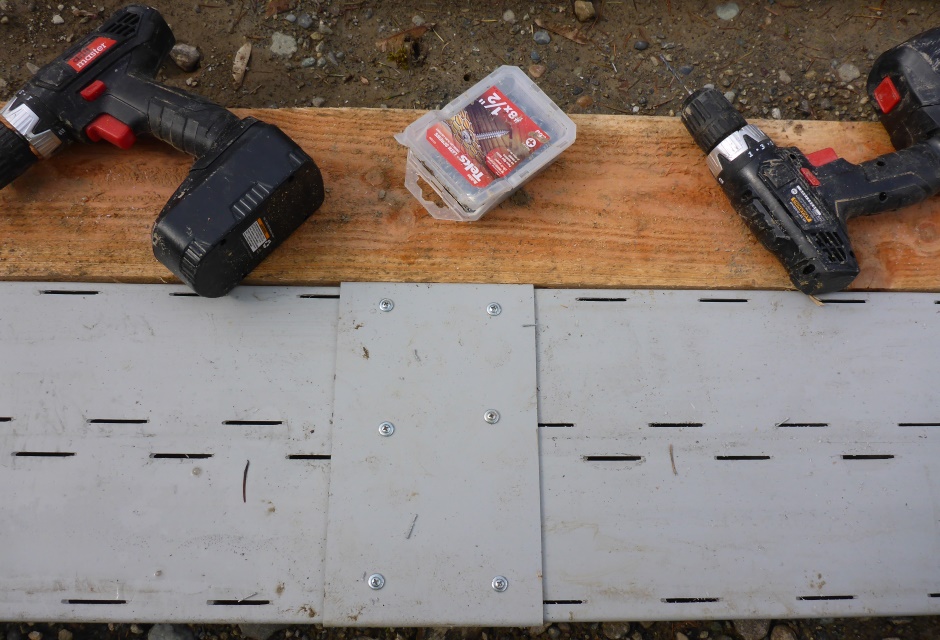
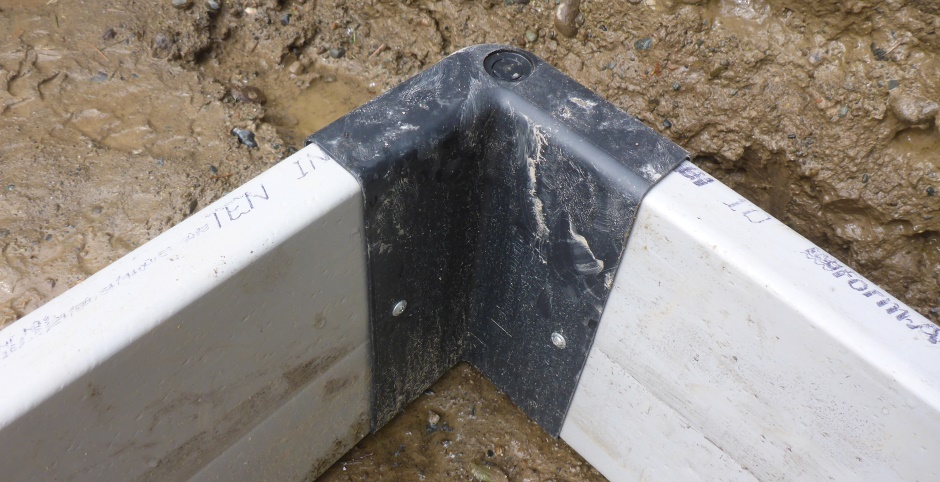
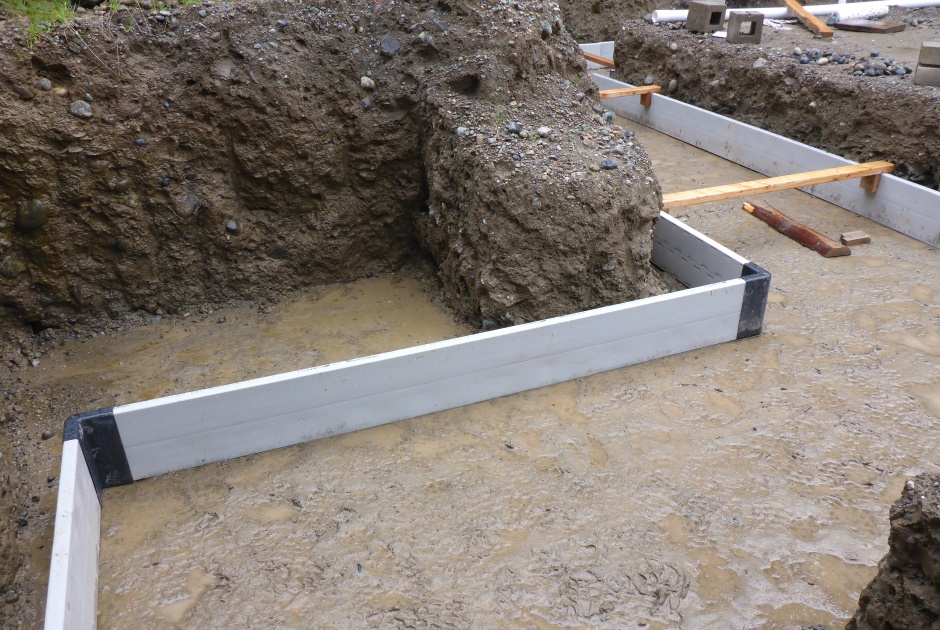
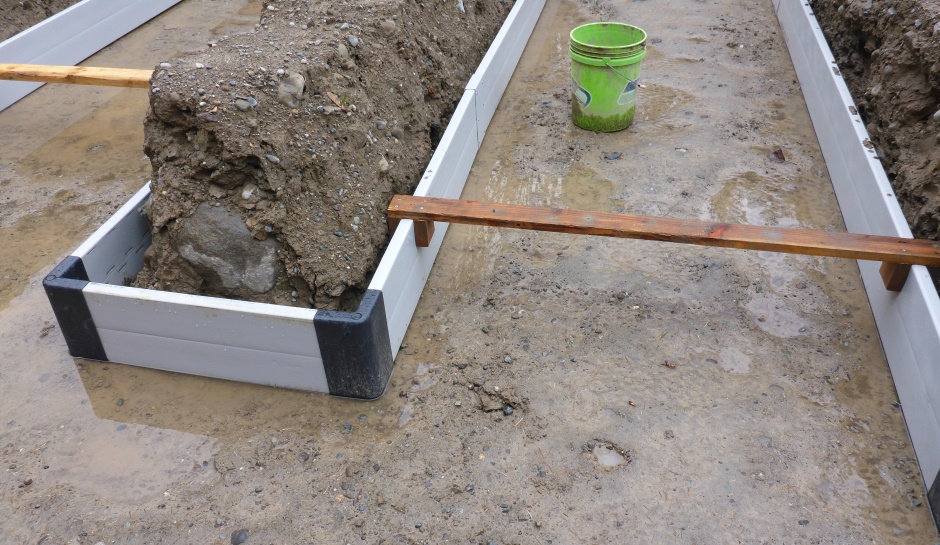
Attach the corner pieces to join together the Form-a-drain to make the lower inner and lower outer Form-a-drain perimeters for the bottom of the footing trench. Attach the corner pieces by drilling a small pilot hole through the corner pieces and into the Form-a-drain, then use one self tapper screw per Form-a-drain piece. Only use one screw because it is just temporary to stop it dropping out.

When you are done, you should have a joined rectangle all the way round the outside of the footing and another one all the way round the inside of the footing. If your house is more complicated than just a rectangle then you will also implement a continuous border inside and out, but you will need more connector types and the result will something more complicated than a rectangle.
Get Form-a-drain in right distance apart using jigs
Using wooden spacer jigs is useful to set the outer and inner Form-a-drain the correct distance apart. They are made from 4'11" long 2x4s with 3.5" bits of 2x4 at the ends. The space for the Form-a-drain is 1/6" bigger than the 1.5" of the Form-a-drain.

They ensure the outer edges of the Form-a-drain are exactly 4'8" apart (which is 4'5" between the inside edges). If you want you can also implement a jig to help you get the soil the right height between the Form-a-drain.
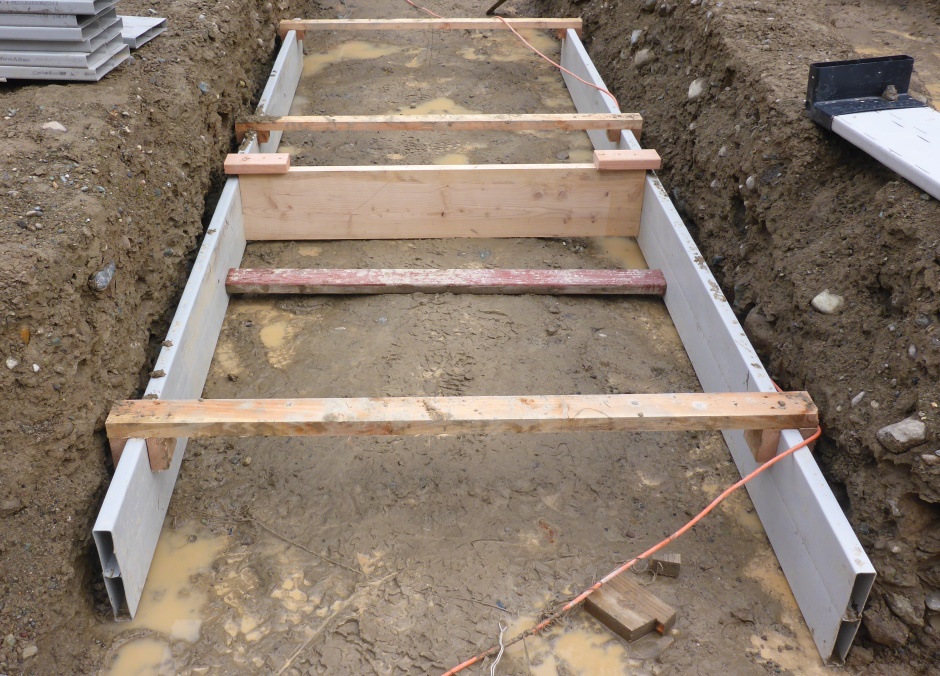
At ground level between the Form-A-Drain use pieces of scrap wood (something like 2x4s) cut to a length of 4'5" which is the inside distance between the Form-a-drain. These should be kept in place when putting crushed rock behind the Form-a-drain to stop the Form-a-drain being pushed inwards. Only take them out (sometimes temporarily) when they get in the way in future steps. Using these is more important than using the more complicated jigs described above.
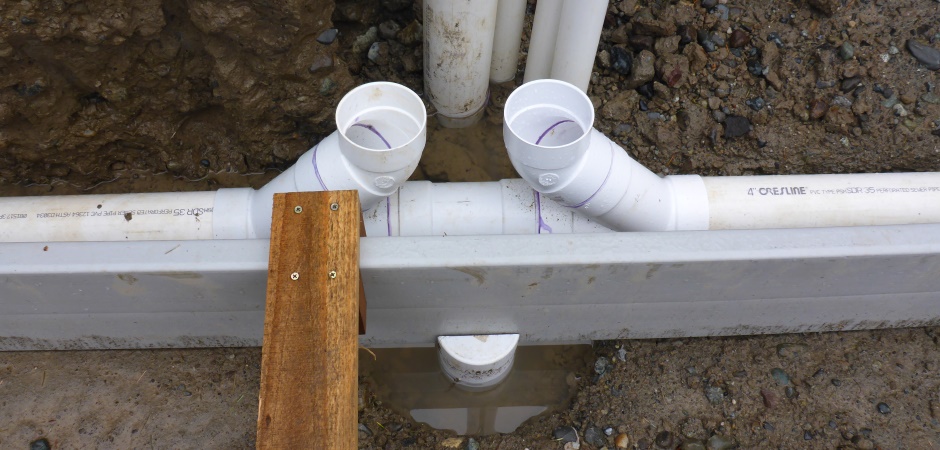
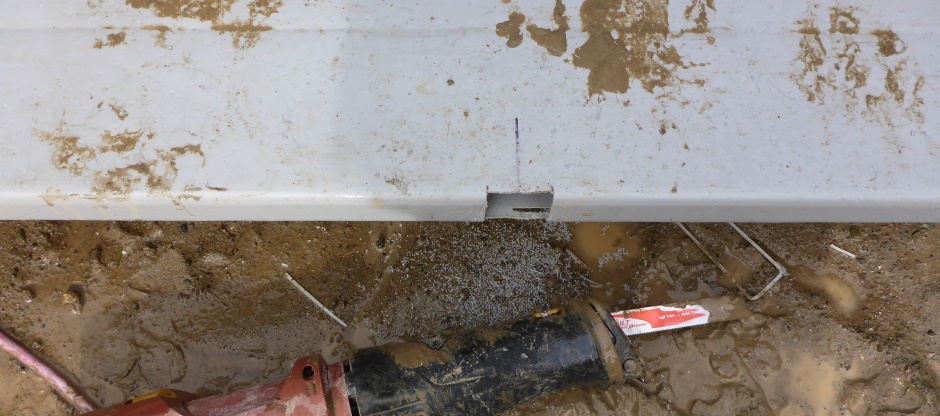
Cut holes in bottom of Form-a-drain
Directly above the drainage pipe T pieces you need to cut holes in the bottom of the Form-a-drain. This can be done using a reciprocal saw and cutting a 1.5" shallow U in the side on the Form-a-drain at the bottom edge. You need to do a check with a plumb bob on the end corners to make sure the Form-a-drain is in the right place.
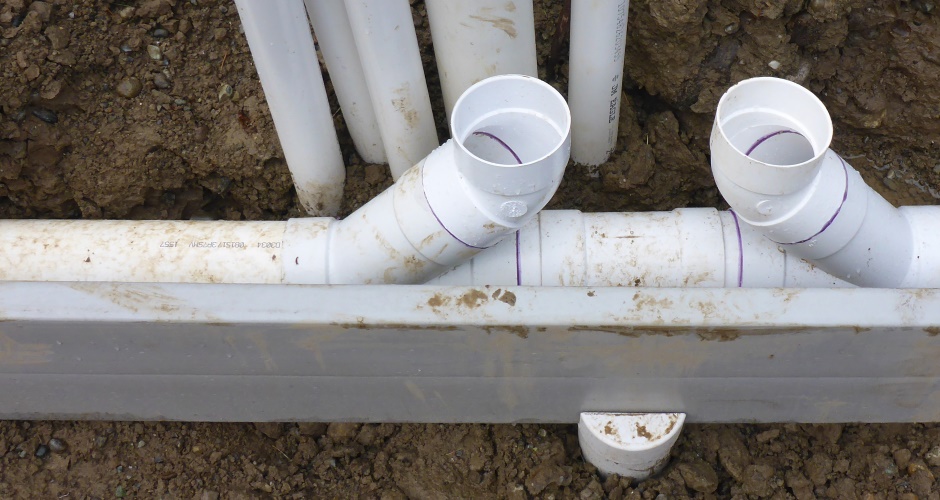
Drill 1.25" holes for spacer pipes
As you will see later, there are spacer pipes between the upper and lower inner Form-a-drain to allow water to drain. Now (ahead of fitting the filter sock) is a good time to drill the 1.25" holes in the top of the Form-a-drain.
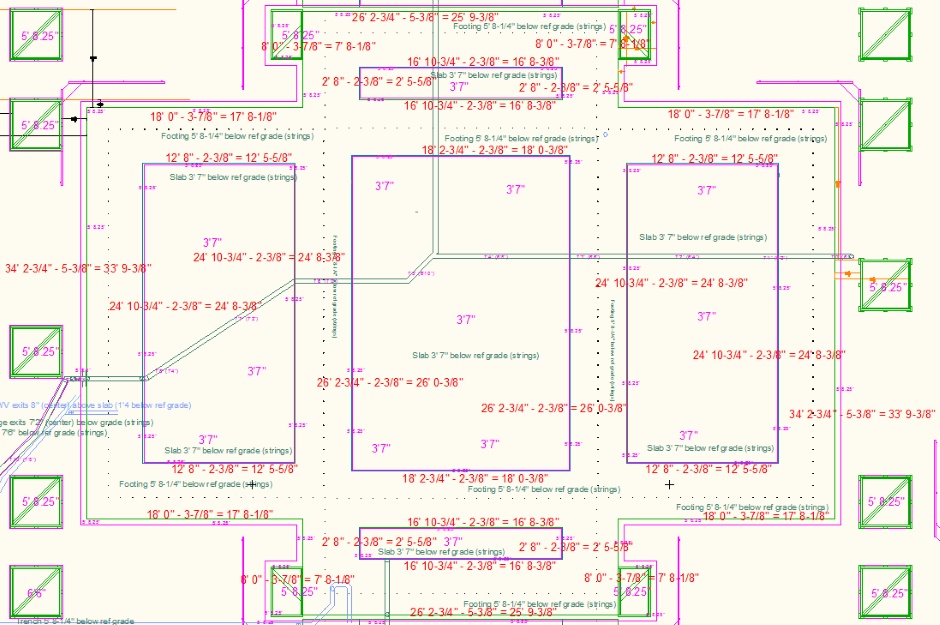
The holes need to be placed such that flushing cleanout water from the top Form-a-drain that is injected via the cleanout 2" pipes enters the bottom Form-a-drain a decent distance from the 2" injector inlet and then flows to a decent distance to where the lower Form-a-drain connects to the 4" sloping drainage pipe. You want this flushing water to cleanout any silt in the Form-a-drain. Basically this means put the drainage spacer pipes about half way along the run of Form-a-drain between the injector positions. You don't want too many drainage spacer pipes or the water will bypass a section of upper Form-a-drain. Figure out the places on your AutoCAD drawing. Note that drainage spacer pipes are only used on the inner Form-a-drain. The red crosses in the following diagram show the positions chosen...
Drill the 1.25" holes with a 1.25" Lenox type Arbored Hole Saw.
