


Home Site Map - Steps - Foundations -
Form Footing - Inner Top Form-A-Drain
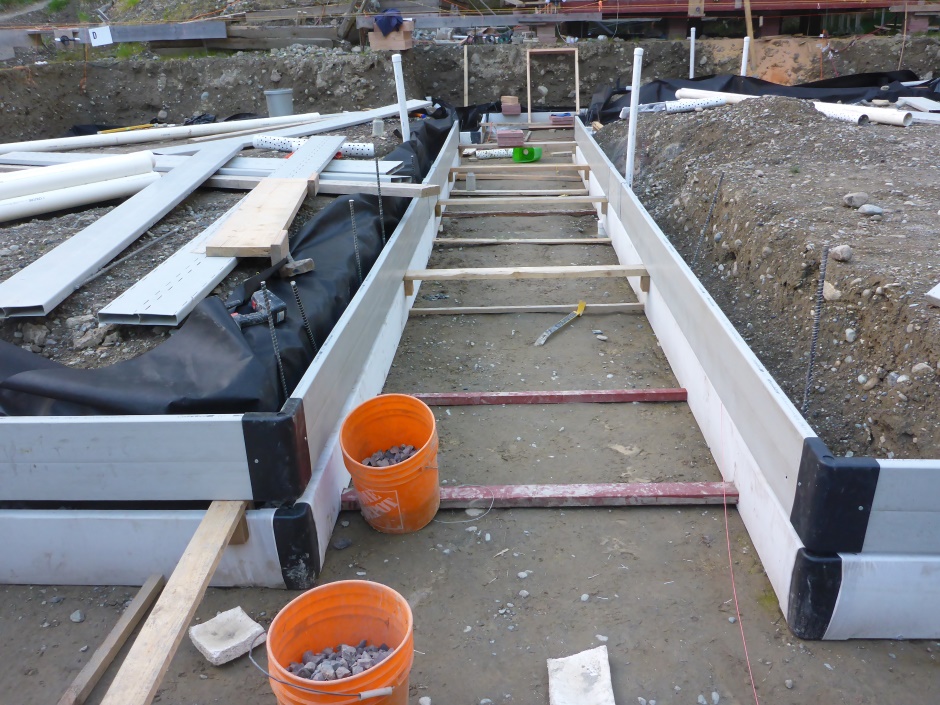
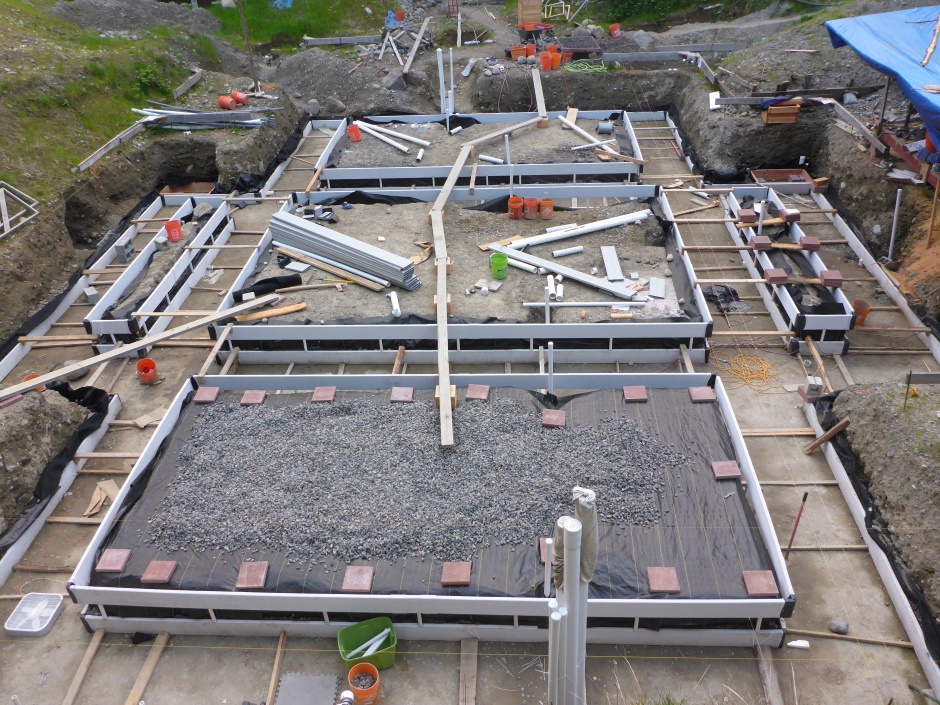
![]() This Form-A-Drain goes round the various slab areas.
This Form-A-Drain goes round the various slab areas.
Inner top Form-a-drain
Assemble it
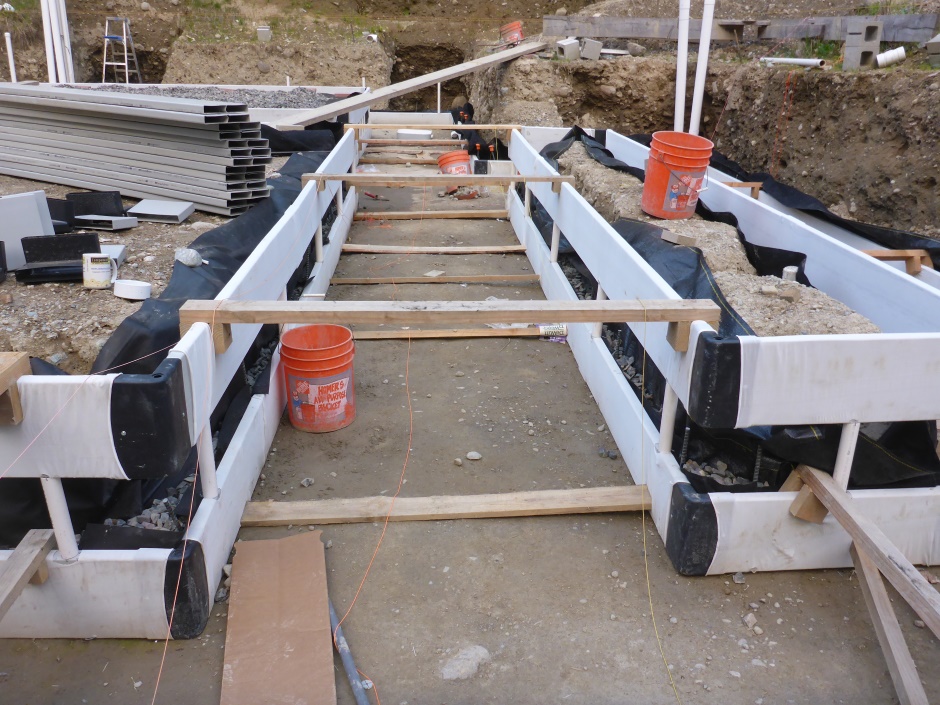
Join together pieces of the right cut and joined length to make a perimeter that is the same dimensions as the inner lower Form-a-drain. It's best to assemble it by resting it on the lower perimeter of Form-a-drain.
It is best to put the Form-a-drain the other way up relative to the lower Form-A-Drain such that any bowing of the Form-A-Drain is in the opposite direction. The wired spacer pipes will ensure that the Form-A-Drain is accurately held the correct distance apart and thus any bowing will be taken out in the completed assembly.
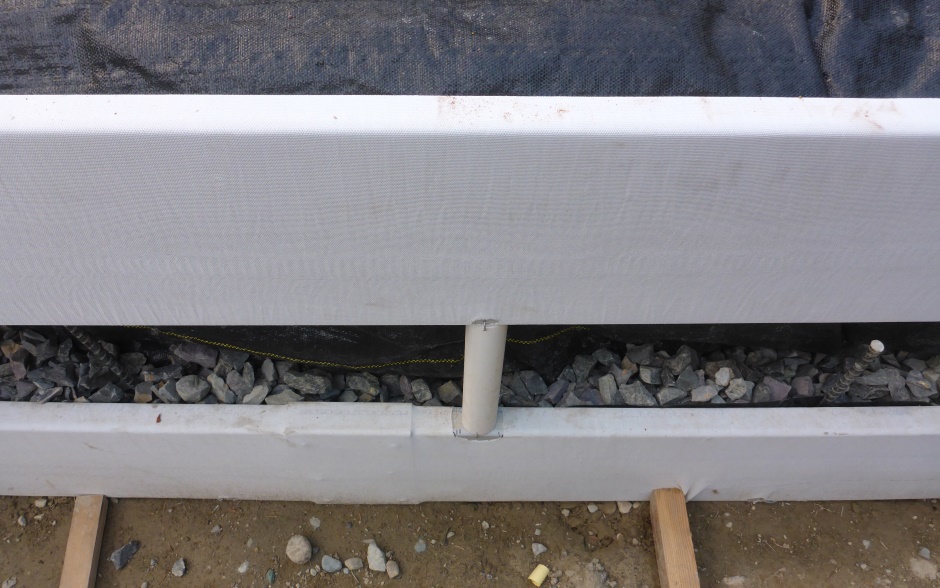
This is the third perimeter of Form-a-drain, and like the previous two is also used for drainage, so it needs the filter cloth sock and its slots face outwards from the footing trench. The gap between the bottom and top Form-a-drain should be exactly 9-1/4". It will attach to the spacer pipes with 16 gauge galvanized wire top and bottom.
Implement pipes from inner top Form-a-drain to bottom inner Form-a-drain
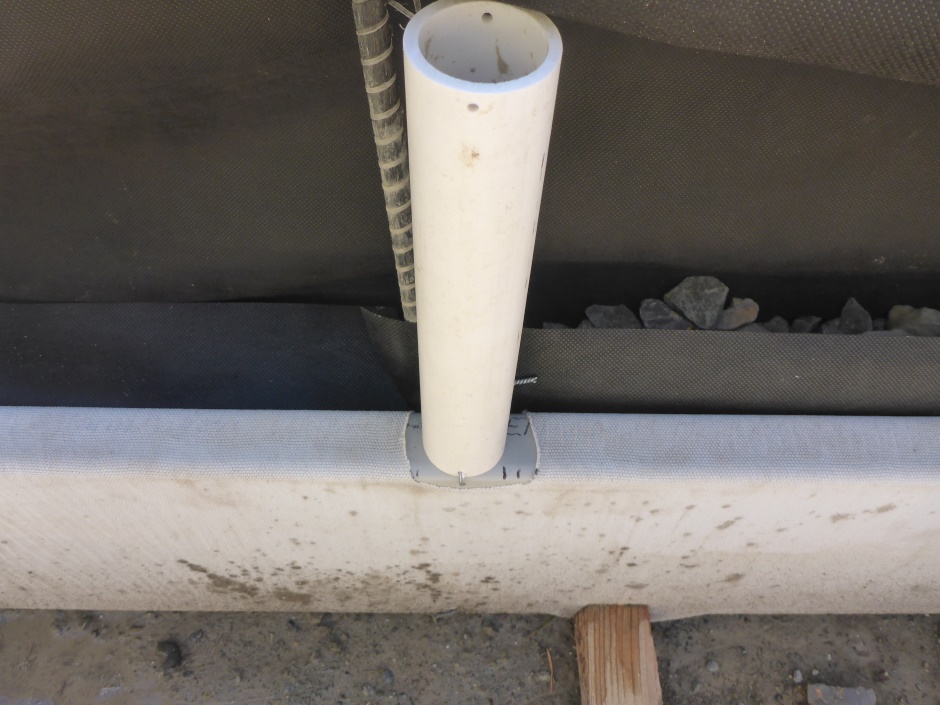
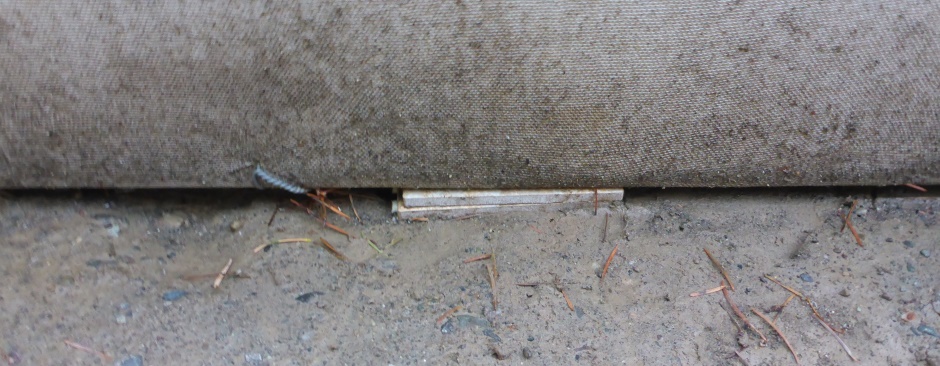
The 9-1/4" long 1.25" bore pipes strategically spaced around the perimeter are to allow water collected in the top Form-a-drain to drain to the bottom Form-a-drain so it will then flow to the 4" drainage pipes and away. The 1.25" holes in the top of the lower Form-a-drain will have been drilled in a previous step. Look through the filter sock for where the holes are and cut away the filter sock in that place.
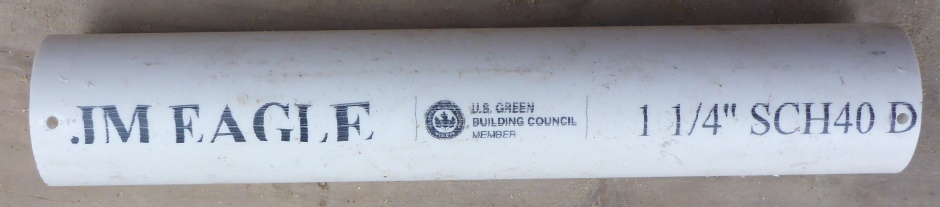
The pipes are made using 9-1/4" lengths of 1.25" PVC water pipe into which internal collar pieces made from 1" PVC water pipe are glued. The 1" pipe as it protrudes 1/8" out of the 1.25" pipe will fit into a 1.25" hole drilled in the Form-a-drain. A small amount of filing is necessary to increase the 1.25" hole enough to fit the pipe.

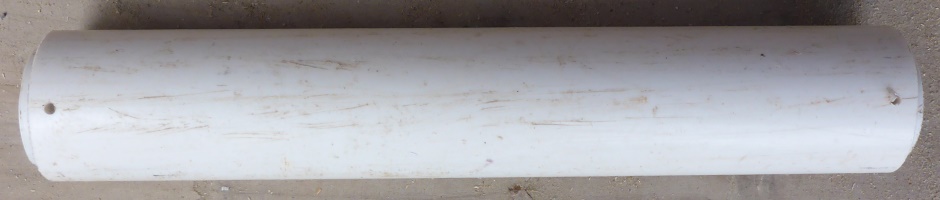
The pipes act as convenient spacers to get the right distance between the upper and lower Form-a-drain. The number of pipes that do water drainage is small, so it is necessary to implement a large number of dummy pipes that act purely as spacers. These are just 9-1/4" lengths of 1.25" pipe but without the holes in the Form-a-drain or the inner collar pieces of 1" pipe.
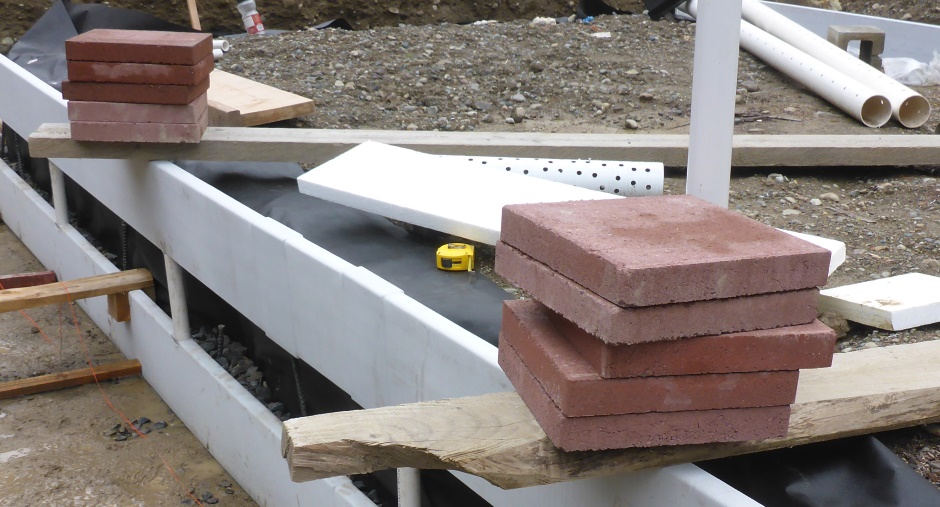
Use them with a 4 feet gap between them (4' 1-1/2" on center), starting with about a 1 foot gap from a corner. Use a piece of 4' wide cut EPS as a spacing guide. Note that real world 4' wide EPS may well be about 3' 11-7/8" which is why it is best to use a piece of your actual EPS rather than measuring the distance.
Work from the corners inwards (which leaves an arbitrary spacing in the middle). Wire the pipe to the Form-a-drain top and bottom. You will need to cut away a 2" section of filter cloth sock at the spacer pipe positions and then drill holes in the Form-A-Drain for the wire.
Use 16 awg galvanized wire to fix the top Form-a-drain to the white pipe using small drilled holes. Also use wire at the bottom. Because the Form-A-Drain is the opposite way up, the pipe with the wire top and bottom will take out any warp in the Form-a-drain. You may need to weight it down to allow you to wire it.
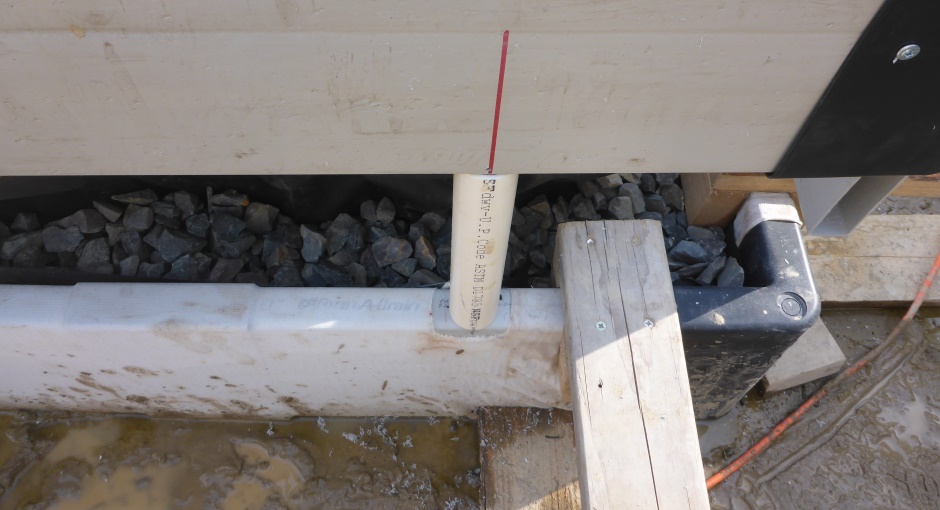
Use a plumb-bob from the batterboard strings to get the upper inner Form-a-drain in the right location. Use a piece of EPS to get the pipe properly vertical so you know where to drill the hole in the upper Form-A-Drain.

Cut the filter sock on the upper Form-A-Drain to allow the hole to be drilled. Twist the wire with pliers to make it fully tight.
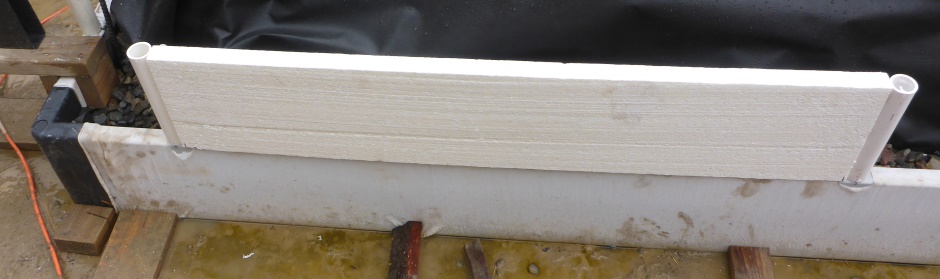
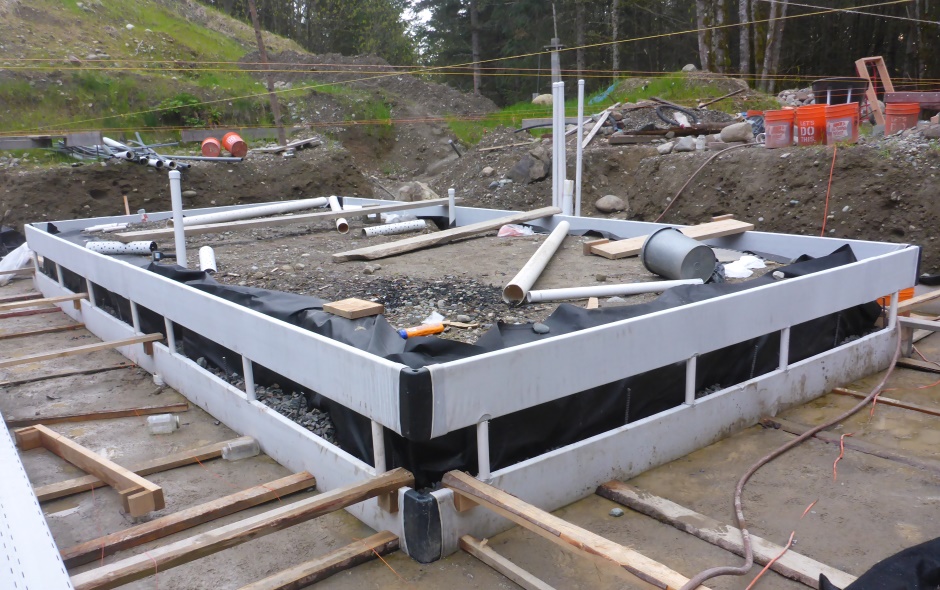
After the upper inner Form-a-drain has been installed on top of the pipes (some dummy and some water drainage), this is what it looks like...

Inner Form-a-drain exact height
Now that any bowing of the Form-a-drain has been taken out, use a self leveling laser on the top of the upper inner Form-a-drain to make sure it is exactly at the right height all the way round. The distance from the top of the inner Form-a-drain to the laser reference (grade level, which is also the top of the batterboards) needs to be 3'3". Use porcelain tile shims under the inner lower Form-a-drain to increase the height to get the top of the inner upper Form-a-drain to the right height.
After the the inner Form-a-drain is set at the right height using the shims then you can fill the space between the shims with some non-organic filtered soil. This will stop the Form-a-drain from sagging down.