


Home Site Map - Steps - Foundations -
Foundation Lining - Footing Sides EPS
![]() The sides of the footing trenches are lined with polystyrene with it
thicker towards the top.
The sides of the footing trenches are lined with polystyrene with it
thicker towards the top.
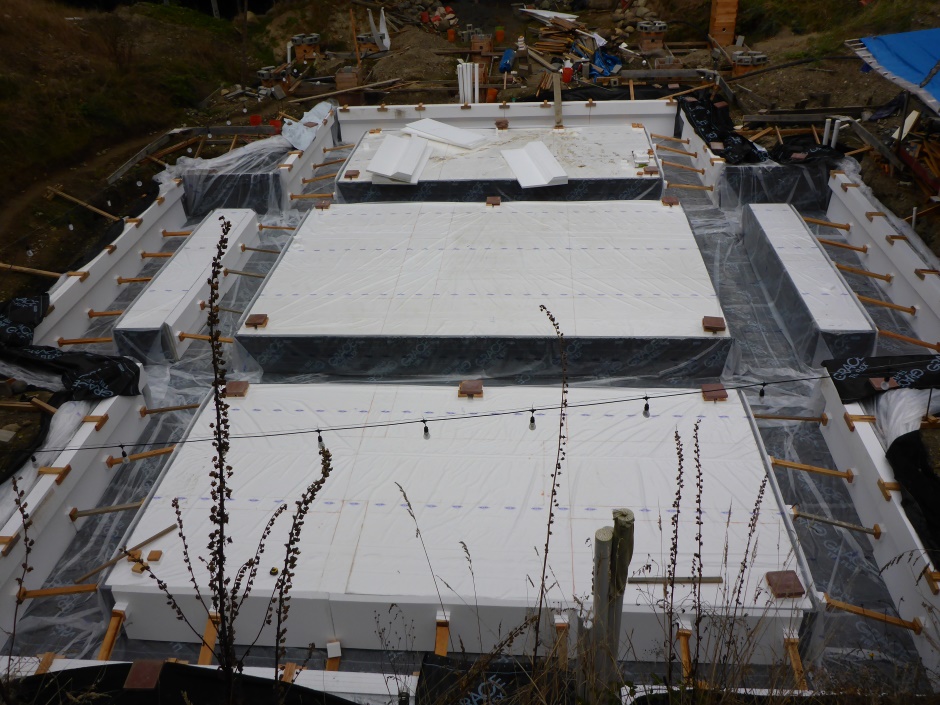
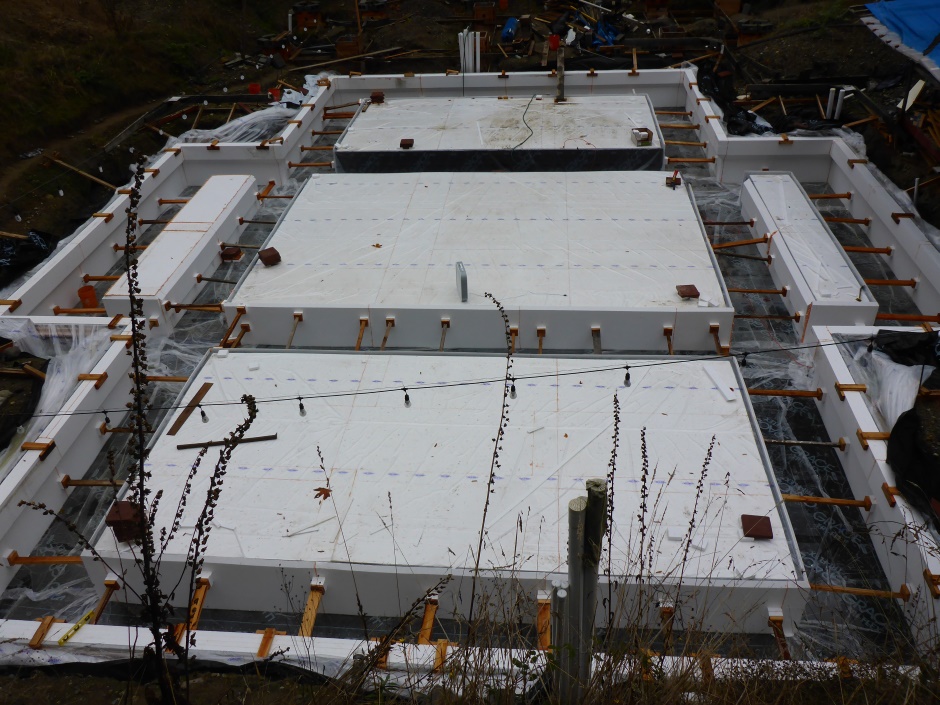
Line footing trench with pre-made EPS assemblies
Line outside of footing trench
You may well need to trim the bottom edge of the EPS assembly to make sure it does not come up higher than the top of the outer upper Form-A-Drain.

It is also good to round off the edge to help it sit better against the polyethylene sheet.
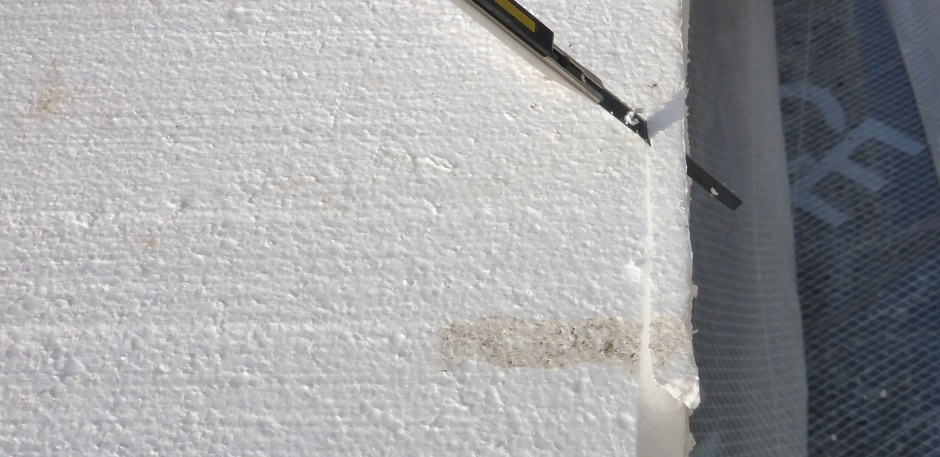
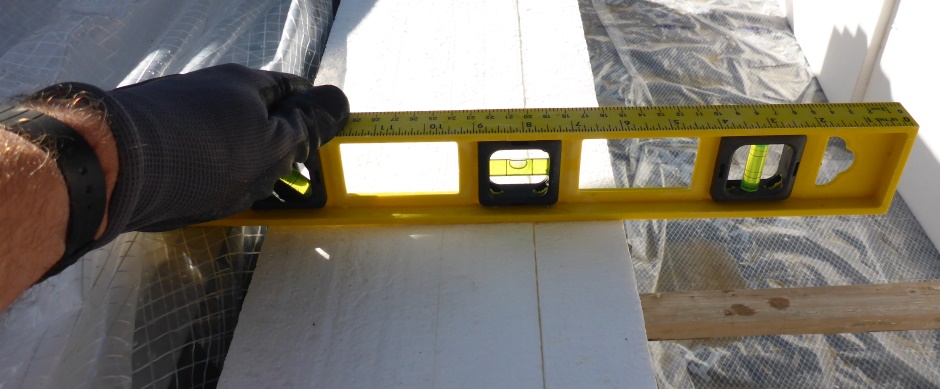
You can make sure the EPS assembly is not sitting too high by using a bubble level off the top of the outer upper Form-A-Drain.
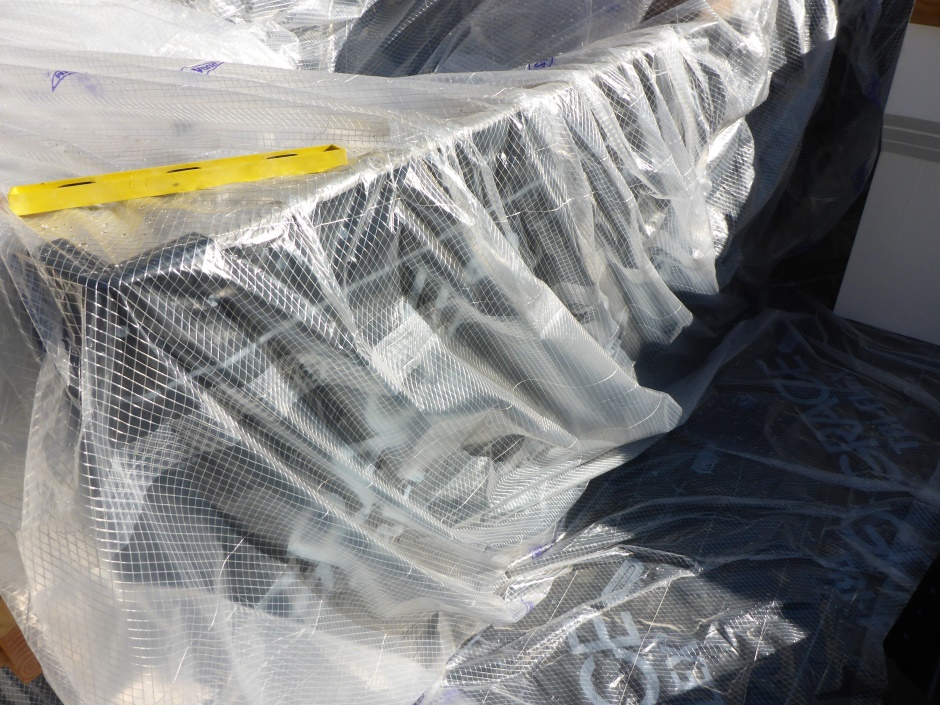
When fitting the EPS assembly, make sure there is something like 2" of slack in the polyethylene sheet so it is not accidentally stretched. Note that the polyethylene sheet folding does not need to be folded neatly as it will all be flattened behind the EPS.
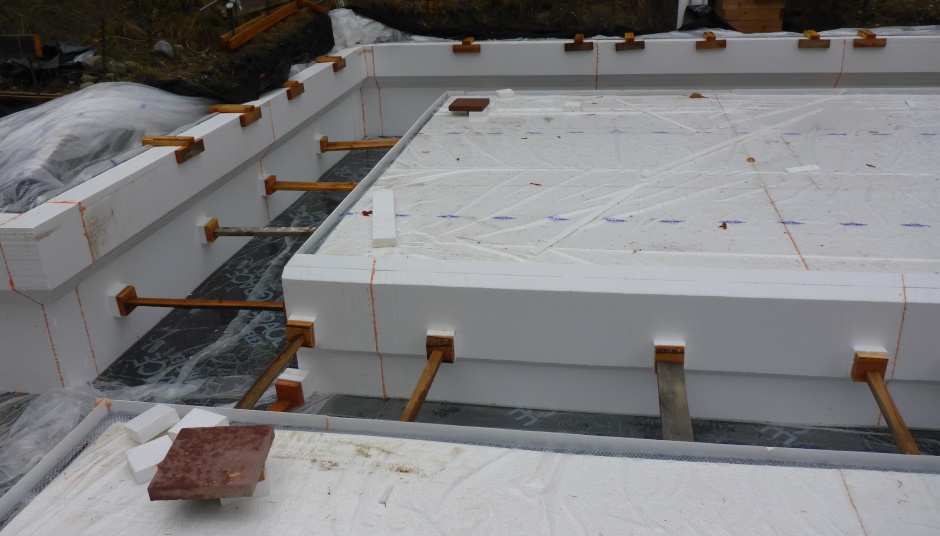
Use the pre-made wood clamps at the top to attach to the outer upper Form-A-Drain.
Attaching only at the top is ok because the horizontal EPS at the bottom of the trench will hold the bottom of the vertical EPS.
Initially just get the 8' lengths of EPS assemblies in place. Don't initially worry about the corner pieces.
Squirt foam gap filler into the join between the edges of the EPS assemblies to hold everything together. It does not need to be a water-tight join.
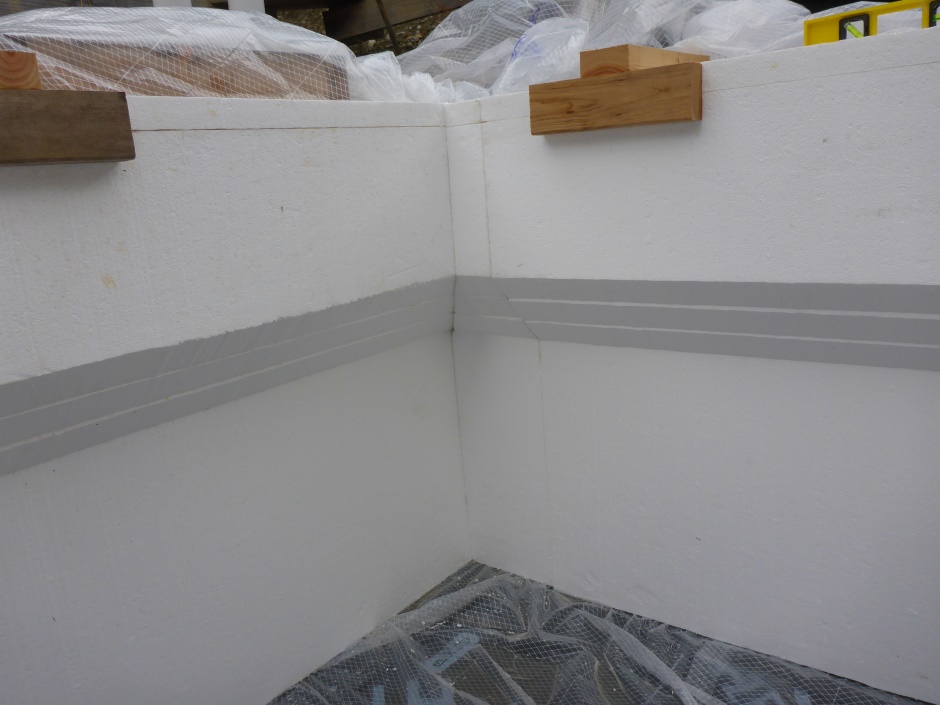
Line inside of footing trench
It should stick up 2" above the top of the upper inner Form-a-drain which means it will be level with the top of the first 2" EPS that will go over the slab area. Use foam gap filler on the edges between the sheets.
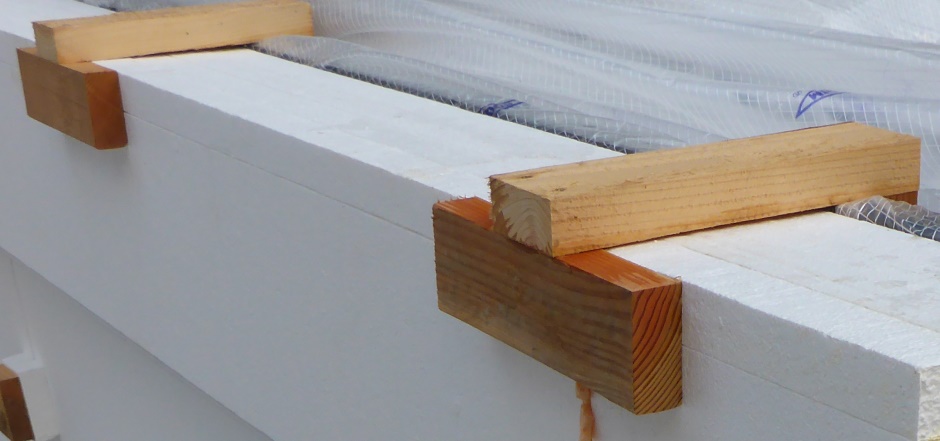
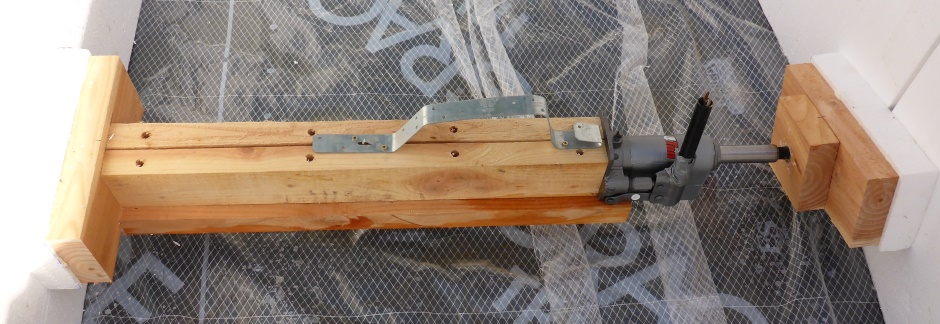
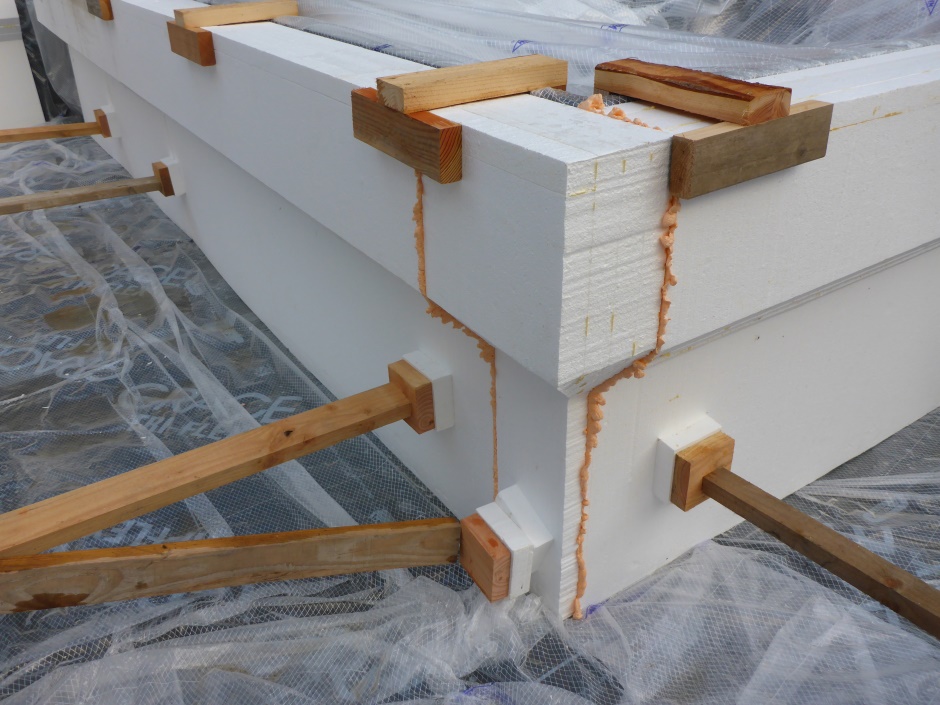
Add bracing lumber with pads
The bracing wood spacers are pieces of scrap lumber cut to a length of 3'3". With the 2 times 3.5" of the EPS+wood pads and an additional 2" of EPS, that makes a width of 4'. At the bottom of the trench the designed width between EPS is 4'1", but half way up the trench it is ok to have half an inch of inwards bulge at each side which reduces the width to 4'. The extra 2" pad of EPS is used at this stage because it takes the place of the extra 2" EPS piece on the inside of the trench which will be glued on later after the EPS at the bottom of the trench.
The EPS may be a bit curved and the trench may have contracted slightly so I find it useful to use a home-made hydraulic spreader tool to make it easier to fit the temporary wood spacers and their protective pads.
Do corners
Measure the dimensions needed for the various corner pieces and cut them to fit. The cutting is done freehand on the hotwire cutter bench after first marking the flat side of an assembly piece with a permanent marker pen.
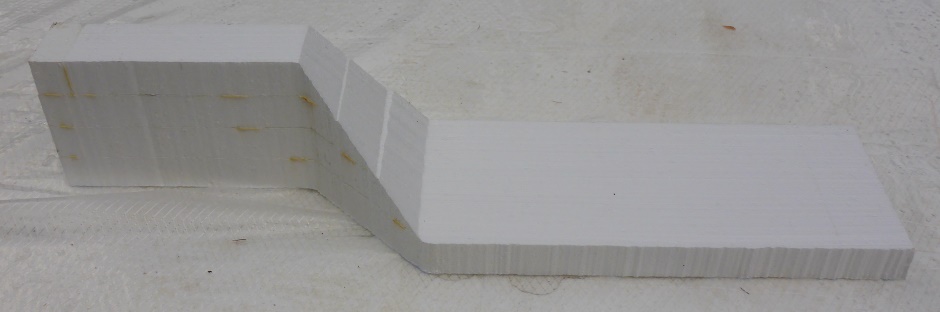
This piece is for a concave corner in the outer EPS assembly...
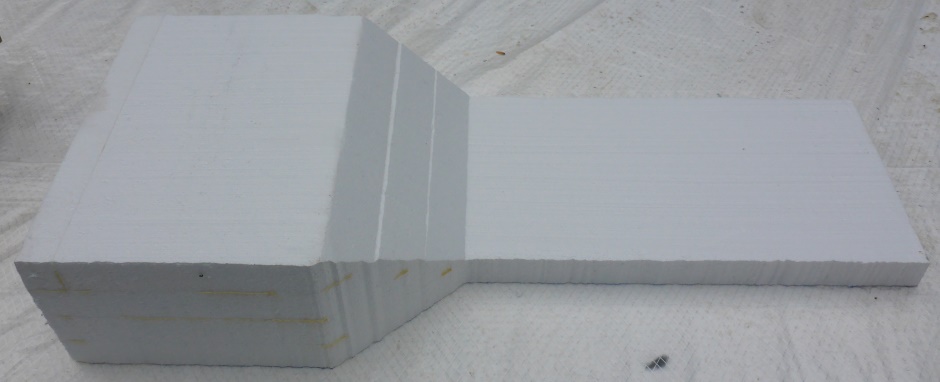
...and this is for a convex corner...
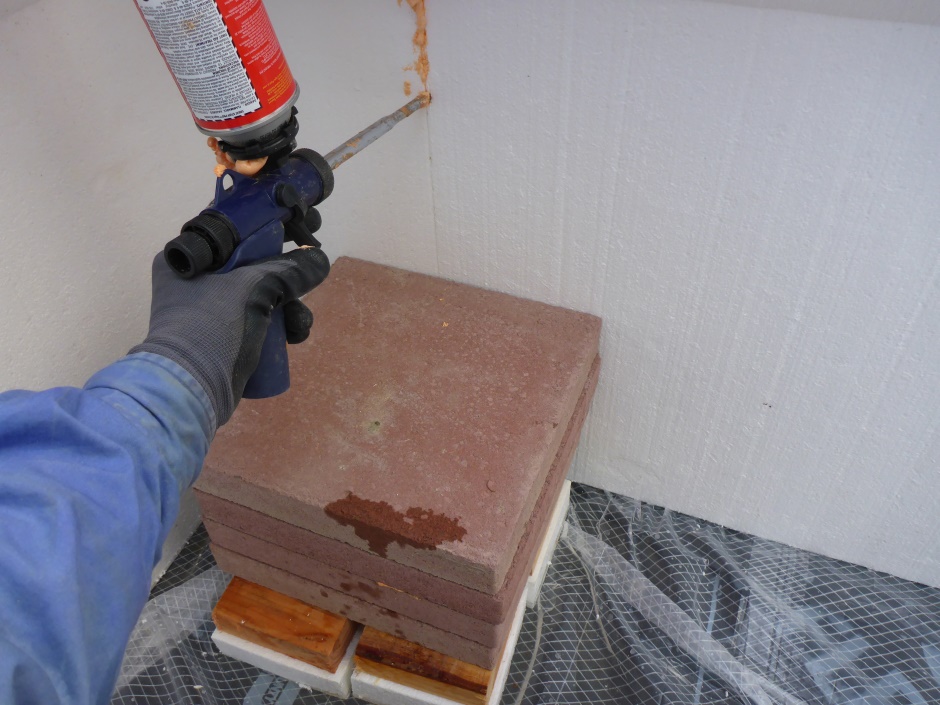
Put the corner pieces in place to make sure they fit.
Squirt foam gap filler into the join to glue the corner pieces in place. You may need paving slabs (on protective pads) and/or wooden props to keep the corner pieces in place while the foam is setting.
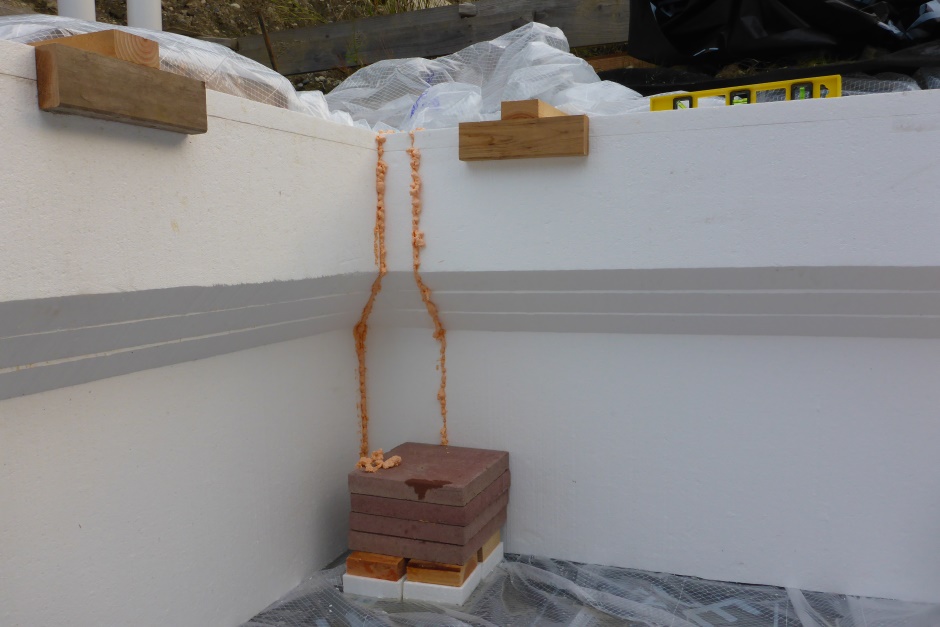
After the foam has set, trim off the excess with a 9mm long blade craft knife. Be careful not to accidentally cut the polyethylene sheet.
Also measure, cut, and fit the EPS for the corners on the inside of the footing trench. It is good to make the corners somewhat rounded by using 45 degree cut infill pieces of 2" EPS at the corners.
In the case of internal wall footings you can use pre-glued assemblies on one side (the nominally outside edge) as it won't stop you adding the EPS at the bottom of the footing..