


Home Site Map - Techniques - Structure -
Carnation Walling - Internal Wall, Bracing Etc
![]() Internal walls are handled a bit differently as there is no EPS to
glue.
Internal walls are handled a bit differently as there is no EPS to
glue.
Internal Concrete Walls
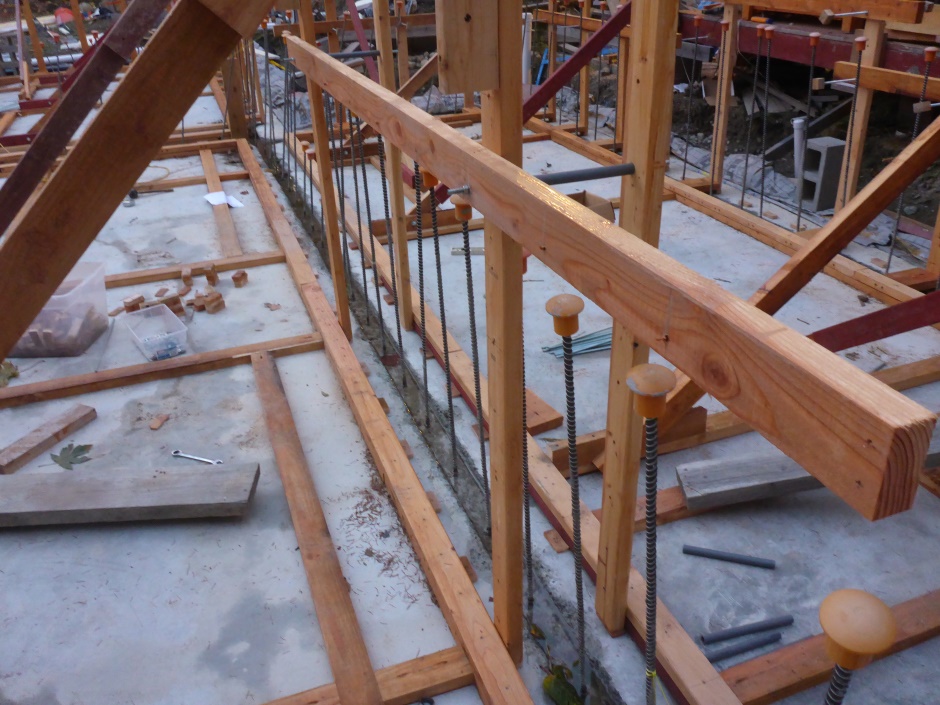
Can straight away fit vertical batons on both sides of an internal wall.
Fit them every 6 feet at primary locations. This is enough to support the ceiling beams but is still wide enough apart to allow the plywood to be fitted later.

Use 1/2" conduit spacers that are 9.5" long. (The conduit pieces will get cut to 8" later when fitting the plywood.) Alternatively you can use 8" spacers with a 3/4" spacer on both ends.
Internal divider walls
Strategic importance
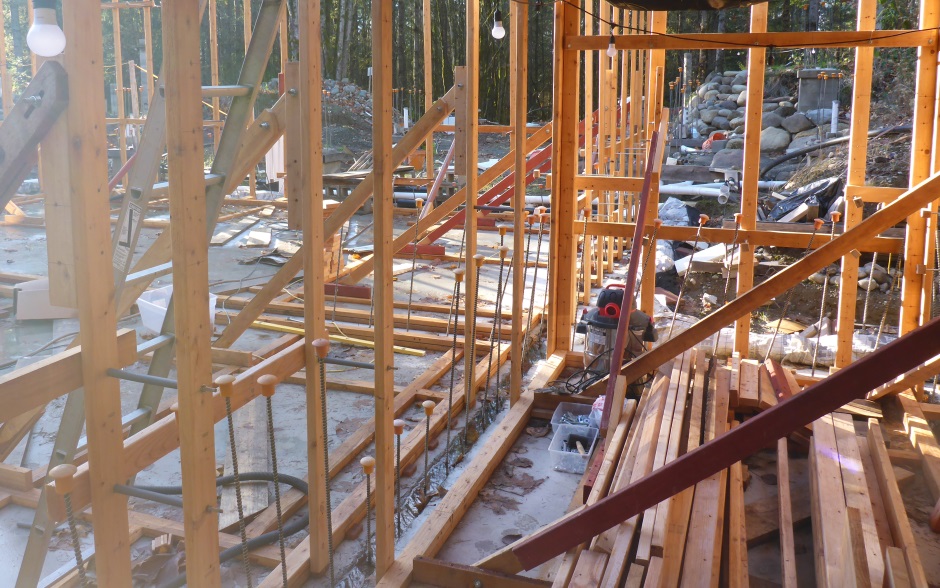
During the concrete pour and arguably long term for added earthquake safety, it is good to have the big 10.5" high ceiling beams supported in three places (the two ends and somewhere along the length).
As shown on your CAD floor plan there are likely to be various internal wood walls that divide up the space. In the finished house they are not structural walls but they are useful to help support the big ceiling beams so they don't sag under the weight of the wet concrete. You mainly want walls that run north-south, ie orthogonal to the main ceiling beams.
Assuming you have suitable useful internal walls you can avoid the need for any additional props for the concrete ceiling pour. Don't forget that you can remove any internal walls after the concrete pour if you later decide you want to make the space more open plan.
On your floor plan there may also be some mezzanine floors for storage or whatever. Implementing them now is useful because it holds the walls the right distance apart and generally makes the overall structure more rigid to stop it moving about when you pour concrete. Once you have added the flooring/ceiling above you can use the mezzanine for storing building materials and tools.
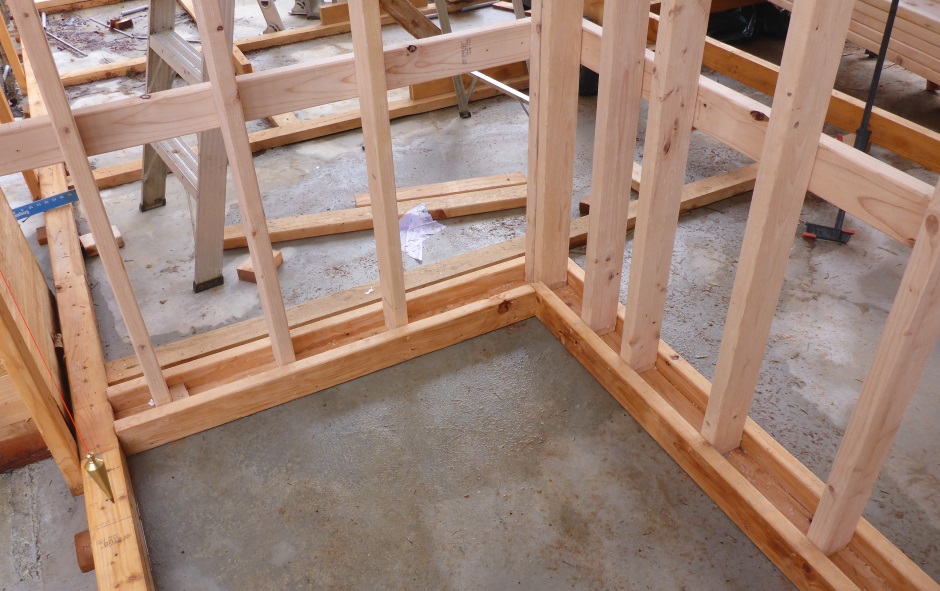
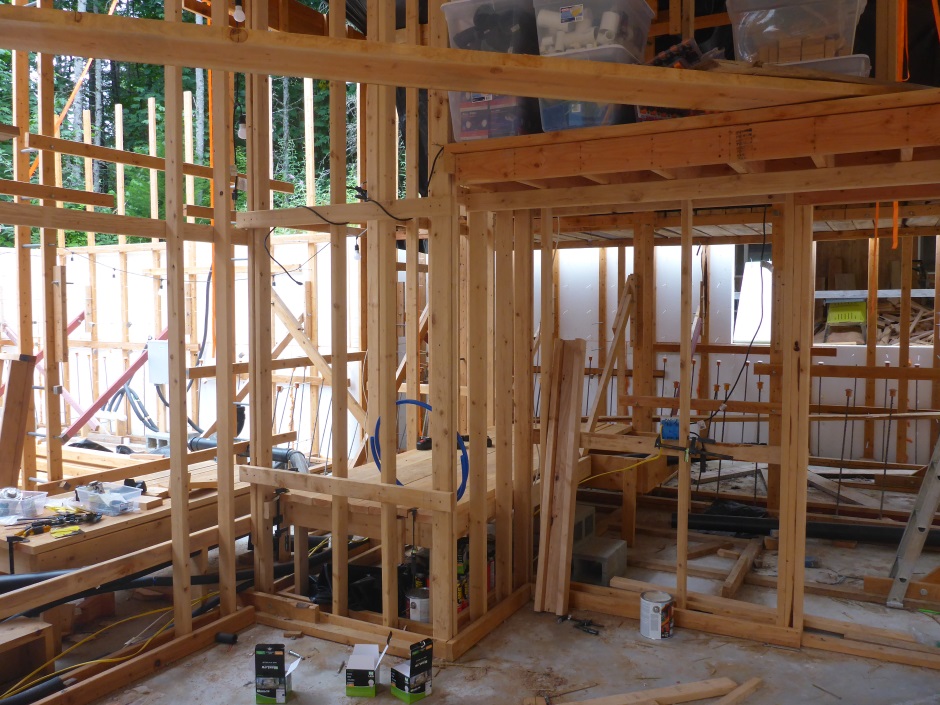
U base
The first step for implementing an internal wood wall is to implement a U shaped base to accept the bottom of the vertical studs and hold them in the right place. You can think of the outside pieces of the U being the first bits of 2-by wood cladding on the wall.
Make the U pieces to correspond with the internal wood walls shown on your CAD drawing. You will likely need gaps in the Us to avoid the 45 degree wall bracing and other obstacles. Use 2.5" nails to fix the U pieces to the concrete slab in the right locations (use a .27 caliber gun with red cap rounds).
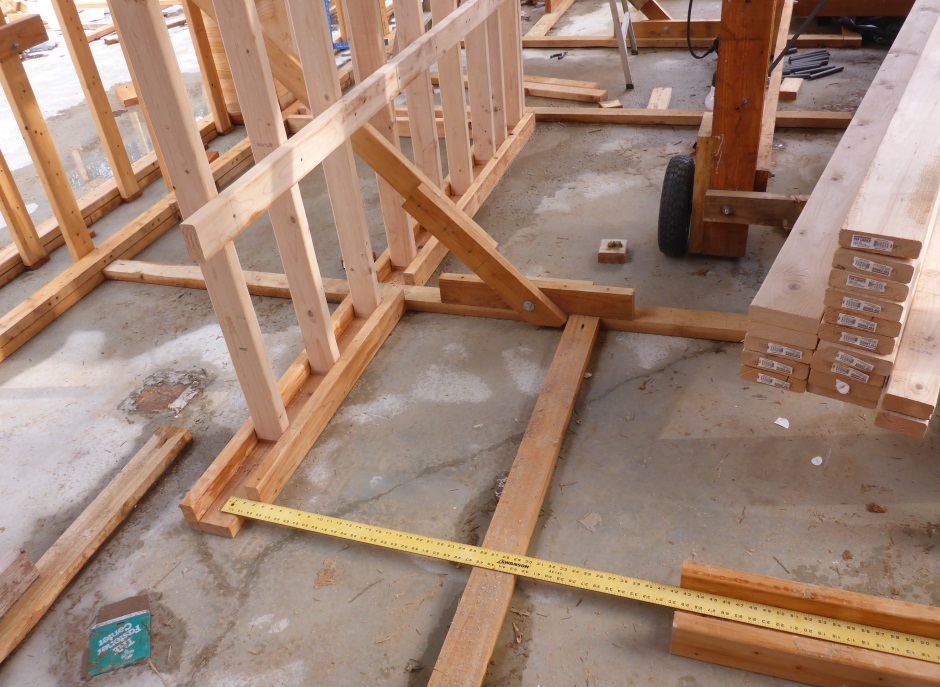
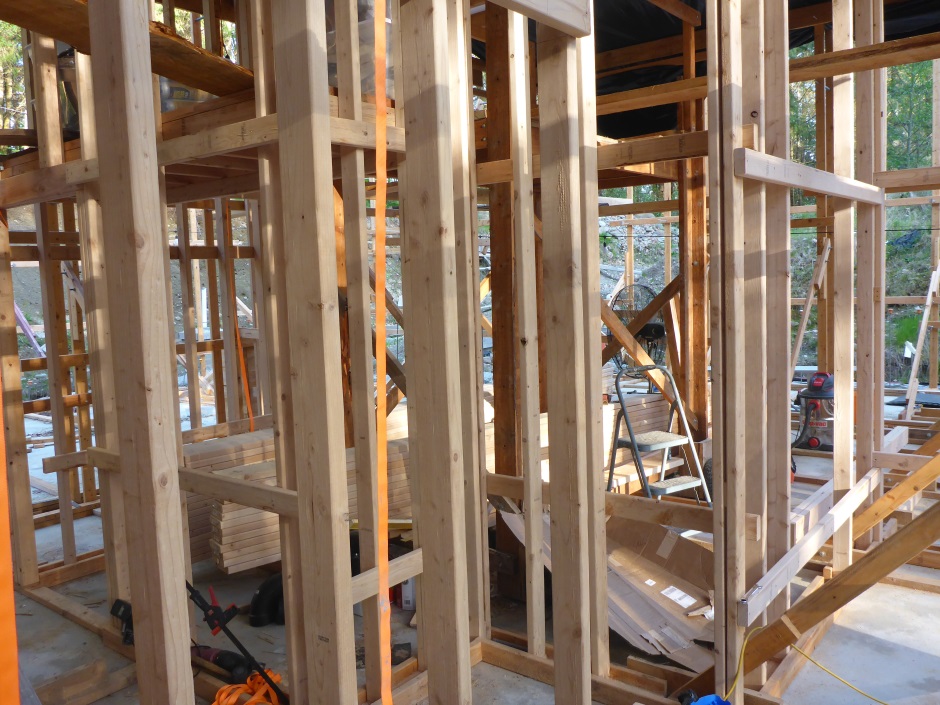
Vertical studs
I plan the positions of the vertical studs to fit in with where I want wall art and where power switches are needed. For wall art you want a 3' gap between studs (3' 1-1/2" on center) and for a light switch a 4" gap (5-1/2" on center).
For walls that go north south, the studs are cut to 13' 7" long for my basement. This is equivalent to 13' 8-1/2" because the studs are raised up by 1.5" due to the U channel.
Put marks on the 13-7" length at 1' 6-3/4", 6' 10-1/2", and 13'4" to help you locate there the horizontals will typically go.

You may decide to leave out some of the verticals at this stage to avoid obstacles and provide access, but in most cases the 3' spacing for the wall art will work for access.
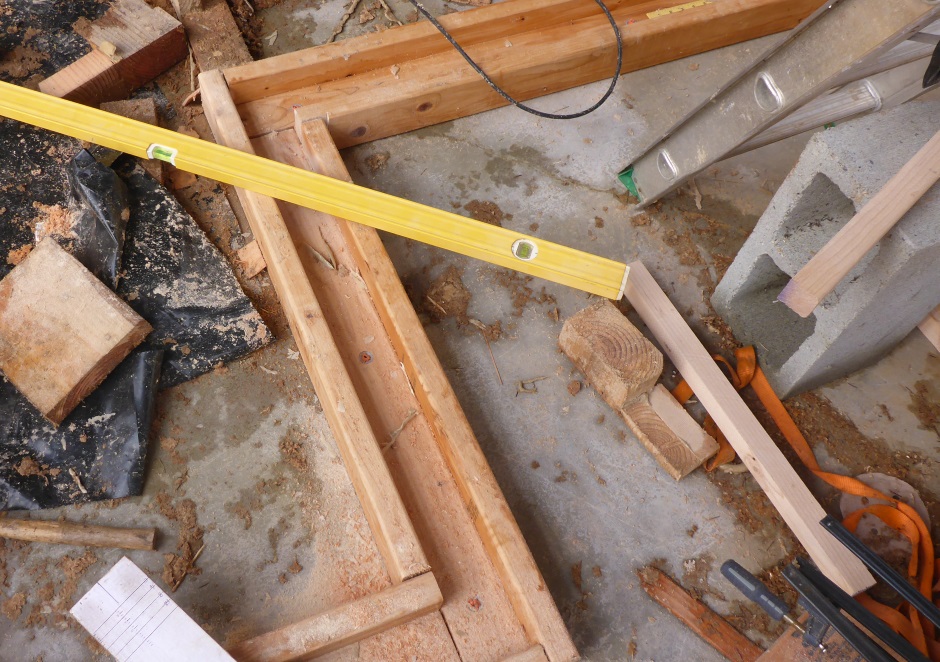
Note that the "slab design height" will have previously been determined by the point on the uneven concrete height adjacent to the outer concrete walls that is the highest. This point was established when building the polystyrene walls. Using the same measuring stick as previously used and your self leveling laser positioned as per previously, determine the height of shim that is needed under each vertical stud to bring it up to the required reference height. The shims go in the U's so you need to adjust for the extra 1.5" of height provided by the U's.
Fit the vertical studs in the specified locations on the appropriate shims.
Horizontals
Make two 2x4 horizontals to hold the vertical studs the exact right distance apart as per the locations shown on your CAD drawings. For the top piece the third horizontal is made from sawmill lumber with a width of 5" as this is used to hold the top beam in place. Use pen marks on the horizontals to indicate where the edges of the verticals should be. Position the middle horizontal to support any mezzanine floor that you want.
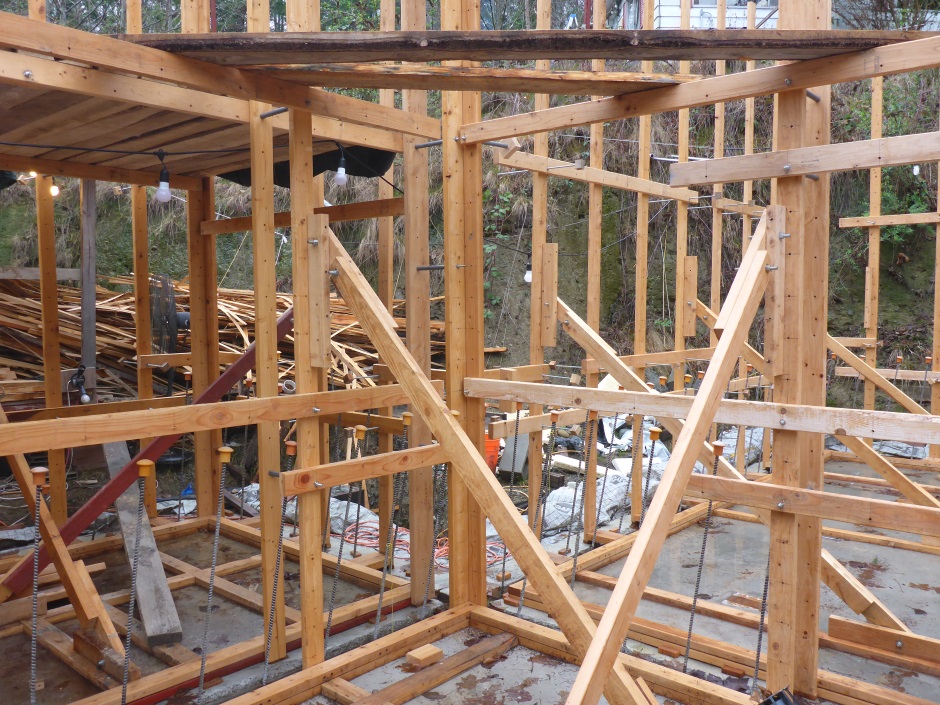
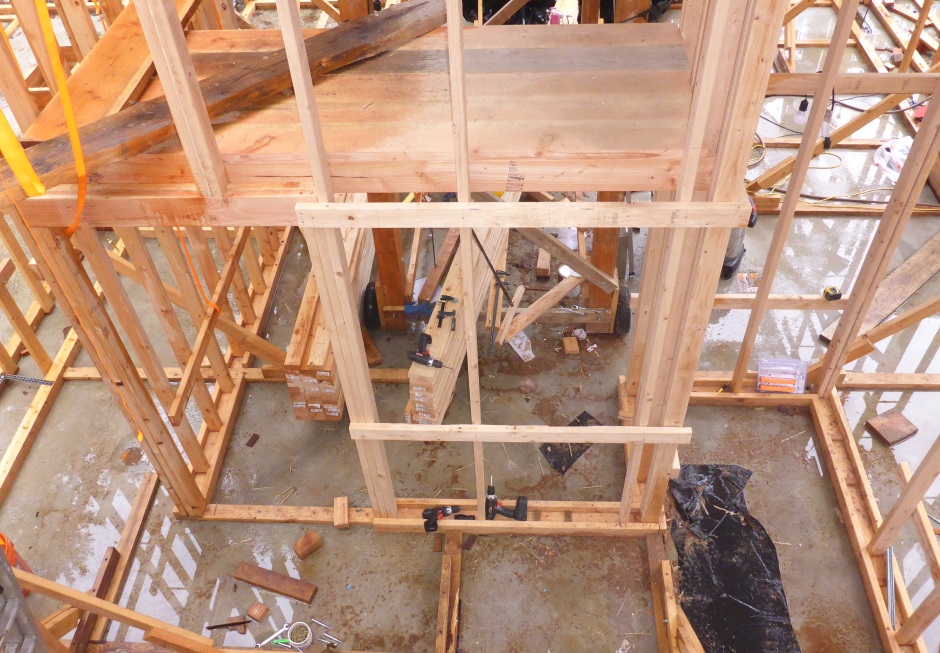
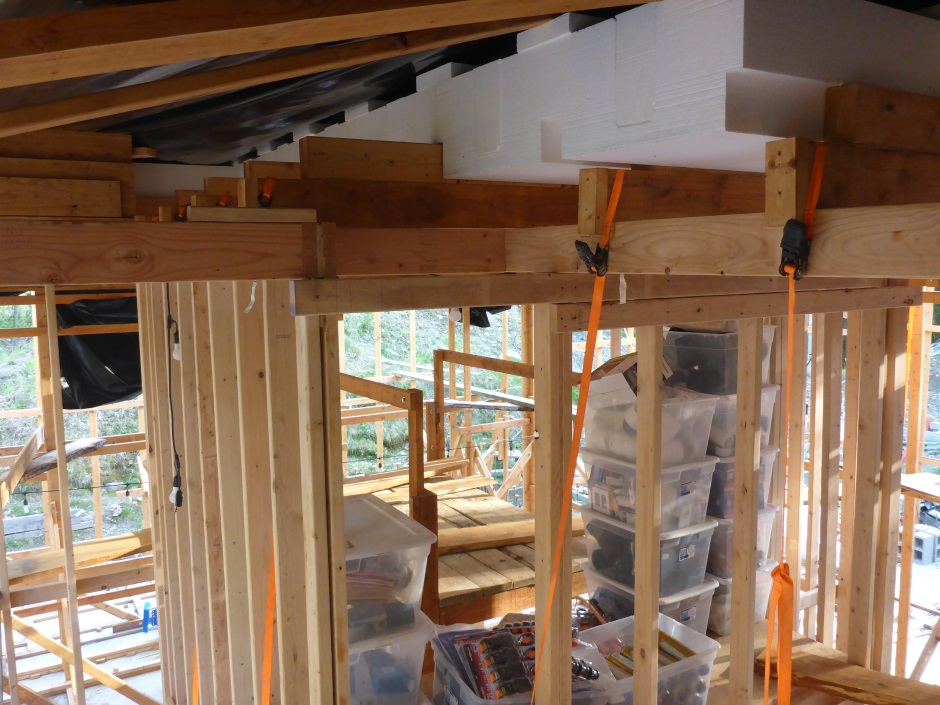
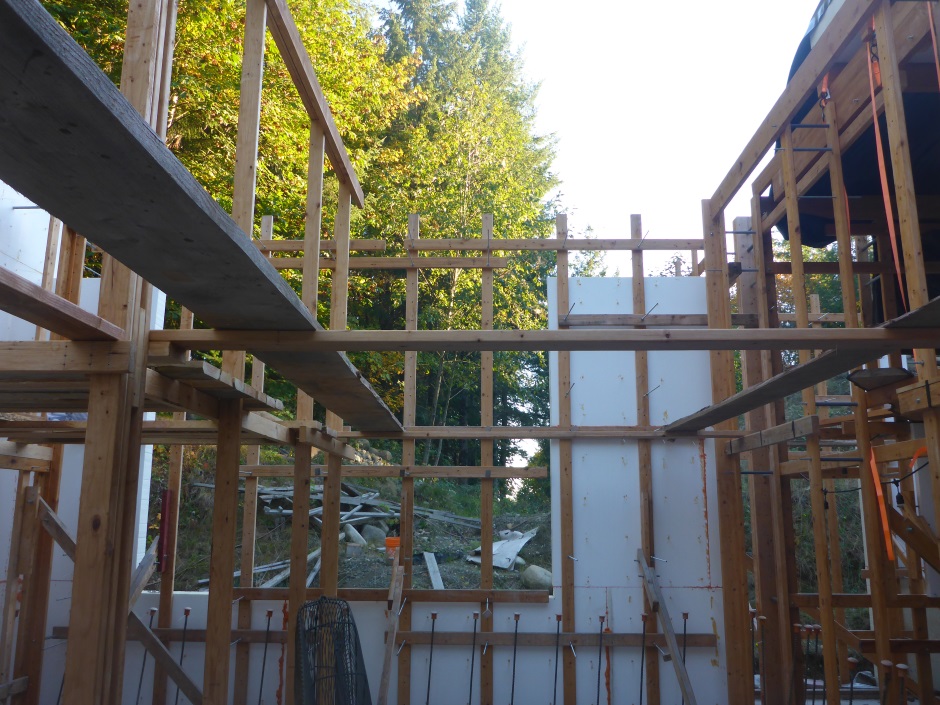
Mezzanines
It is good to implement mezzanines at this early stage in the house construction because they help hold the building dimensionally correct and they form useful scaffolding for working on the upper part of the walls and the ceiling. They can be temporary mezzanines made from ragged substandard lumber and it fact it is good to do them like that as they will be exposed to rain during the construction process. There is no need for a 2x6 support frame and it is ok to have gaps in the mezzanine flooring. What is important is to get the lengths of the floorboard lumber accurate as this holds the walls in the right place. Your CAD drawings will tell you what the lengths should be.
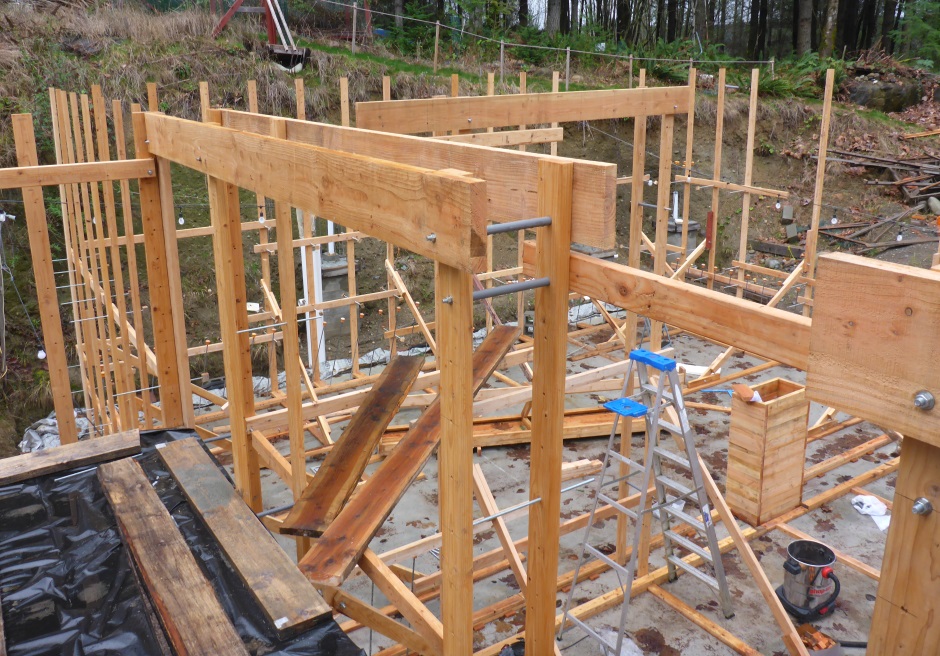
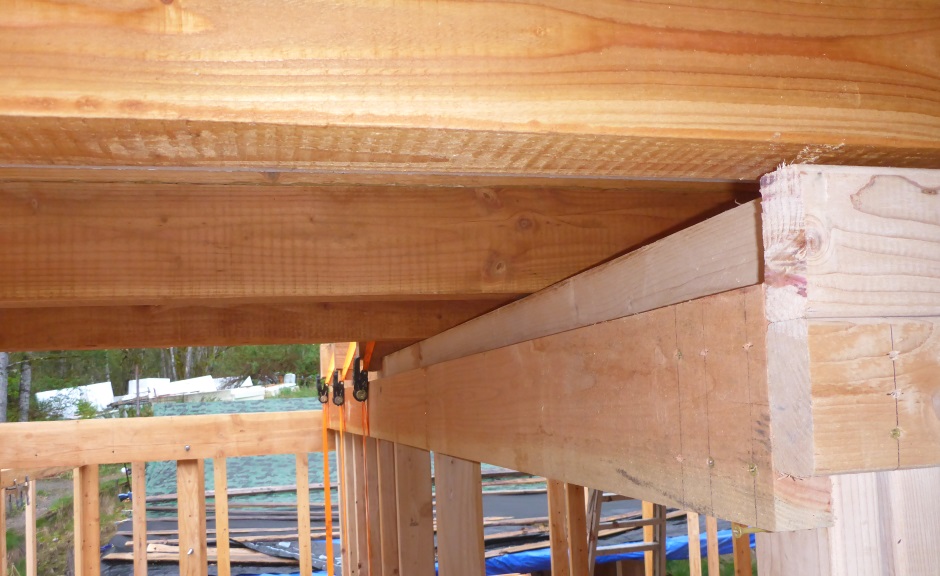
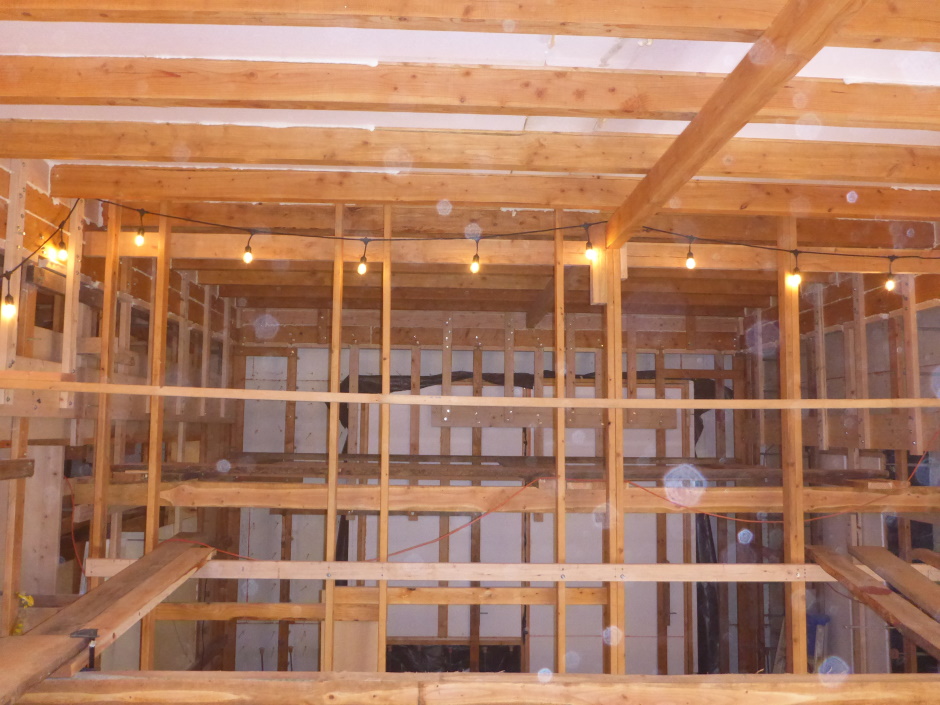
Internal wall top beams
At the top of the internal walls there is a wood beam that is made from two 2x6s with a half inch wood spacer glued between the two. This beam sits on top of the ends of the 2x4 studs that form the internal wall. It is held in place with the top bits of 2-by horizontal wood cladding on the wall. Screw it to the studs and the top beam using 2.5" chrome Kreg screws.


Dimension setting lumber
All the time during the construction you are looking for opportunities to hold things in the right dimensionally accurate place and to generally make the structure more rigid. About half way up the internal wall studs (ie where the mezzanines go) it is good to put horizontal 2x6s accurately cut to the right length. They can go between mezzanines and across to the horizontal batons for the internal and external concrete walls. You may need some creative shimming to ake the 2x6s exactly horizontal.

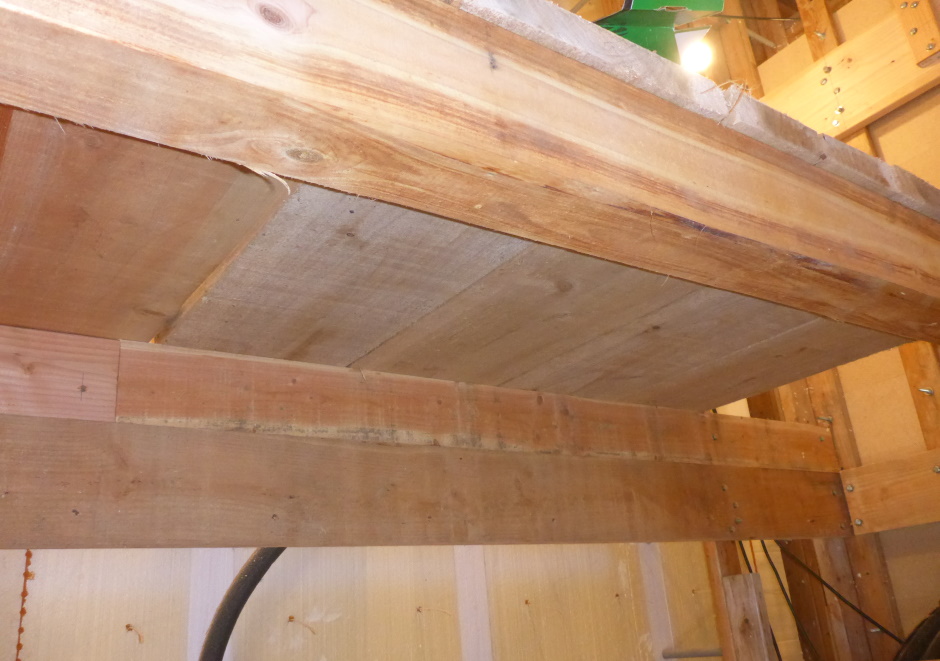
Top beams between internal wood walls
There probably won't be north south internal wood walls under all the ceiling beams. To bridge any gaps it is good to use a solid 3.5" x 5.5" wood beam (eg cut on the sawmill). It could be made from a couple of 2x6s glued with a 1/2" spacer, but given that the beam will be permanent and visible it good to make it visually appealing.
The required lengths of course come from your CAD drawings.
You will want more of these beams if your internal wood walls run mainly east west.

Halfway up beams
Internal Columns
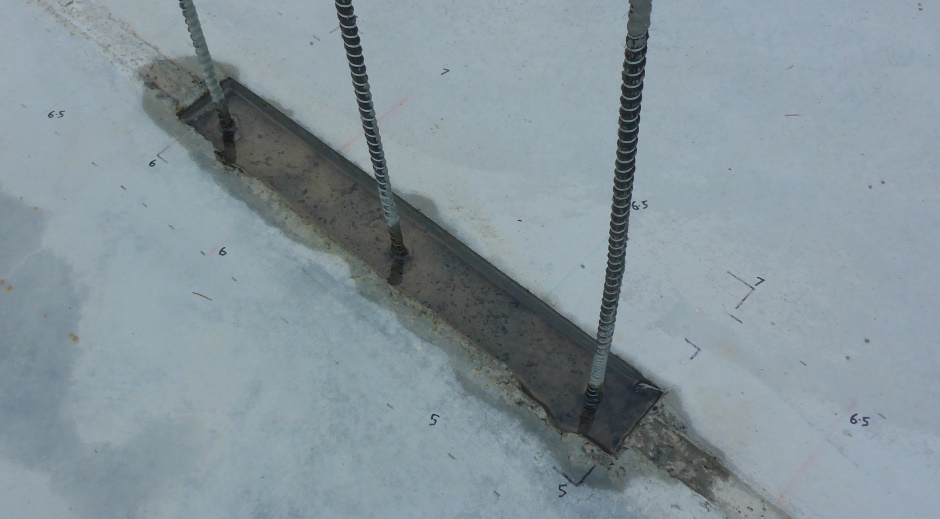
Sometimes in the structural house design it is necessary to provide a little more support than a short length of regular concrete wall can provide. I use 2 foot x 1 foot rectangular columns in two places in the basement. These are formed using sawmill sawn lumber as it makes a nice pattern on the formed concrete. At the base it uses a short length of key notch in the slab.
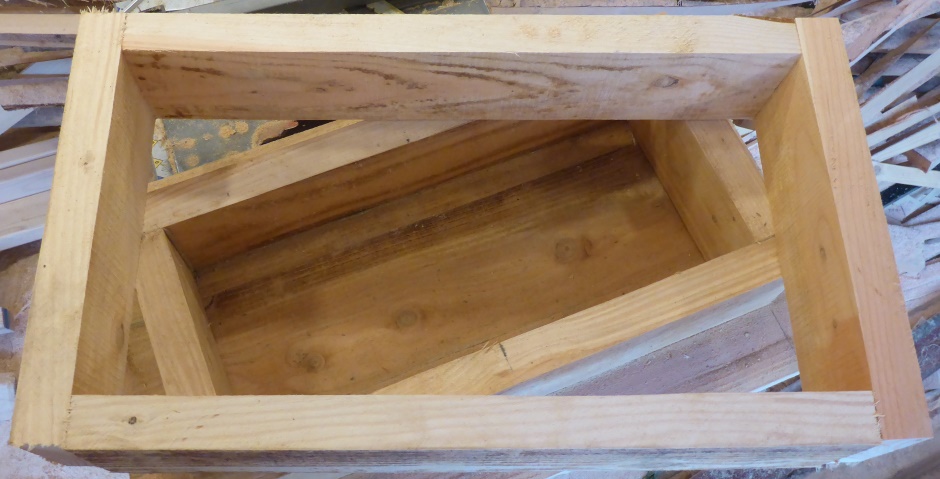
To make the rectangles of wood, use a jig as shown below.

The lumber used is 5" wide (for consistency).
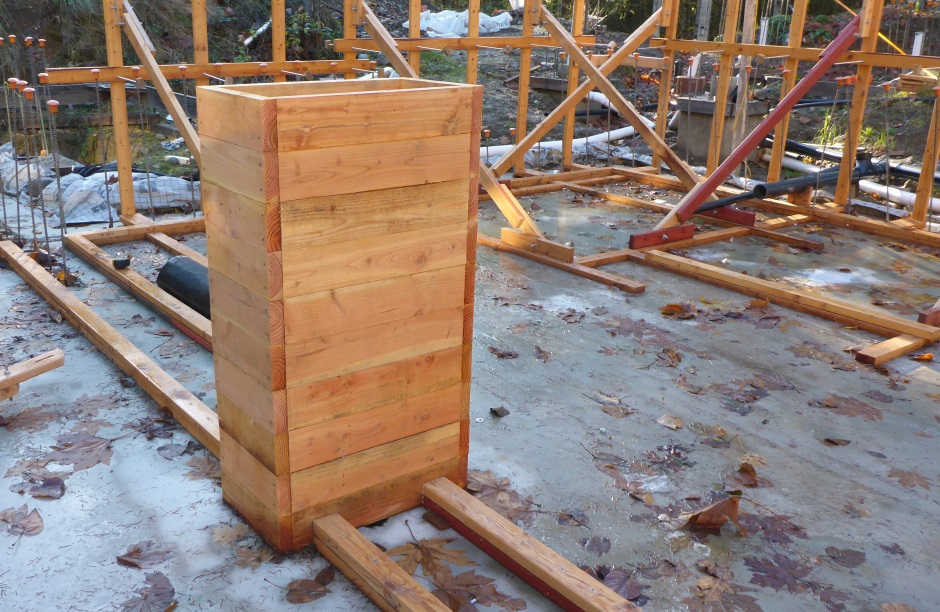
Pile up the rectangles to the required height to form a column. Note you will need to later do some disassembly of the rectangles to fit the rebar.
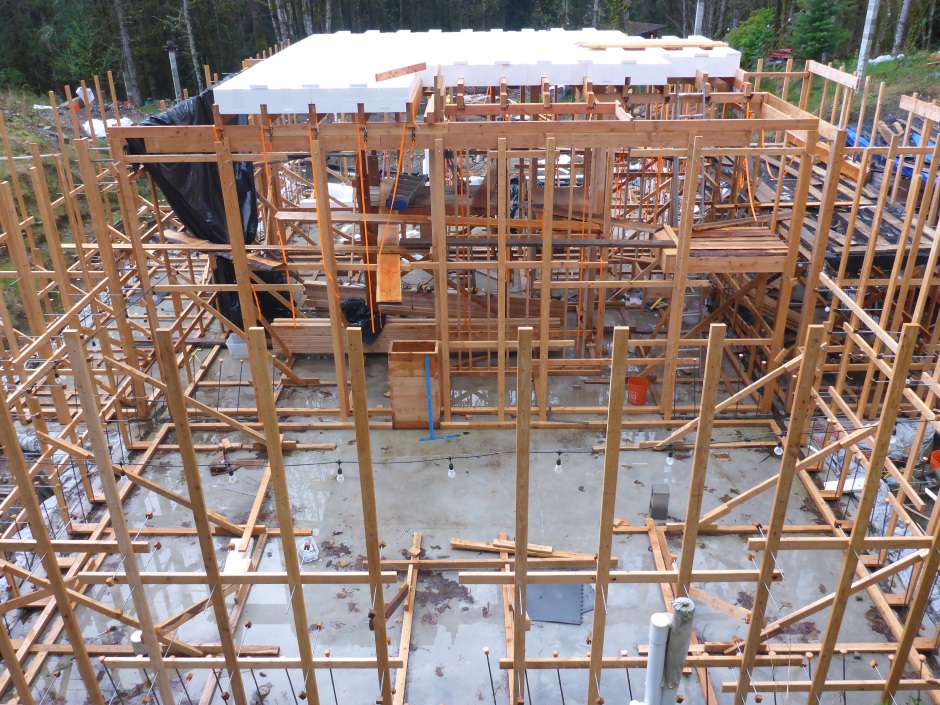
The story so far
At this stage you should have the entire house outline (the outer edge of what will be wall concrete) done in exactly vertical 2x4 batons spaced 2 foot apart (with variations at the center of wall sections) with angled bracing about every 6 feet. The internal vertical 2x4 batons have threaded rod at many strategic locations ready to accept the EPS.