Home Site Map - Techniques - Plot Infrastructure -
Rain Water System - Reservoir Tank
![]() To tide you over during the summer months it is necessary to have
lots of rain water storage capacity.
To tide you over during the summer months it is necessary to have
lots of rain water storage capacity.
Water storage reservoir tank
Make your own tank
You can use purchased plastic tanks, but my preferred method is to make my own storage tank in the ground.
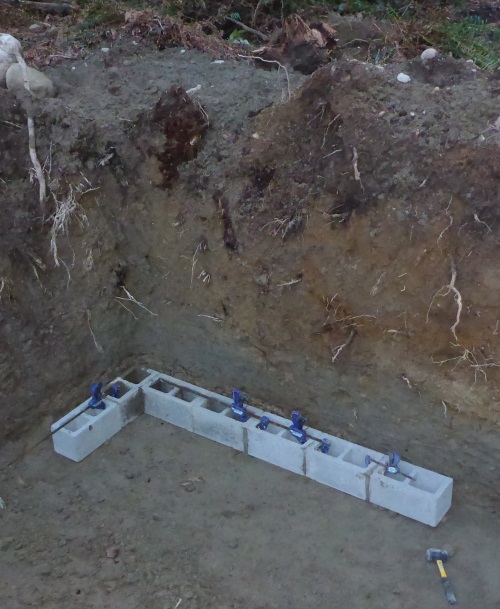
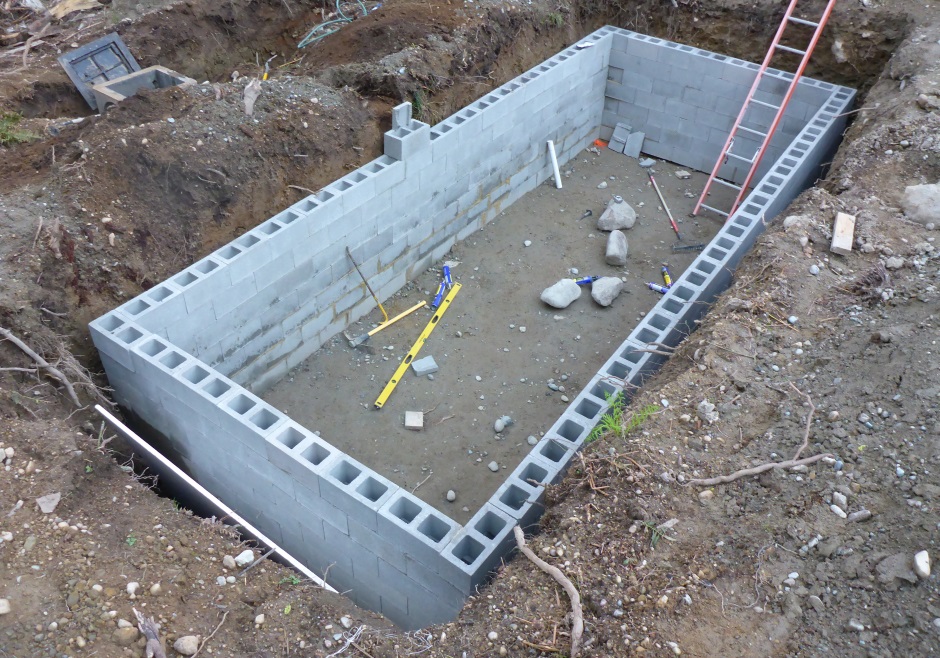
Dig a hole in the ground. I chose to make my hole 22' long x 10' wide x 6.5' deep. With the walls round the outside an a bit of a gap that makes a storage volume of 20' x 8' x 6', which is 960 cubic feet, which is just over 7,000 gallons.
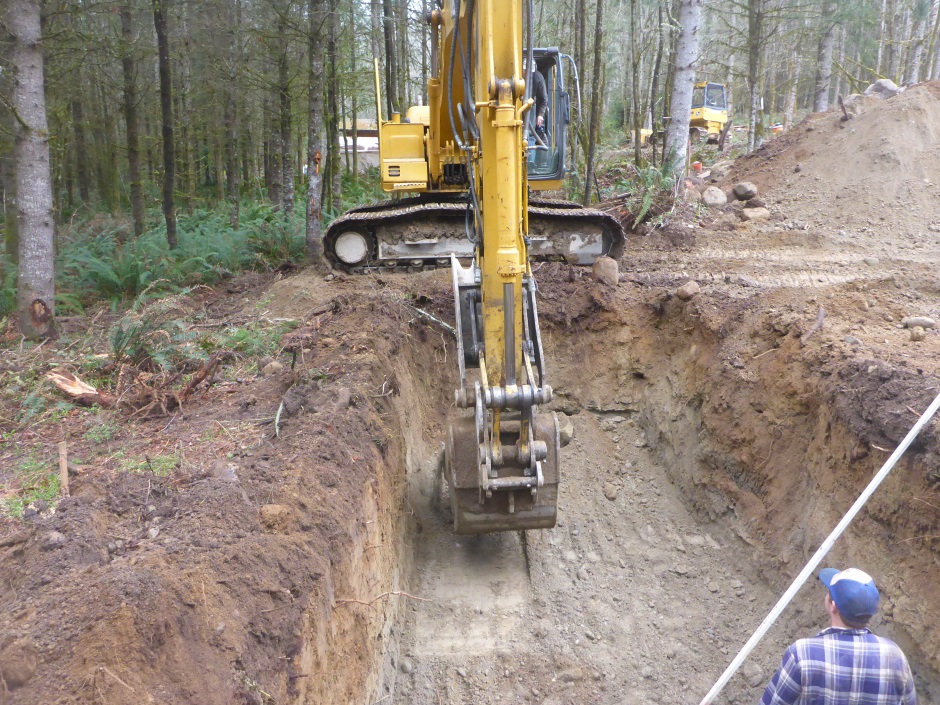
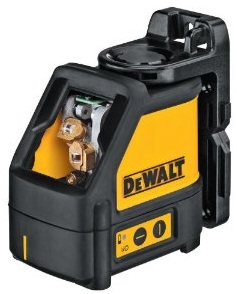
With a spade and some manual labor, get the bottom of the excavation level. Use a self leveling laser to accomplish this. I typically use a section of white PVC pipe with a line drawn with a felt pen at the height that the laser beam is at. The bottom of the pipe is the required standardized soil level under where the wall will go.
 Details here .
There are plenty of ways to implement an expensive concrete tank in the hole, but the name of the game is trying to achieve the highest volume of storage for the lowest cost. I chose to use low cost concrete blocks (CMUs) from the local HomeDepot store as they are only $1.32 each (98 cents when on sale).
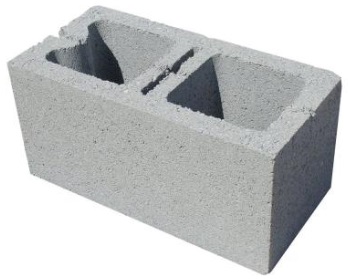 Concrete
block 8x8x16
Concrete
block 8x8x16Concrete paving slabs are also used to form the floor. It is important to have a floor as this stops the walls being pushed in by backfill side forces.
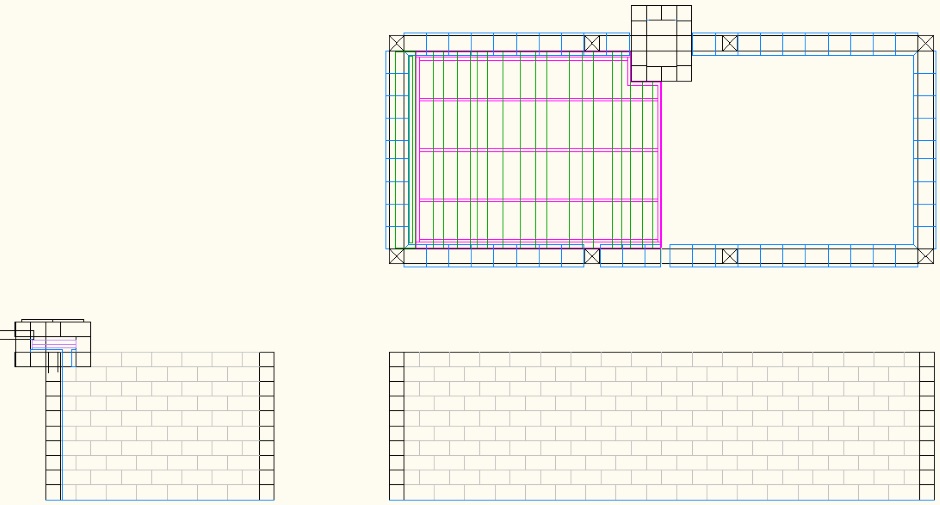
Build walls round the inside of the excavation by gluing together concrete blocks using PL-Premium construction adhesive . You only need to put a bead of adhesive on the top edges with a couple of blobs between adjacent blocks. Arrange them in a staggered overlap brick configuration.
A nice thing about using adhesive is that it comes in a convenient tube rather than you having to mix mortar all the way through the build process. Even better is the fact that adhesive works in tension and compression rather than just compression. This means the entire wall acts as a beam. This means you do not need a footing. You can just build the wall directly on the soil, using a laser level to get it horizontal purely for esthetic reasons.
Depending on the size of tank the walls may be strong enough using just the adhesive. You can get more strength by buttressing with more glued concrete blocks and by using a concrete paving slab floor. If you really decide you want more strength then you can pour concrete into the cavity of the finished wall and even add some rebar for more strength, but you will find it is not necessary.
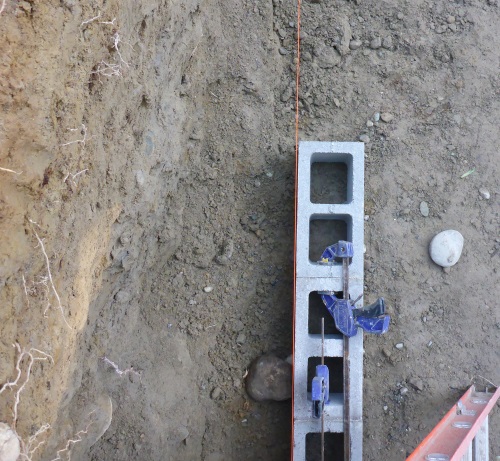
A negative with using adhesive is that the blocks are somewhat irregular in manufacture and there isn't 3/8" of mortar to take up the variation. They are also slightly tapered so they can be got out of the mold. I find it best to always put the smaller end down. This often leaves a slight gap between blocks but that's ok because you put the blobs of glue at the top.
The first row is done by gluing the ends of blocks together. Use clamps to hold them together as the glue dries. Use a self leveling laser to get them all the same height. It's ideally a multi-day process so the adhesive can dry between adding blocks.
Use a taught string to get the wall straight.
Despite what the following pictures show, it is actually best to build up the wall height fairly evenly so you are able to measure across the diagonals of the rectangle to make sure everything is square.
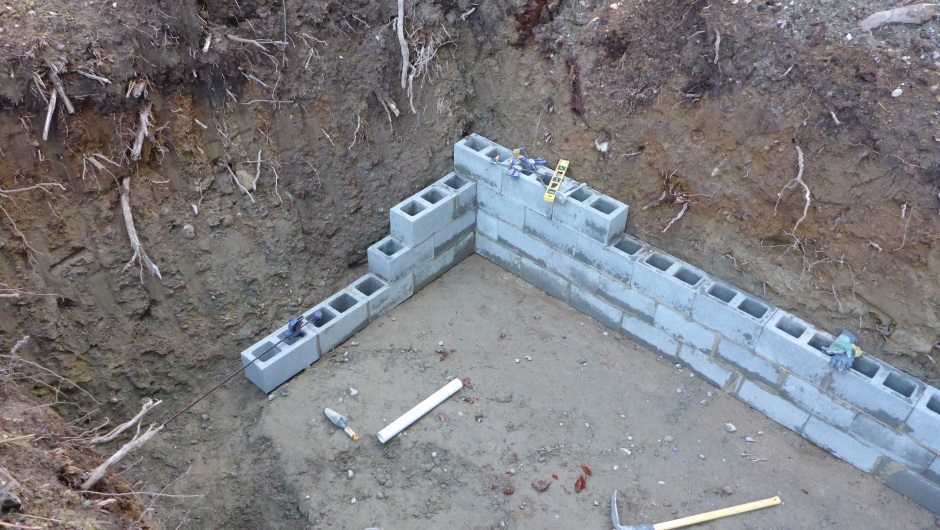
Rows after the first row can be added quickly as there is no need to let the adhesive dry between blocks. Keep checking with a self leveling laser and a tape measure along the walls and across the diagonals to make sure the walls are going up approximately true. You can chip away at the concrete blocks or add small spacers between rows to correct any errors, but things only need to be approximately right.
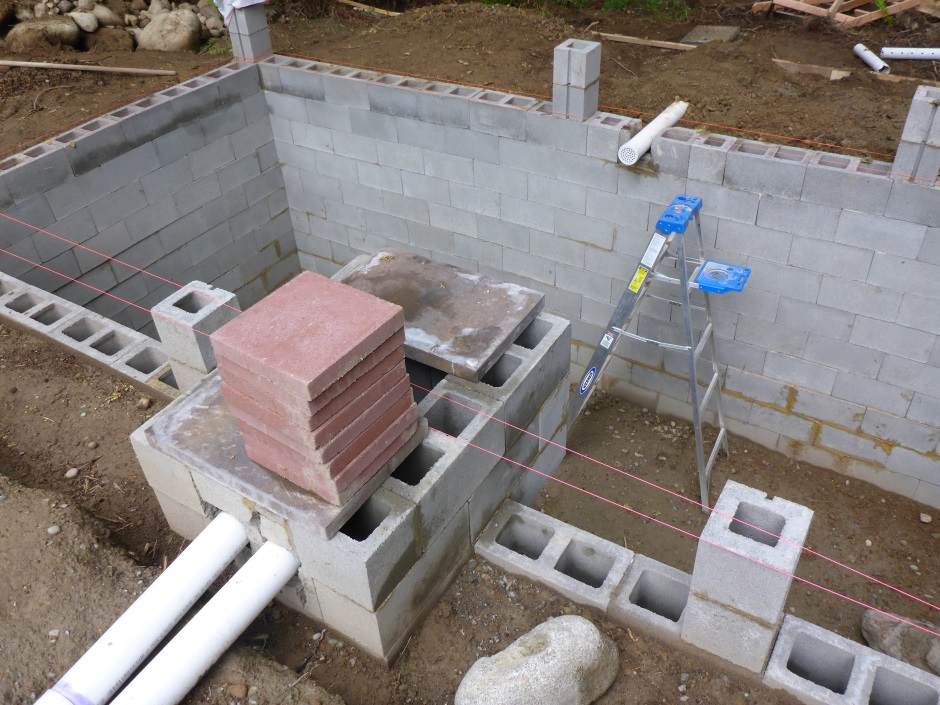
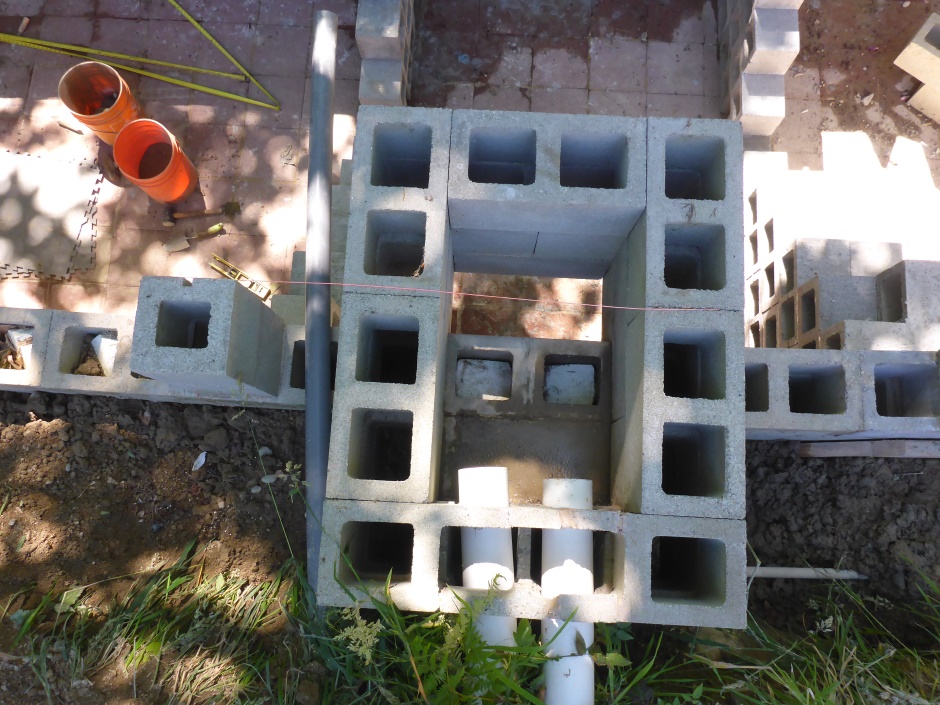
Add the filter box for the incoming pipes.
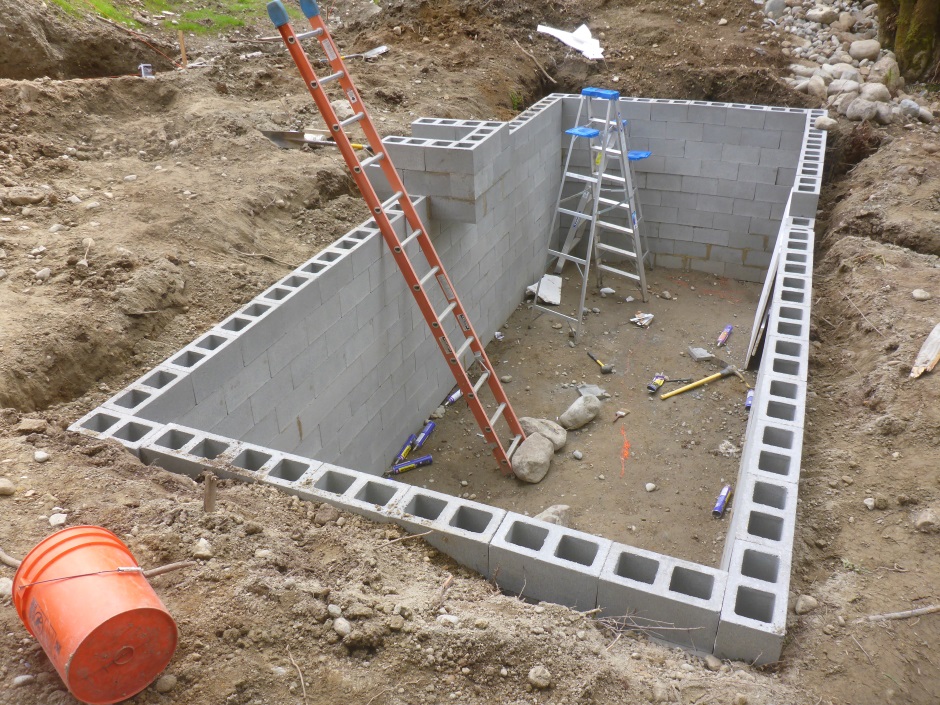
At the corners it is good to build posts as per external lampposts .
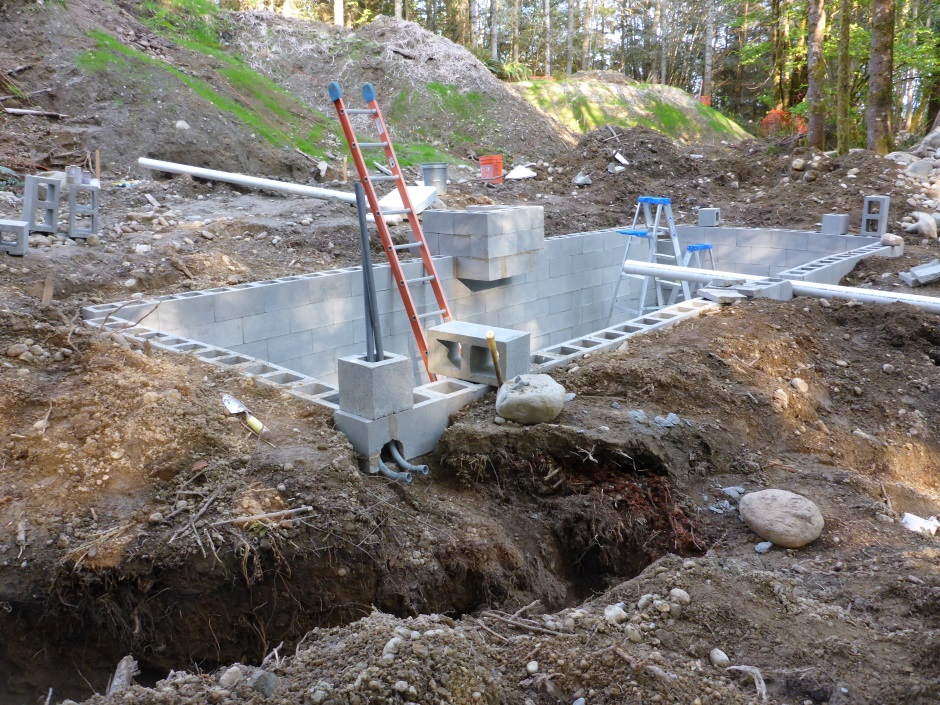
Having eight posts is good because it allows for a roof above the rain tank.

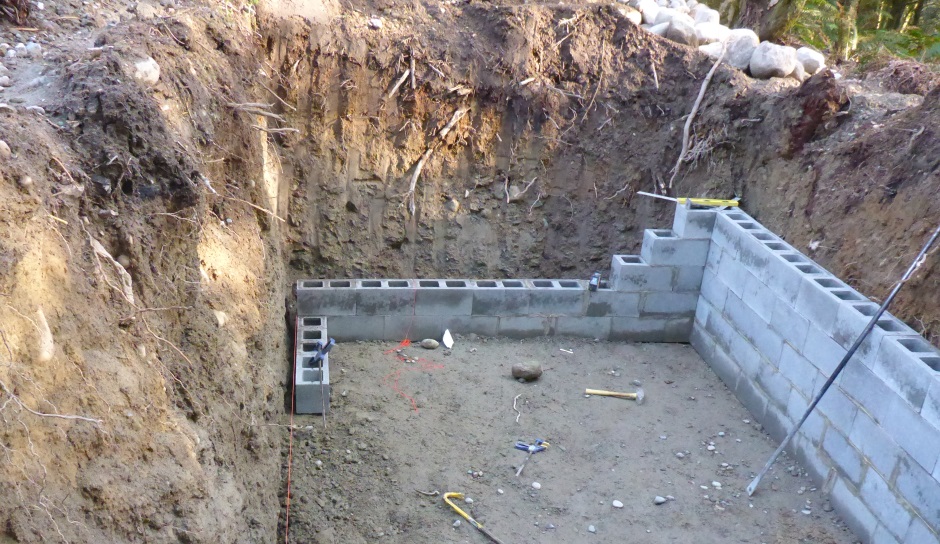
The following pictures shows the walls buttressed with additional concrete blocks. It also shows the floor done with glued concrete paving slabs.
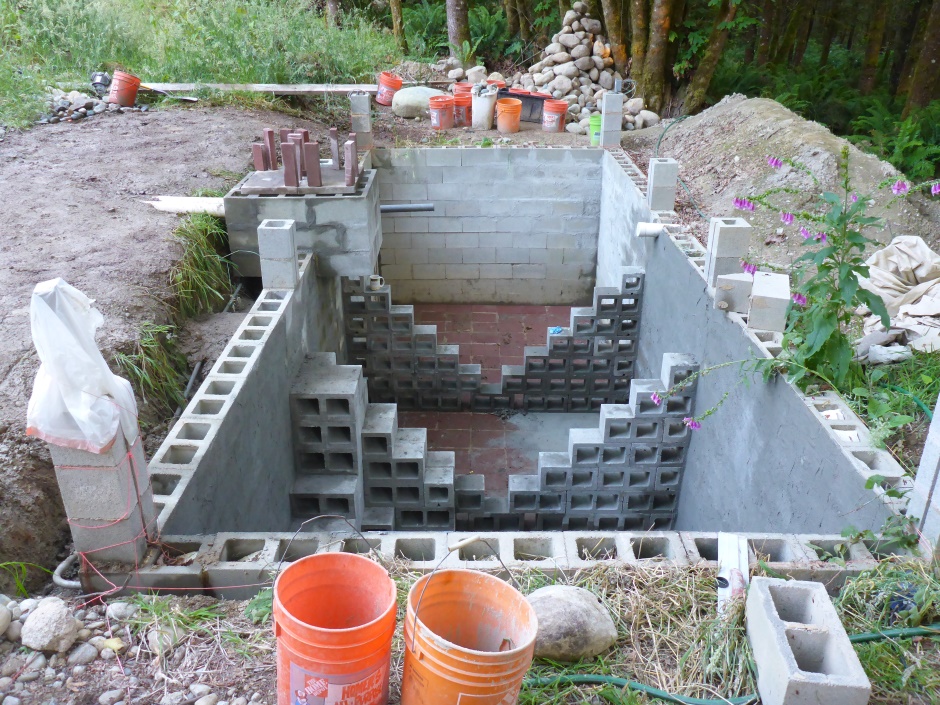
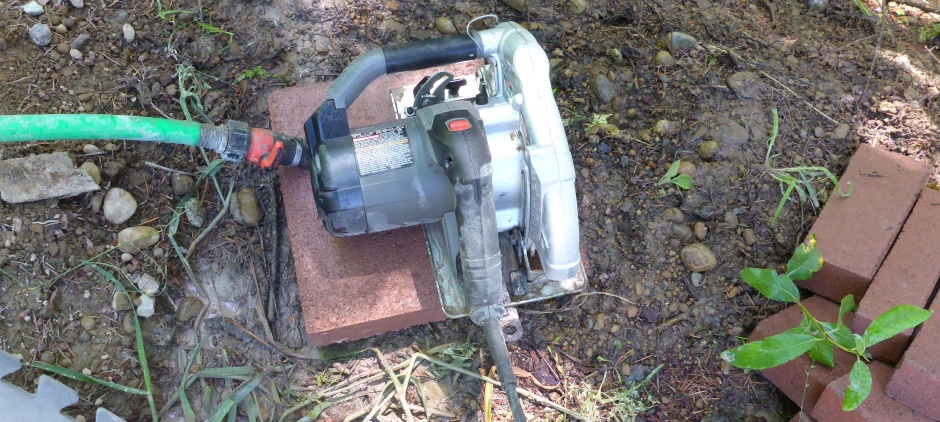
You will need to do some cutting of paving slabs to tightly have paving slabs over the whole floor area.
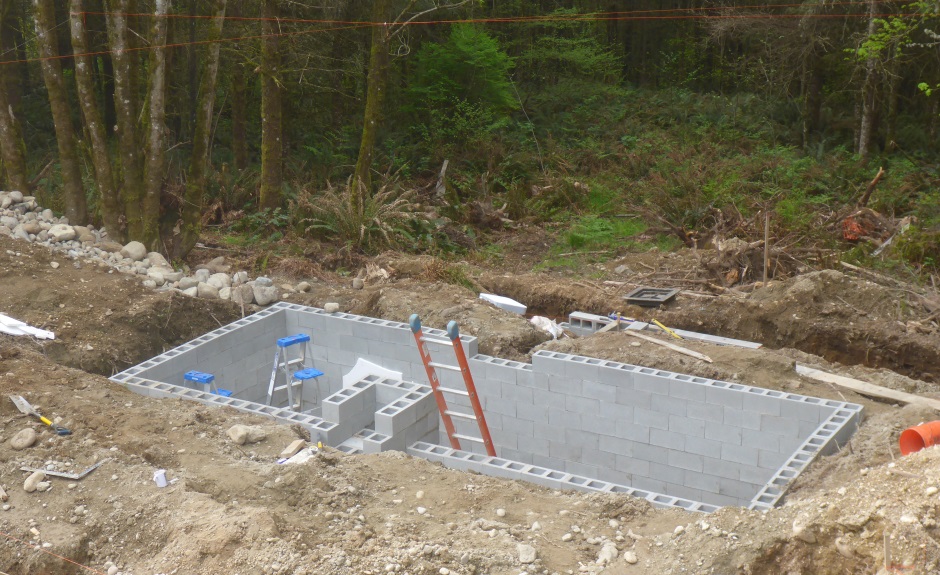
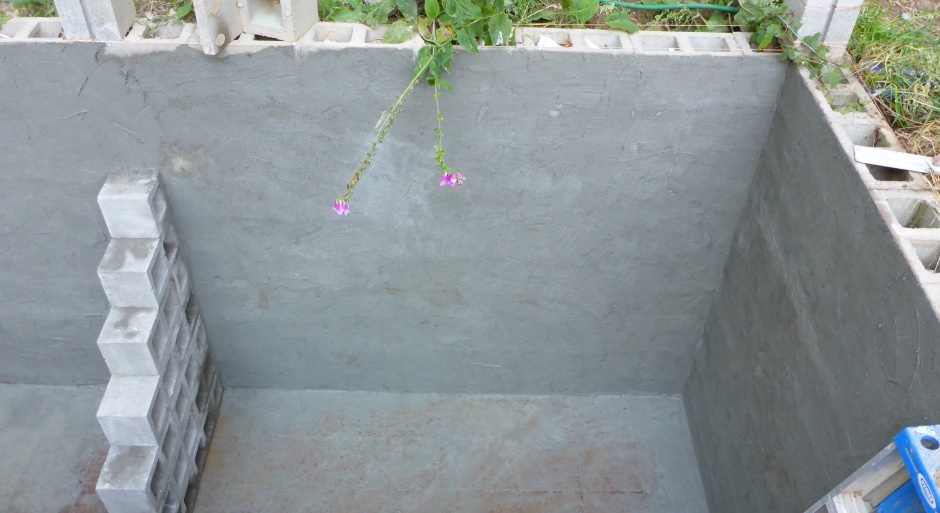
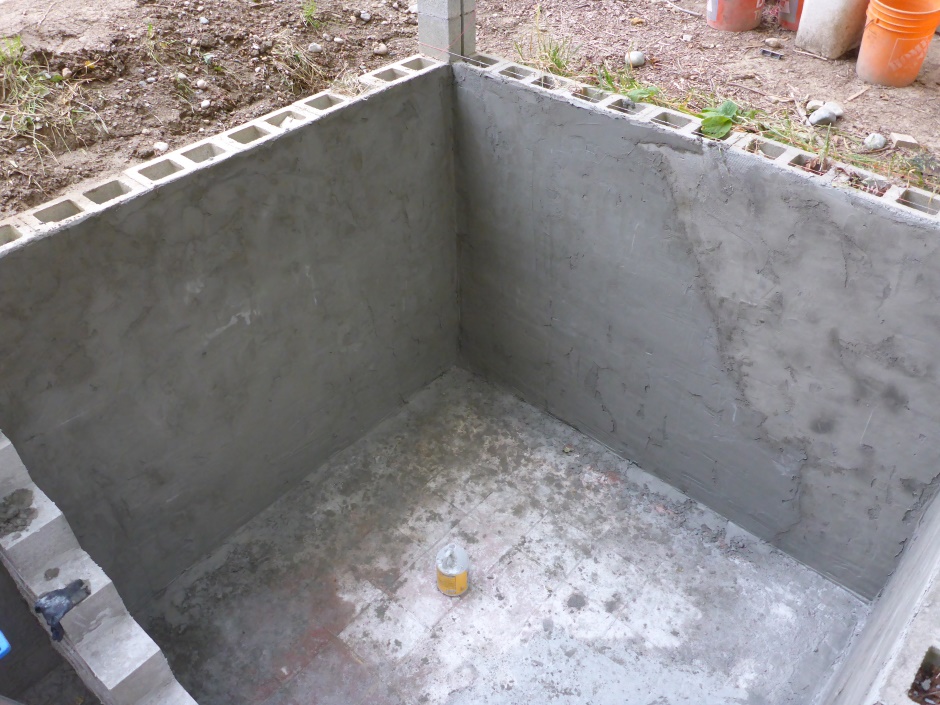
The next job is to use type S stucco mortar on the walls and floor.

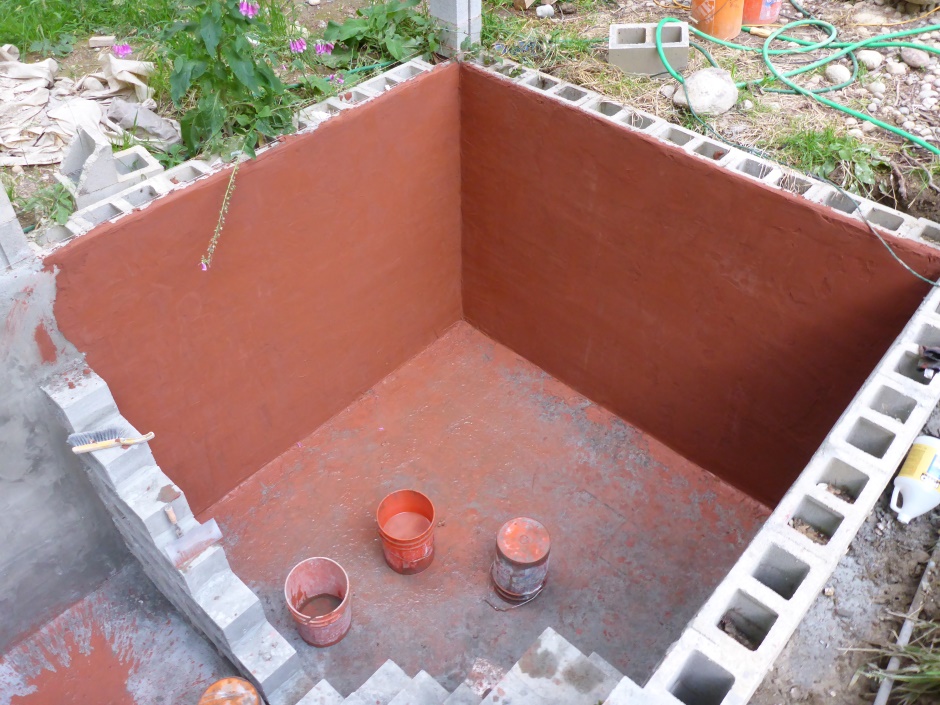
If you want you can color the stucco for the final layer of stucco, but you can leave the coloring to the waterproofing paint.

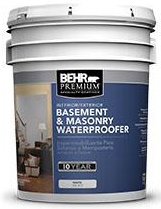
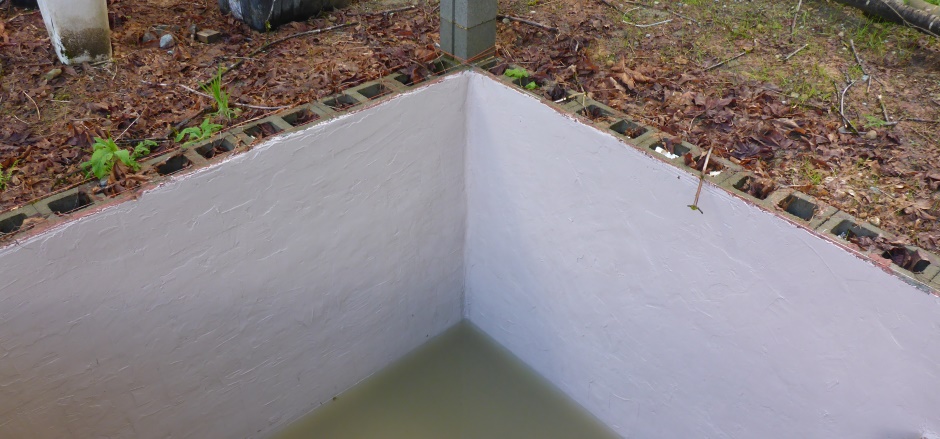
After putting stucco on the walls, paint on waterproofing paint .
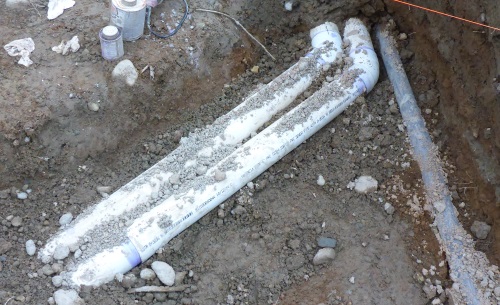
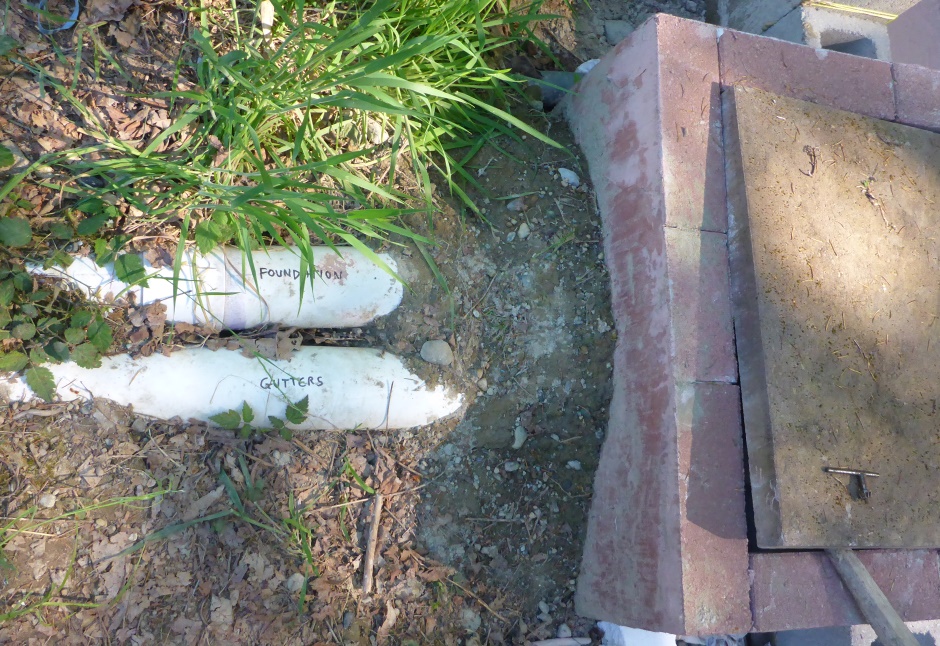
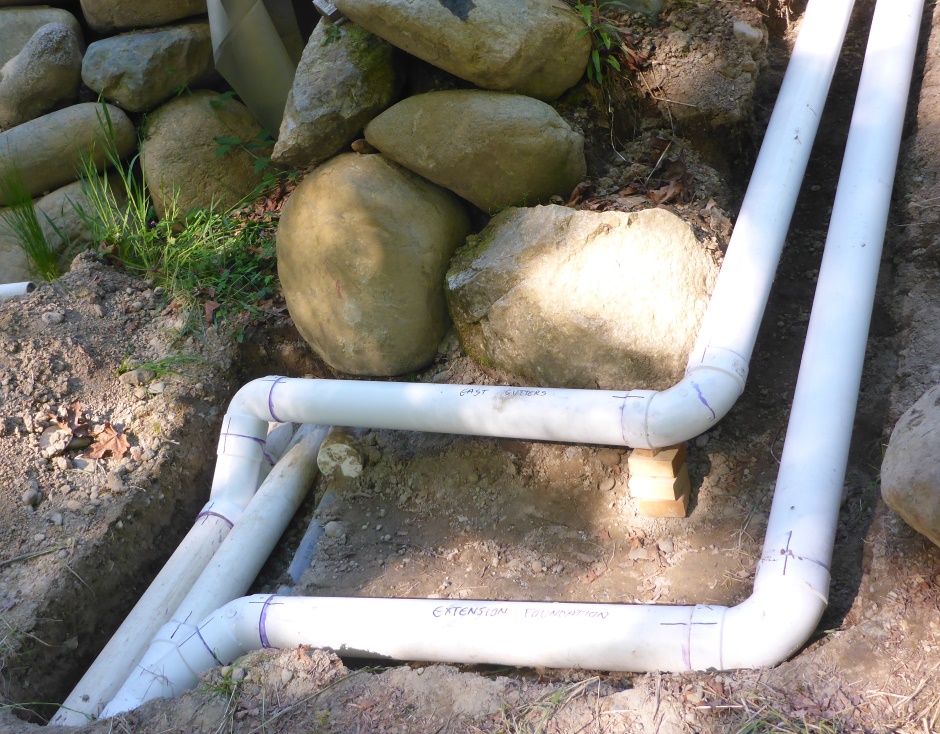
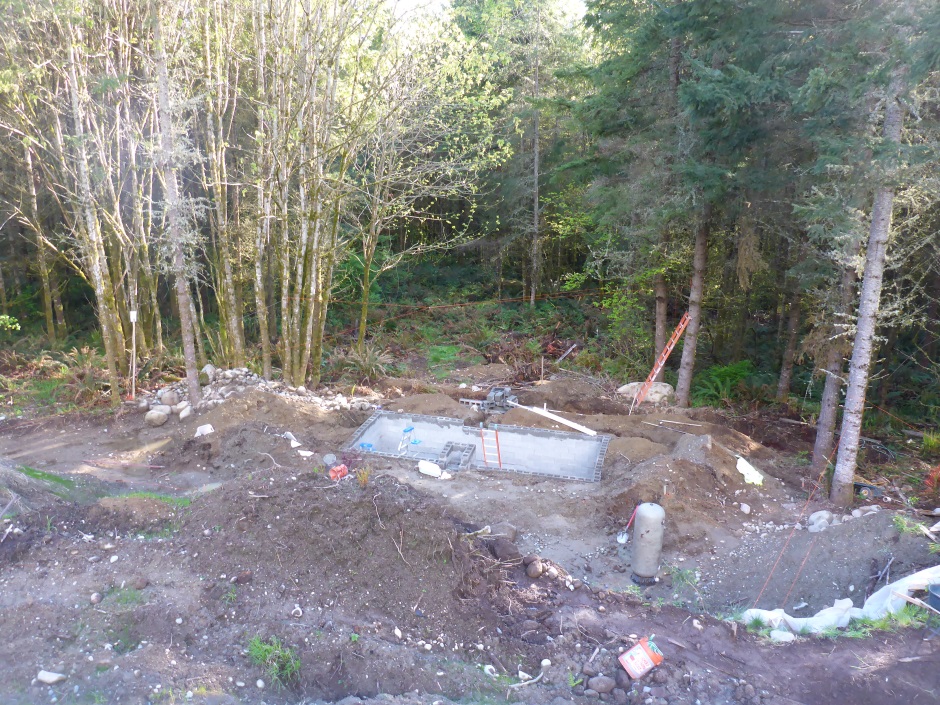
I have two pipes that supply rain water. One collects all the gutter water and one collects water from around the foundations. It is good to keep foundation drainage separate from gutter water so even under blockage conditions no gutter water can get to the foundations.