Home Site Map - Steps - Foundations -
Prepare Site - PreExcavation
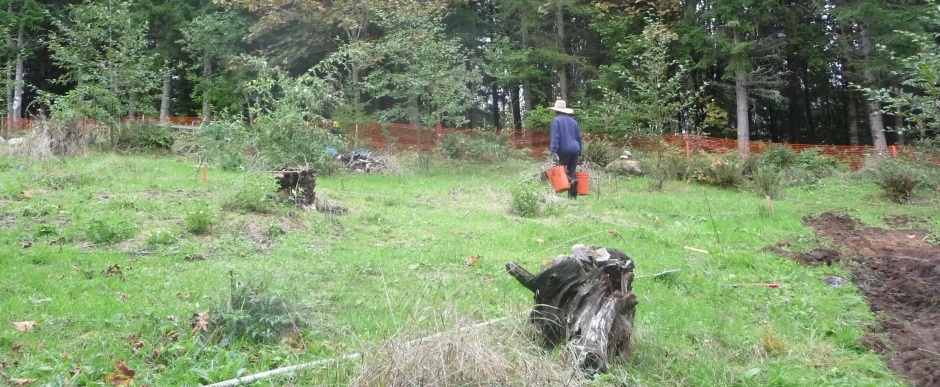
![]() There is plenty to do before the heavy equipment moves in.
There is plenty to do before the heavy equipment moves in.
Get utilities marked
Free service
Before doing any digging it is important to know where any underground utilities are. For public utilities this is a free service provided by the city. They spray paint lines onto the ground. You need to be particularly careful that you don't hit an underground electrical cable as that would be particularly dangerous and may land you up in court. If you have a private Well and/or a septic then it's up to you to figure out if you are going to hit one of your own pipes. Try to do some trial digging with a spade to find water pipes. If you are not absolutely certain where the buried electricity lines are then turn the power off before digging.
Here's a trial trench I used to locate water pipes and electrical conduit...
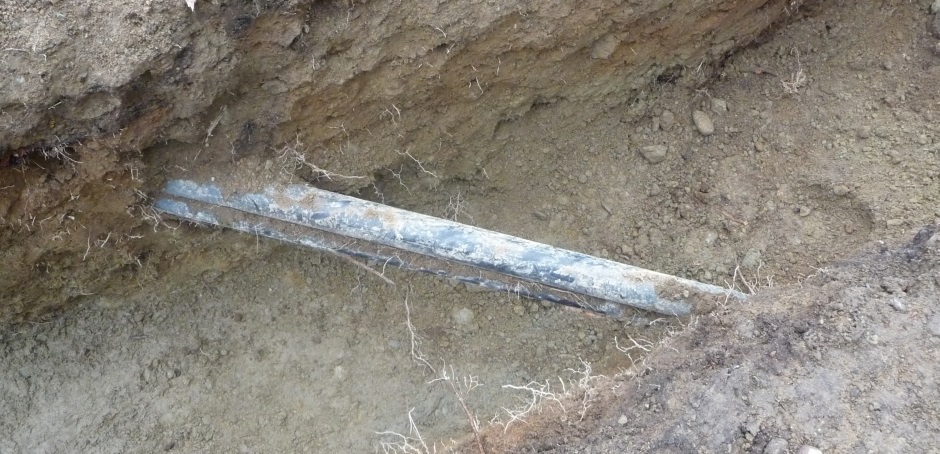
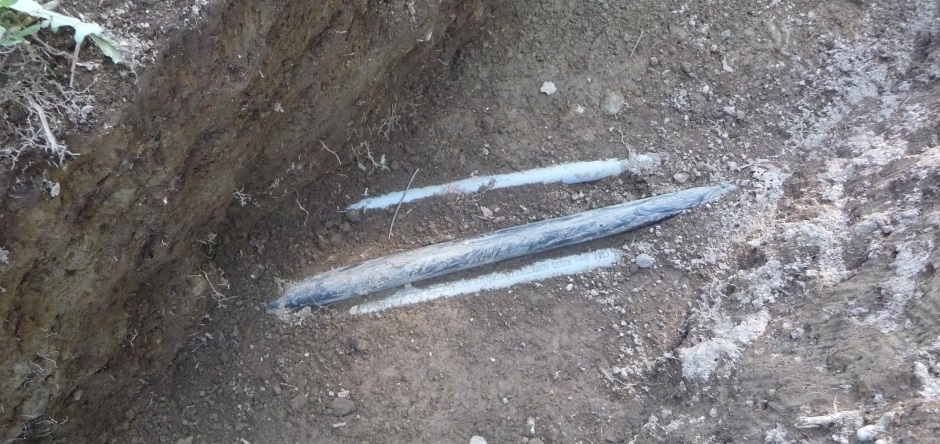
After finding the pipes, mark the estimated path on the ground using colored spray paint.
Establish reference height for the excavation
Figure it out from your drawings and a laser level
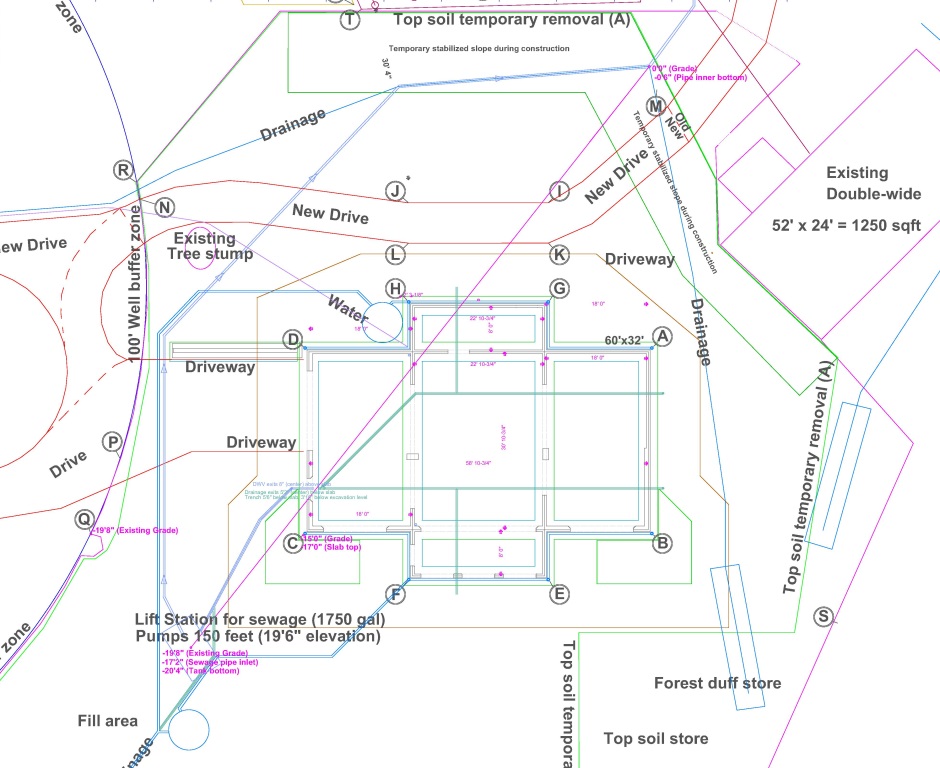
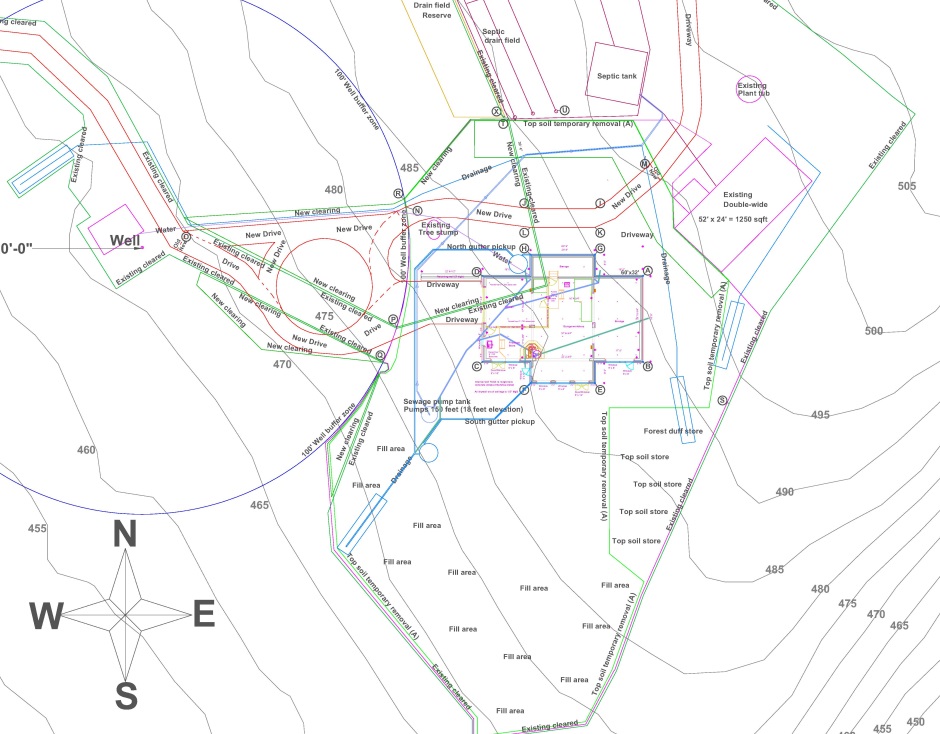
On the plot map, draw a line that best reflects the direction of the slope, ie a line down the slope at its steepest point, perpendicular to the contours. I call this the "slope gradient line". In my case that happened to correspond to line from the septic system intake down to the position where I plan to put the sewage pump tank. The slope gradient line is the purple diagonal line in the diagram below.
To establish accurately the slope gradient, place a laser level on a flat surface at the highest point and shine it along the slope gradient line. Measure down from the laser line at the various points of interest to establish the existing grade levels.
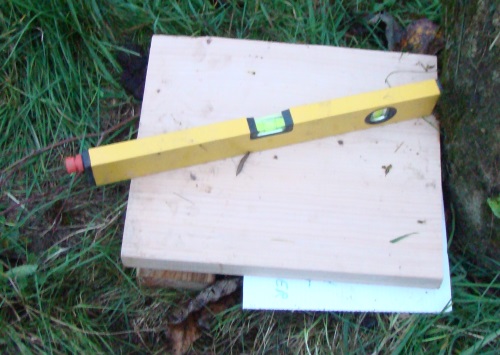
Using a stick with a white piece of card on the end is a good way to be able to see the red laser dot.
Draw this on a cross section diagram. Also decide what you would like the grade to be and draw that on the diagram.

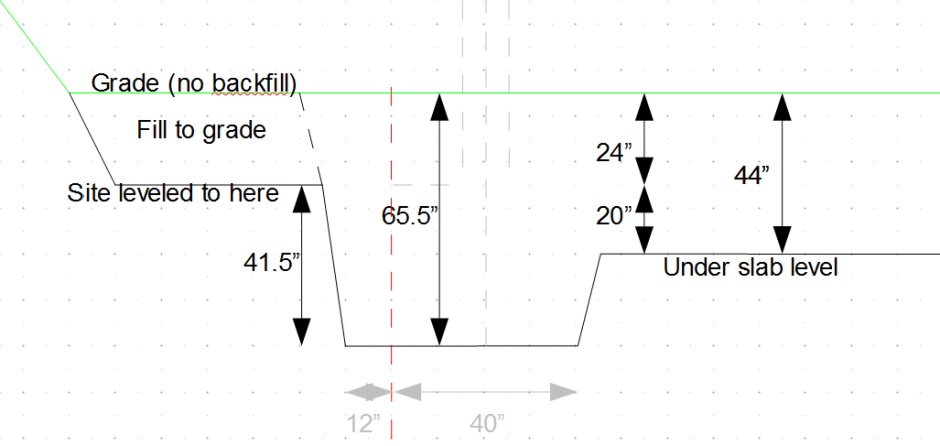
It is assumed that you want a flat house site. The first stage of excavation will be to cut down to a level that will correspond to the top of the slab. This is 2'2" below grade level. In the diagram below (that shows the profile for the footings), the green line represents the new grade if you are not doing any backfilling (which is 2'2" above the site leveling excavation).
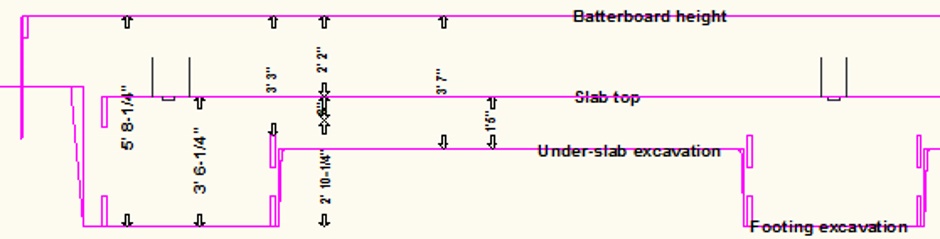

Here's the equivalent drawing I used for the evaluation building...
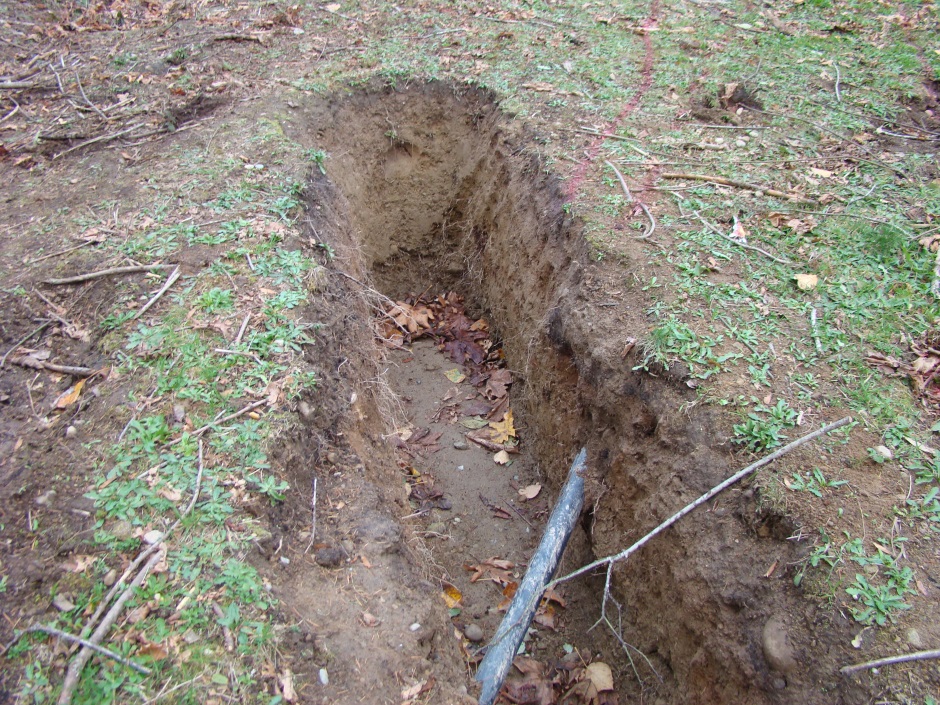
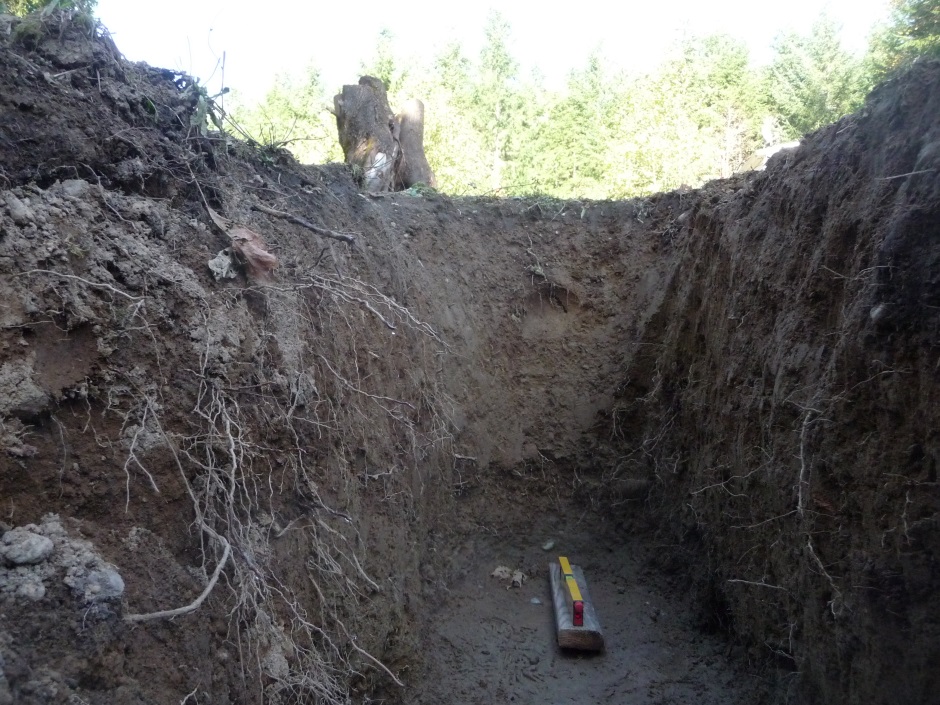
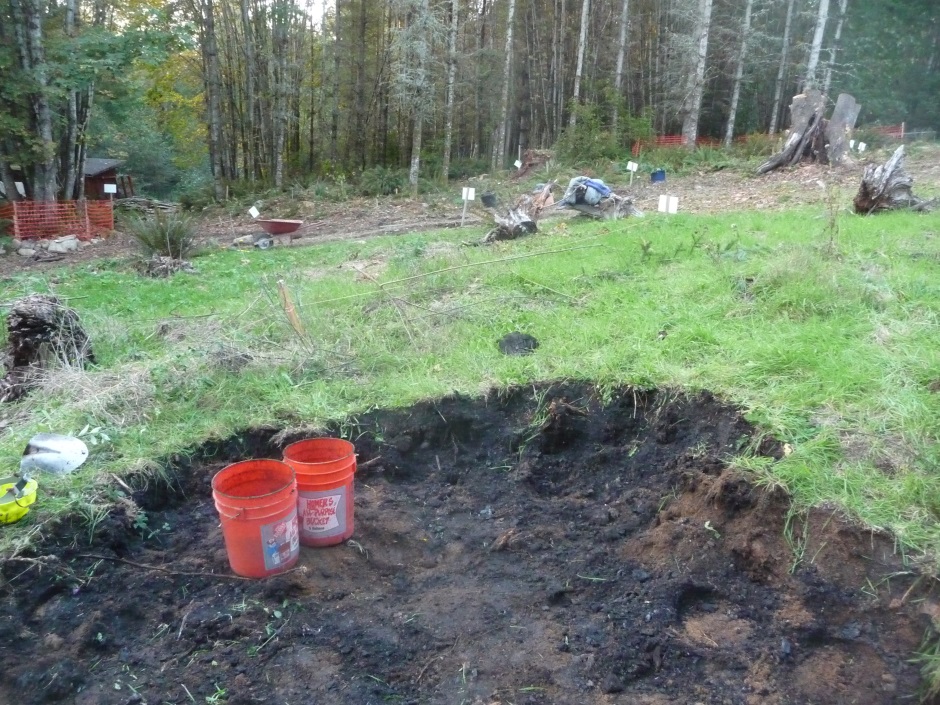
Dig an excavation reference hole
Find the lowest point on the plot where there will be a house wall. If you have drawn the gradient line correctly, it will be the where the lowest point on the line cuts through a house wall.
Dig a hole at that point down until you hit good solid soil. In my case I was looking for the level at which the "Light gray Tokul" subsoil started. Certainly it wants to be well below any organic soil.
The bottom of the hole will be the reference point for the first phase house site leveling excavation. You will be asking the excavator guy to make the whole house site be level with the bottom of this hole.
It is possible that you might decide to set the reference level a bit lower if there are additional factors. These factors may include, bad soil conditions, a desire to sit the house lower for esthetic reasons, a desire to have the basement 51% buried so it does not count as a story, etc. In my case I was happy to do it as per the reckoning described above.
Here is a picture of my reference hole...
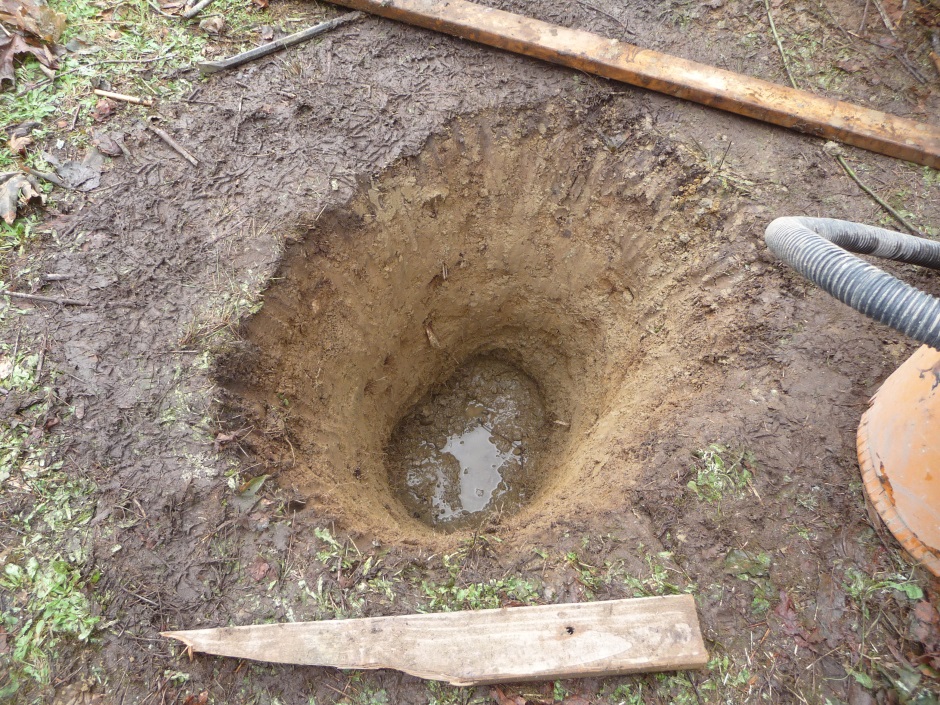
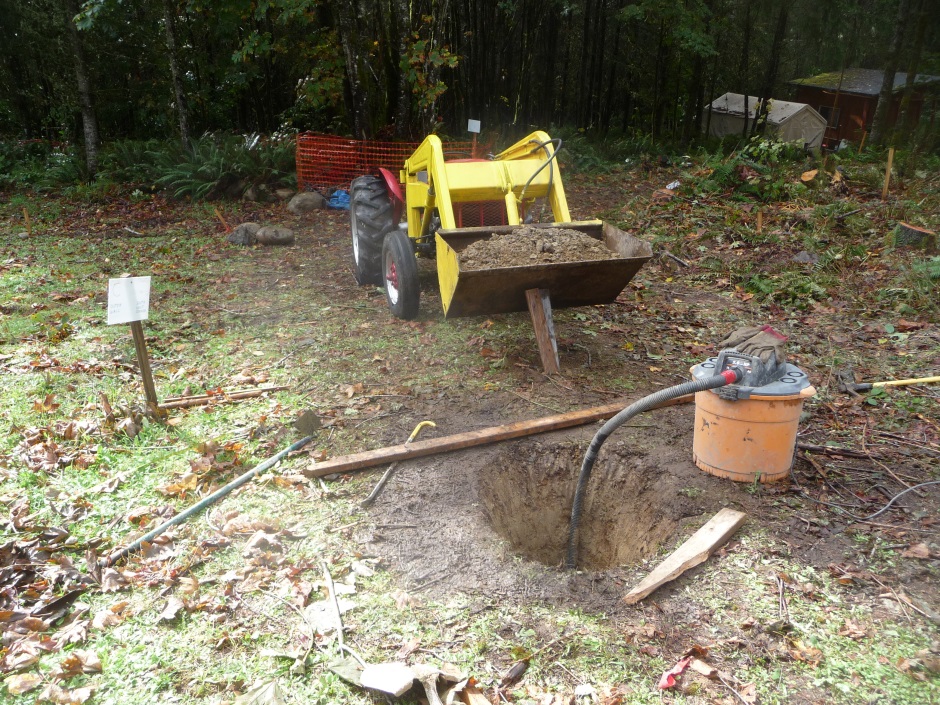
I found it useful to expand the reference hole to become a trench along a section of the slope gradient line. This corresponded to where the sewage and foundation drain will eventually run. I made the trench bottom gradually slope down from the reference hole reference height so it acted as a drain from the house site.

Remove the top soil
Save it for later use
Top soil will be very useful when you are creating flower beds around the house later. Top soil is very valuable stuff because it takes nature a long time to make it. You strip it off the house site and store it somewhere in your yard for later use.
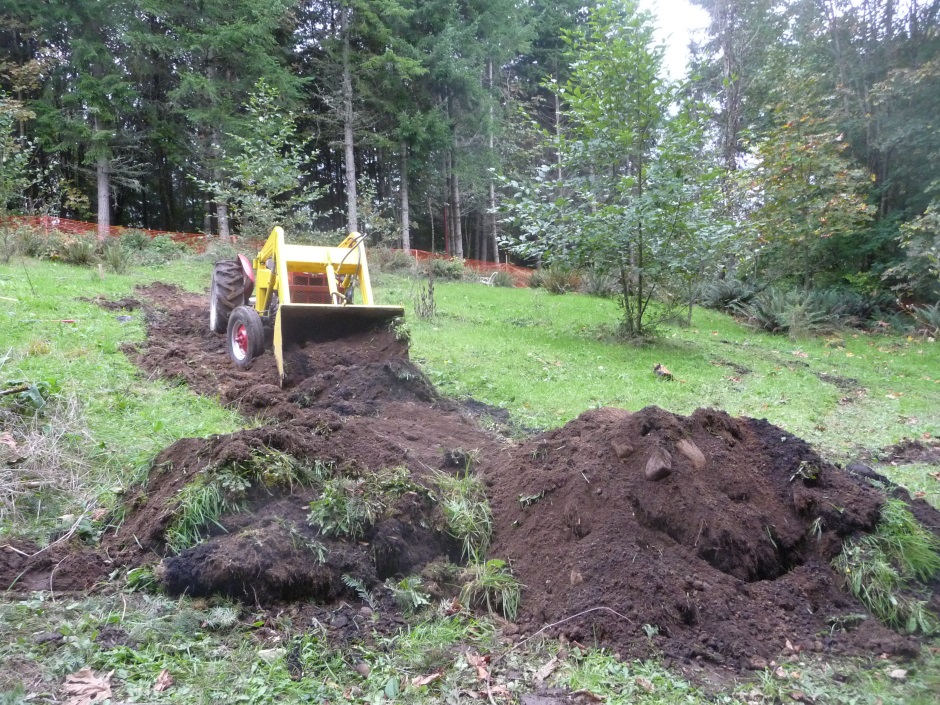
Even though using a tractor to scrape off the top soil seems like a cool way of doing it, in practice most of the top soil in my case was done with shovels and moved with buckets. A nice thing about doing it by hand is that you can be more selective about what is the best soil and you pick out the stones as you go.
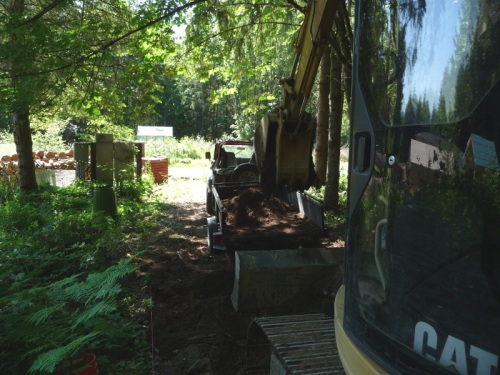
The official way of doing it is with an excavator, but this kind of finicky digging can get expensive when you are paying $100 per hour.
However you remove the top soil, you need to stockpile it in an officially designated place. That official place should be marked on your plot map.
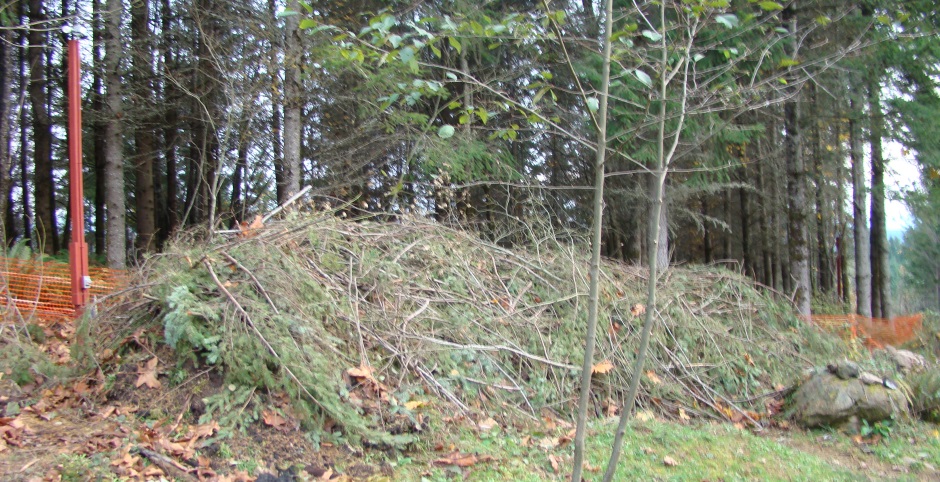
This shows the top soil pile just starting to be formed...

And here's the final pile, now covered in mulch to protect it...
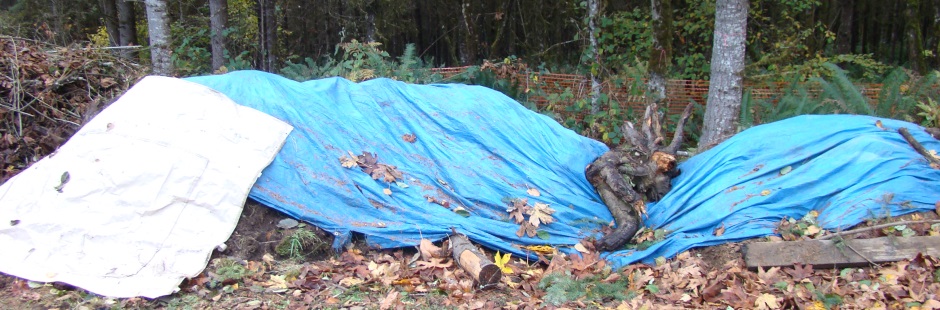
You can also use tarps to cover your soil piles...
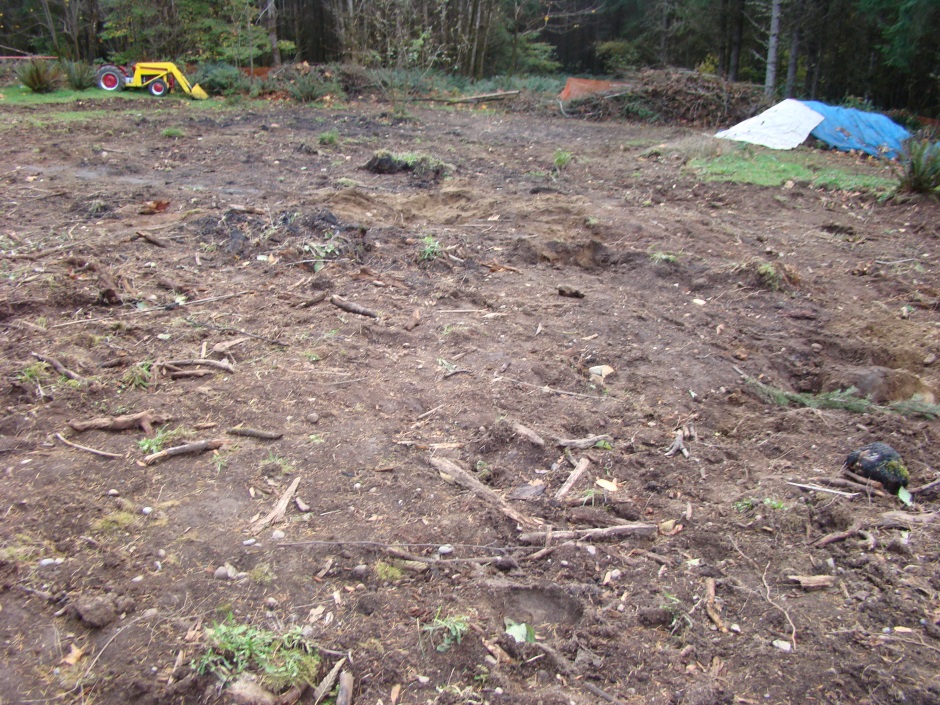
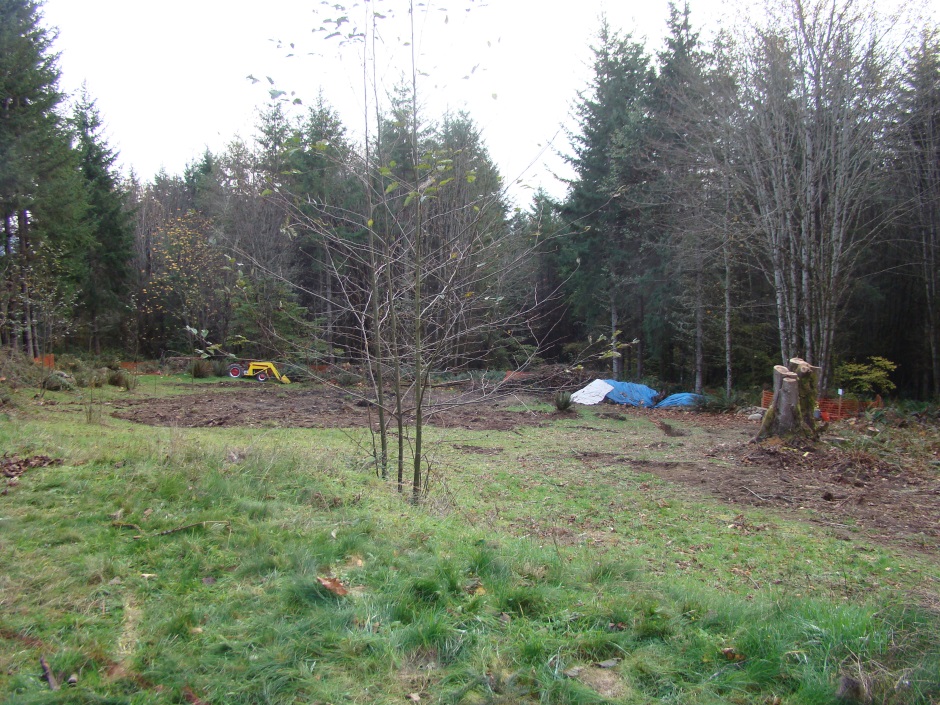
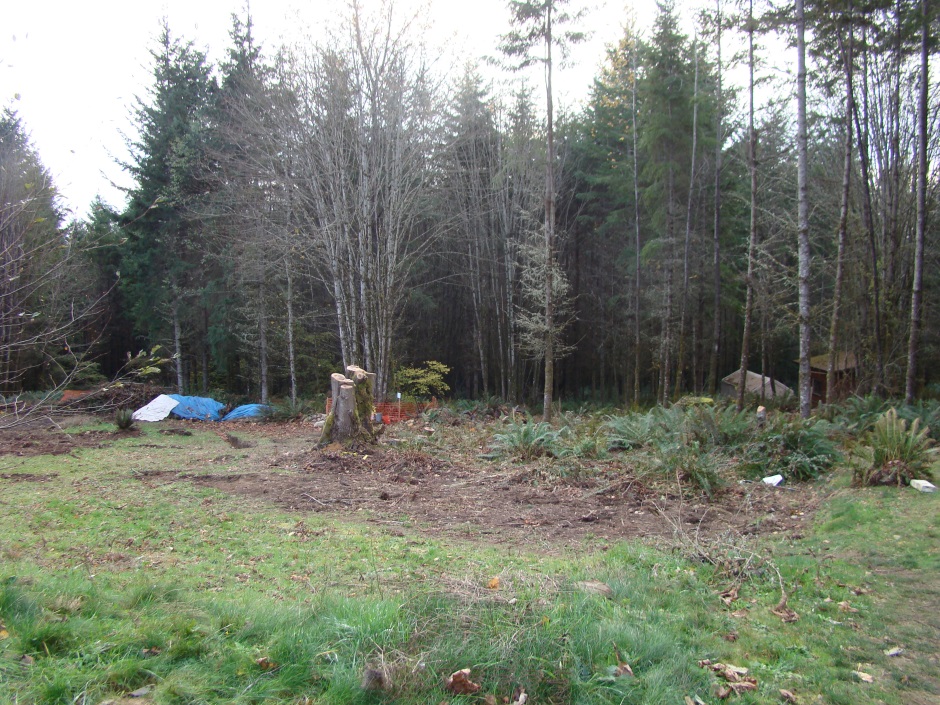
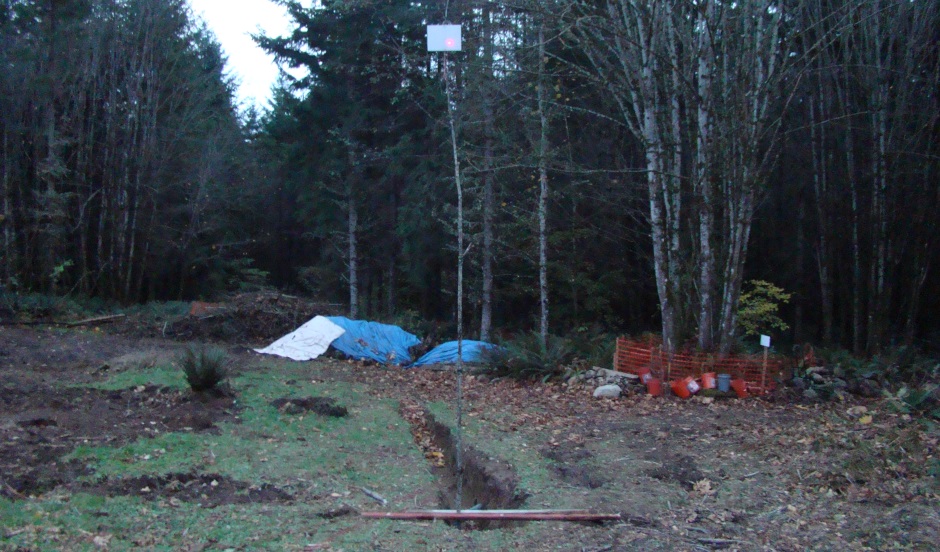
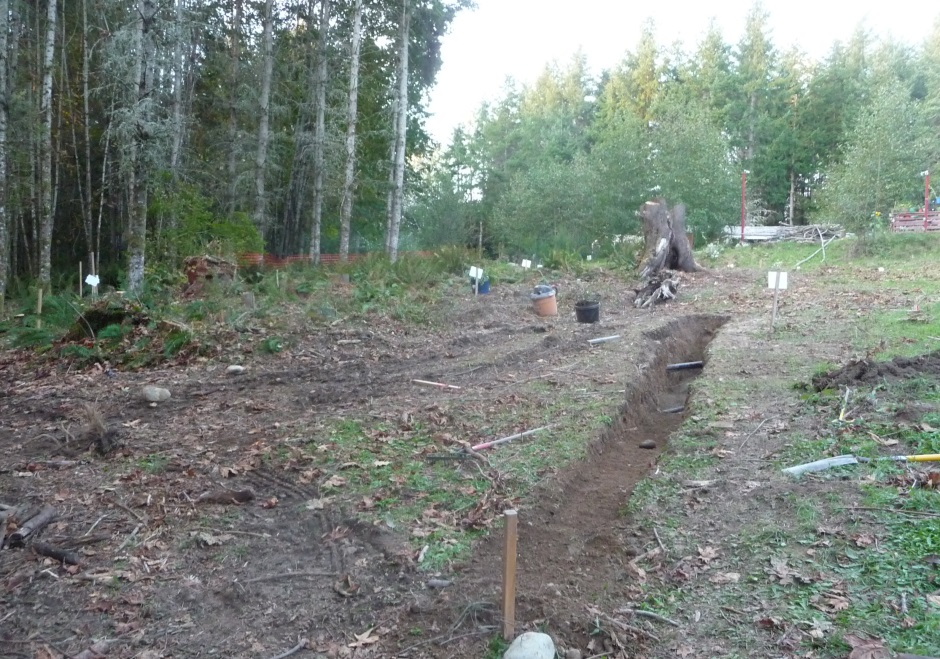
The following pictures show the site ready for excavation. The good top soil has been removed. Areas with poor top soil have been left untouched.