Home Site Map - Steps - Basement Waterproofing and Deck -
Waterproofing Below Grade
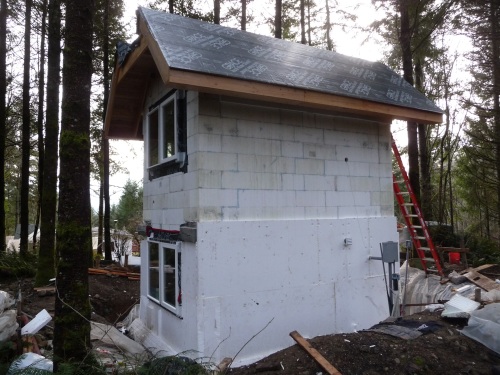
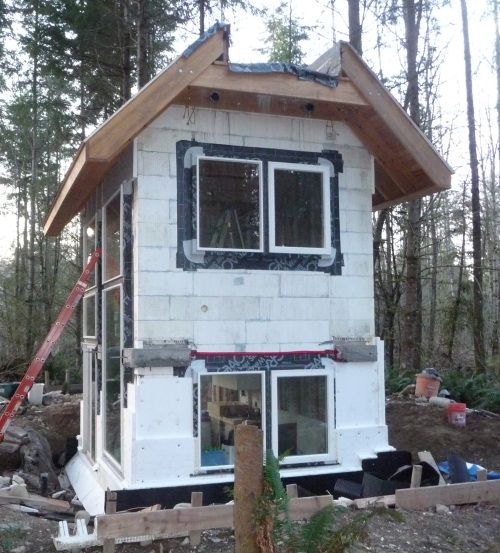
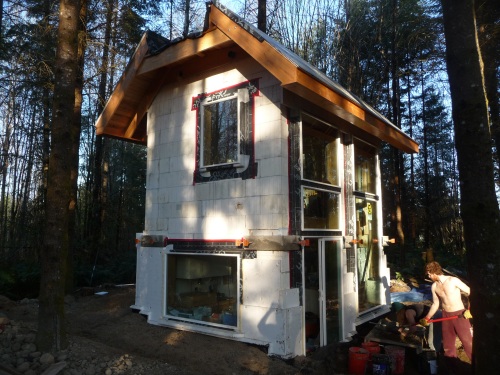
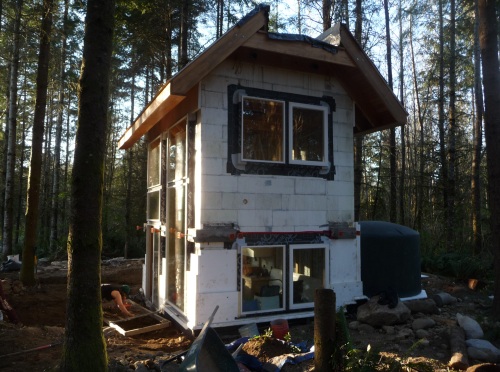
Some of the steps for walls below ground are the same as for the walls above ground. It is worth doing the parts of the wall that are below ground first as that lets the backfilling and landscaping round the building happen earlier.
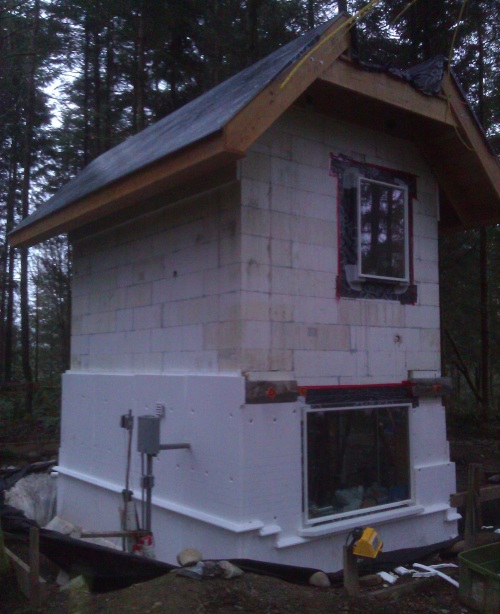
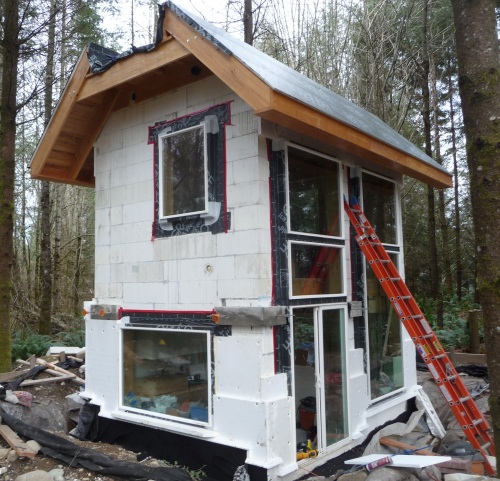
This "below ground" step applies to any areas of walling below grade and then it will continue up to a height level with the bottom of the basement windows and where necessary will follow the sloping grade about 3" above grade. Unlike the above grade case it needs to be 100% waterproof. It does not need to let the walls breath like needs to happen for above grade walls.
The layers
On the outside of the wall EPS goes the two polyethylene sheets (with liquid membrane glue), then 1" more of EPS, then a layer of dimple drainage board. Below grade the layers are stuck on rather than using screws because screws would mean holes through the waterproof sheets. Below ground things don't need to be particularly well held on because the backfilling will keep them in place. They just need to be held until the actual backfilling happens.
Make good the EPS
Repair EPS
Some holes will have been intentionally cut and some will be due to accidental damage. Fill big holes with pieces of scrap EPS and use squirty foam in small holes.
Toilet bolts
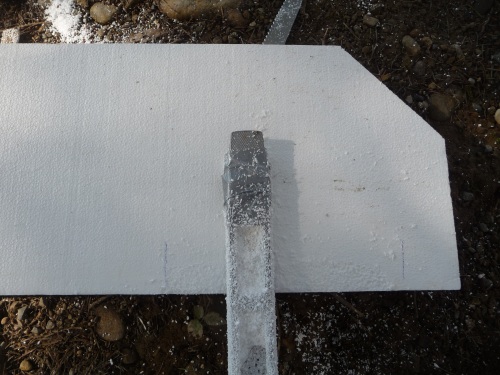
Where there are wall mounted toilets in the basement there will be 5/8" studding through the concrete wall. Cut off the studding flush with the EPS surface. Dig away the EPS and add a washer and nut. Tighten the nut down hard. Use Foam gap filler to fill the hole in the EPS.
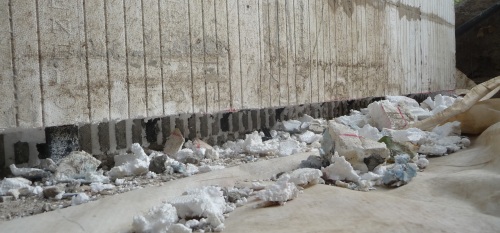
Clean around the slab outer perimeter
In practice the polyethylene sheeting up from the foundation will have been all trodden down and covered in mud and bits of polystyrene offcuts. It needs to be all cleaned up.
Ideally repair with single sided 2" tape any holes in the inner 6 mil polyethylene sheet, but it is not critical because the black liquid membrane will help seal around any holes.
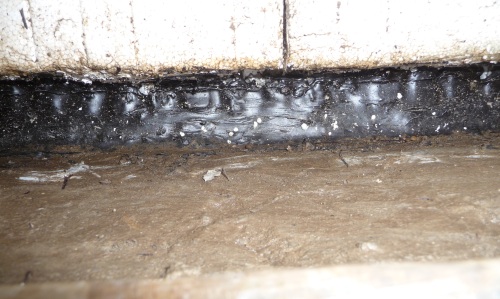
Seal join between footing slab and concrete wall
This step happens at least a month after the wall concrete pour, ie after the concrete has fully set. This cold joint is a weak link in the fight against water getting into the basement.
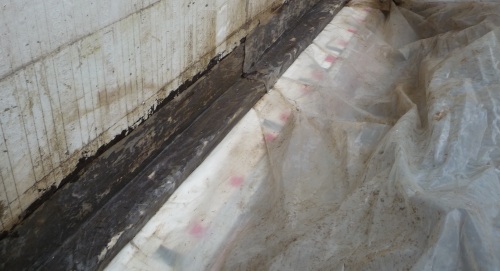
Need to cut away a height of about 2" of EPS on the outside of the wall at the bottom to expose the concrete.
Fill along the join with sealing mastic . It is ok that the mastic is not polystyrene safe because it is bare concrete.
Add horizontal EPS into cut slot
Cut X" wide strips of 2" thick EPS sheet. Glue it in place with lots of foam gap filler.
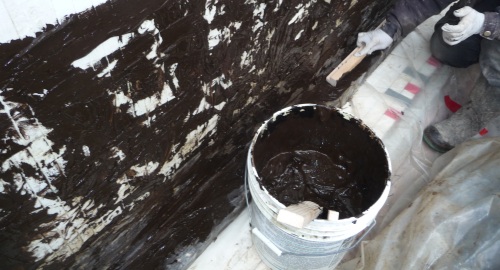
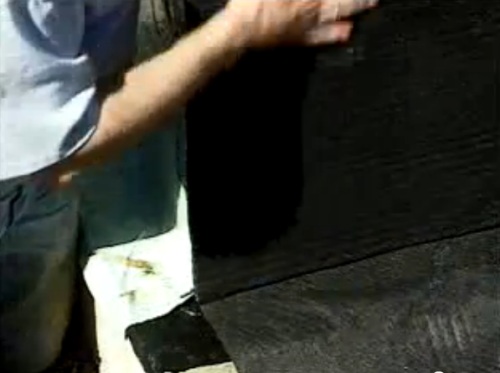
Paint on liquid membrane
Paint on one complete layer of liquid membrane on the below grade wall EPS and horizontal EPS piece. When it's dry, paint on another layer that will be used wet to stick on the Fab Form and inner polyethylene sheet.
Glue on inner plastic sheets
Glue FabForm
The first layer of plastic sheet is actually the ToughLiner sheet from the foundations. Cut the ToughLiner away leaving a stub of about 2". The only reason for even 2" is to avaoid damaging the polyethylene underneith when cutting. Don't want more than 2" as we want to have a gluing surface for the EPS triangles.
<Start remove>
Apply waterproofing liquid membrane over the horizontal EPS strip and about a foot up the EPS of the wall.
Press the ToughLiner onto the sticky black stuff.
<End remove>
Glue on inner polyethylene sheet
Apply waterproofing liquid membrane up the EPS of the wall to about 6" above where the grade line will be, ie to 6" above the backfill level. Even though its main function is to glue the polyethylene sheet to the wall, it is preferable to apply a full continuous coating (the photo below shows it only partially covered).
Press the inner polyethylene sheet onto the sticky black stuff.
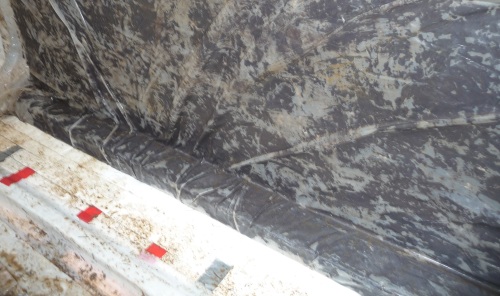
The polyethylene sheet only needs to go to about 6" above grade so any excess can be cut off.
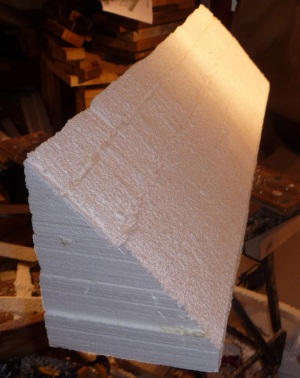
EPS Slab Triangles
Make triangle pieces
Cut 4 foot long pieces of EPS with the following widths for each triangular assembly: 8", 7.5", 5.5", 3.5". The last piece is 1.5" width, but you will be able to use a 45 degree cut scrap piece for that. Use Foam Adhesive .
Details on the EPS can be found here .
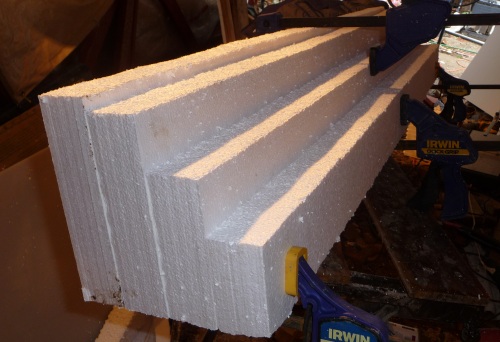
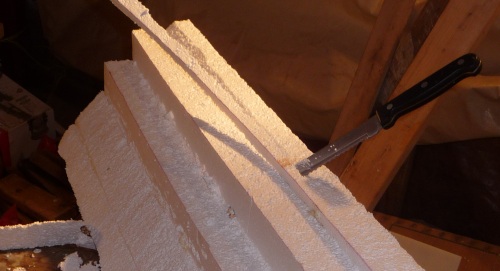
If you prefer you can cut the pieces at 45 degrees on a hotwire cutter bench.
Glue triangle pieces in place
They are glued with Foam Adhesive to the wall EPS. Fill any gaps at the wall bottom and also the tierod holes with Foam Adhesive .
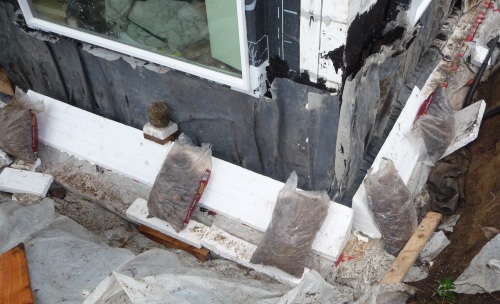
Bags of stones are a convenient way to hold them in place while the Foam Adhesive dries.
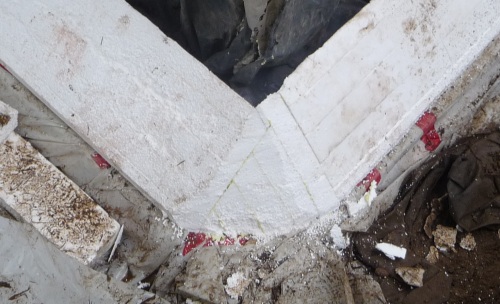
Fill in the corners and trim to make it a smooth corner.
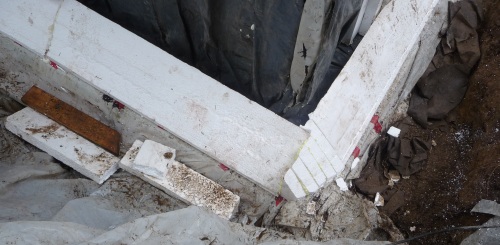
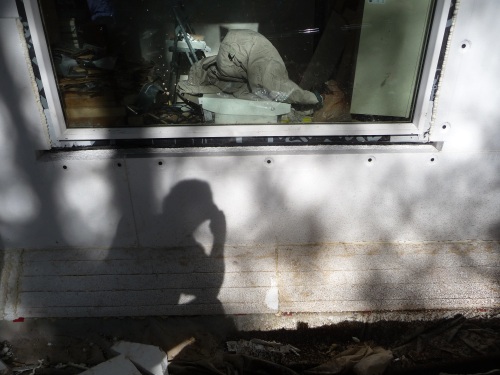

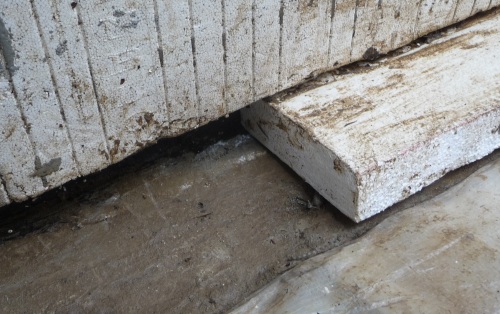
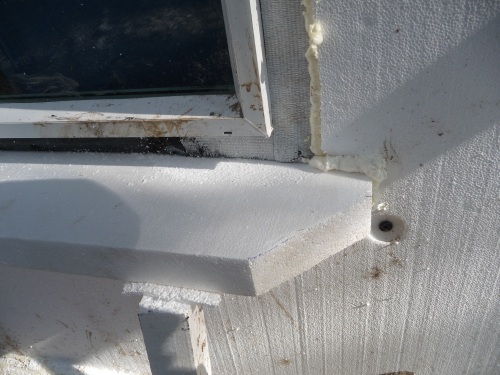
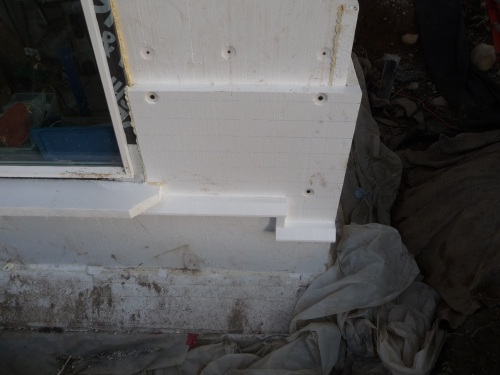
Add window sills
(These will actually be stone window sills in areas where there is a need for mechanical resistance to denting and no danger of them falling on someone.)
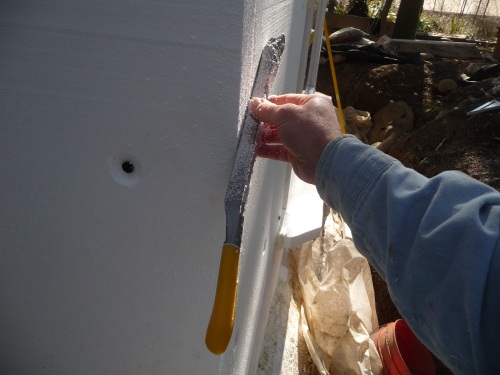
Because of the window flashing thickness at the window corners it is necessary to shave off a bit of thickness to get the window sills to fit in. Use a SurfForm or a 9mm craft knife.
The window sill piece is glued into the slot under the window using foam adhesive. Use a square to check it is an accurate right angle to the wall. You may need to prop it up slightly while the Foam Adhesive is setting.
Foam around windows and doors
There will be an indented area around the windows. Fill this with Foam Adhesive .
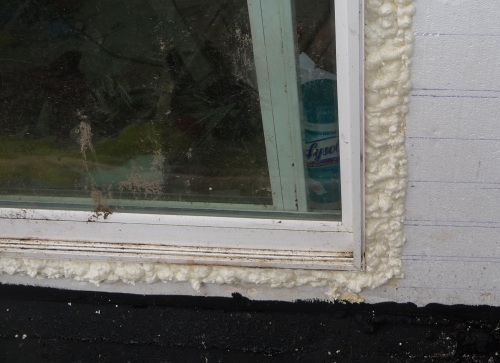
After the foam has completely cured (next day), make it flush with the EPS using a side cutting serrated flat trowel.
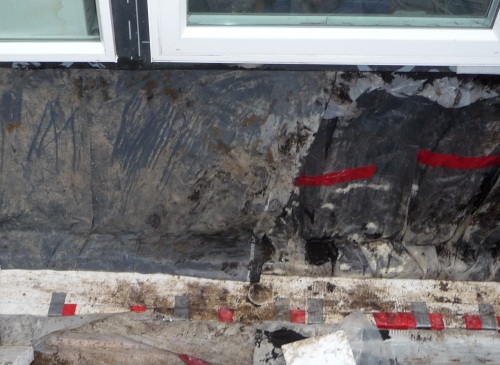
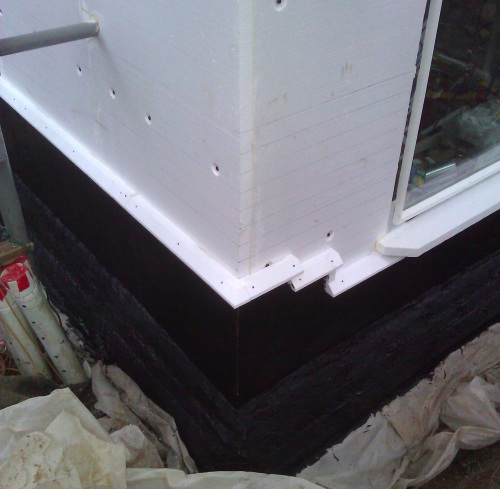
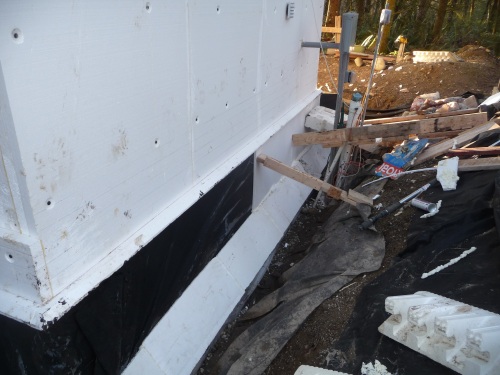
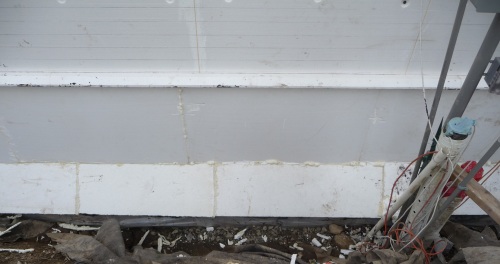
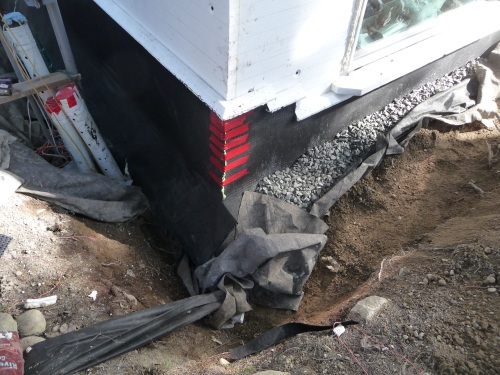
Add grade level drip edges
An EPS drip edge shaped piece of EPS is used to accurately mark the transition from the below grade wall to the above grade wall. Typically the bottom of the 2" piece is 4.5" above bottom of door rough opening, which is 2'3" above concrete slab. For back filled areas then make it X'3" above concrete slab. Use a horizontal self leveling laser 6" below the tierod holes.
The EPS pieces are cut on a hotwire cutter bench to be 3" x 2" and a 1.5" 45 degree bevel is then cut.
Decide where the grade drip edge will be. The grade will typically go up and down. When possible follow the grade using 6" steps. Between the drip edge pieces use 4" long EPS that is 1.5" x 1.5" cross section.
Glue on the drip edge pieces using foam adhesive. Use 3" or 3.5" nails to hold them in place while the glue is drying.

Where the drip edge pieces are directly below the window sill, there will be just a small gap between the bottom of the window sill and the top of the drip edge piece. Fill this with a strip of EPS. Glue it in with EPS liquid glue.
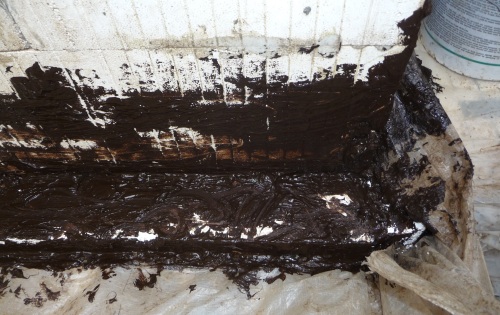
Paint on more liquid membrane and fold up Polyethylene sheet
Paint on one complete layer. Then when its dry, paint on another layer that will be used wet to stick on the polyethylene sheet.
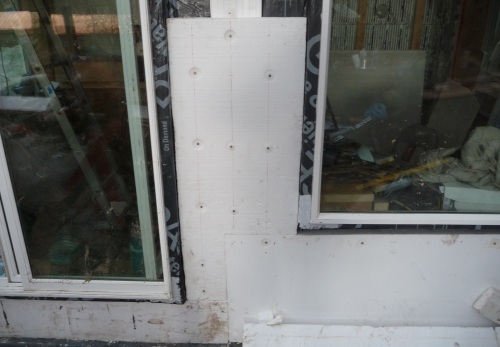
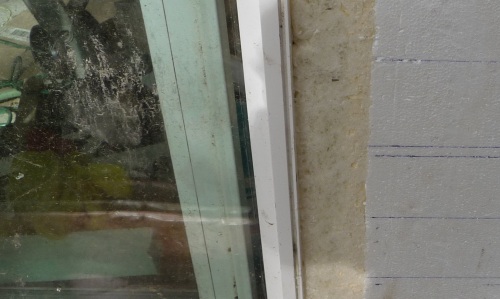
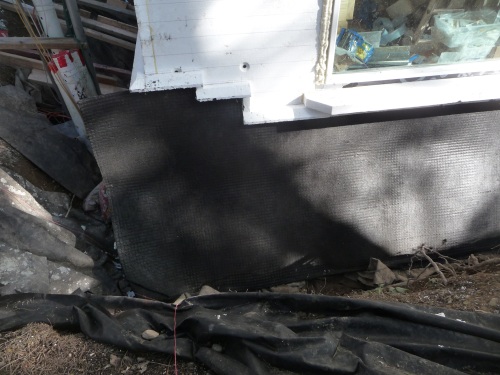
Add 1" EPS protection layer
This last layer of EPS is mainly just to provide mechanical protection of the waterproofing Polyethylene sheet.
(The photos below show an additional layer of liquid membrane over the polyethylene sheet, but there is no point in doing this, particularly as it does not stick well to the polyethylene.)

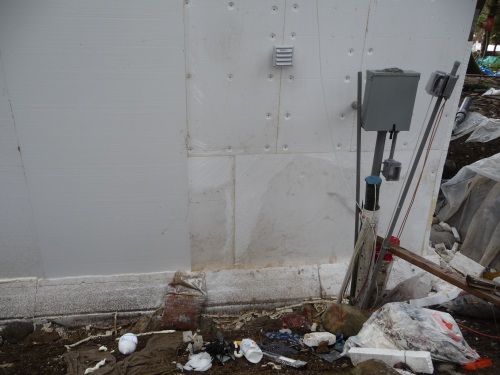
Fix in place dimple matt
Mel-Drain costs $142.77 per 4' by 50' piece. I buy from my local distributor (Cadman).
Fix the top edge of the drainmat using a 2" strip of Foam Adhesive . Note that this is just to hold it in place during the backfilling (after that it won't go anywhere).
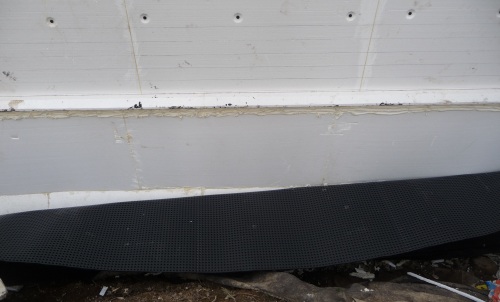
Cut the drainmat to fit the profile formed by the drip edge grade pieces.
Use some Foam Adhesive on the corners and tape while it dries.
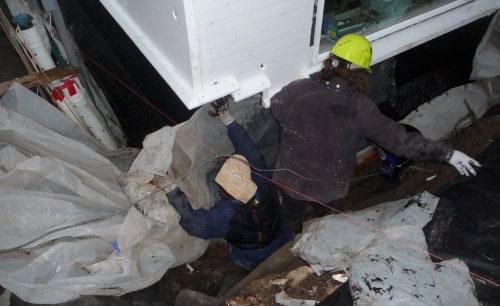
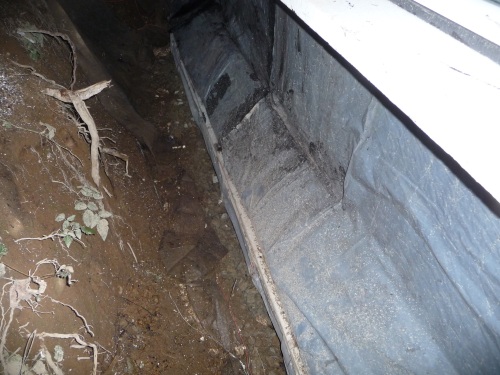
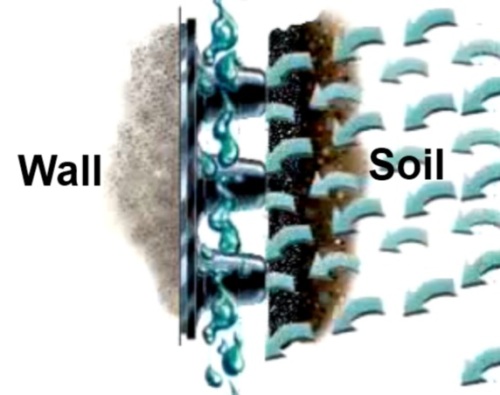
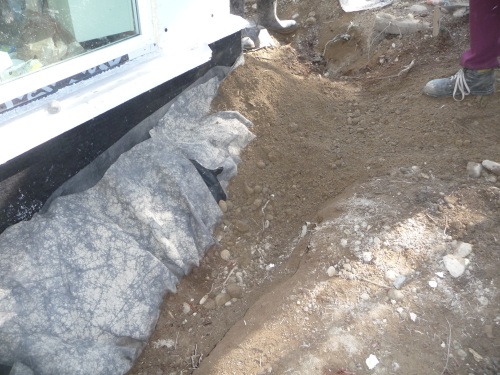
Backfill with crushed rock and earth
I use 1.25" clear crushed rock. This is bits of jagged rock that are on average about 1" width and has been washed to remove the file particles. It provides a good compromise between water flow through while locking together well structurally (ie not allowing the house to move laterally in an earthquake).
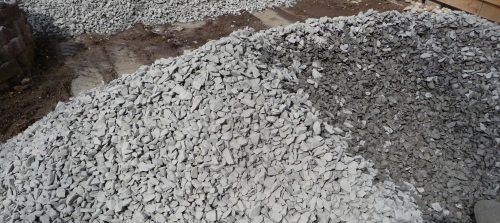
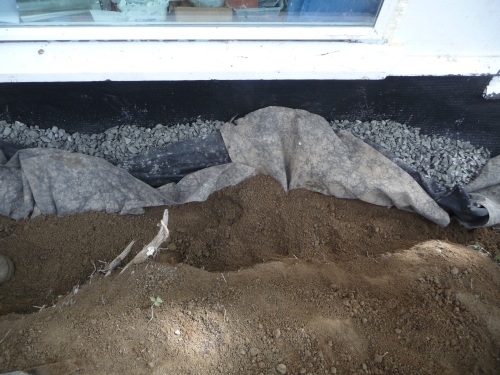
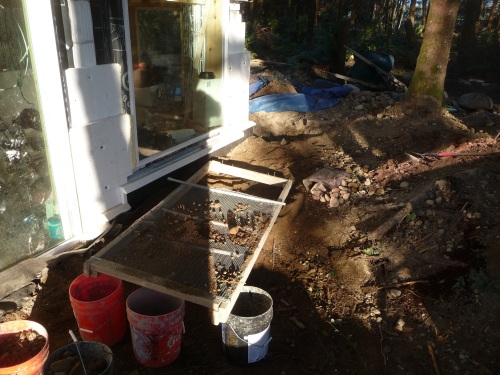
Add the crushed rock and soil incrementally on either side of the filter fabric so it balances to achieve a 1' width of crushed rock against the wall.
Even though not essential you may decide to filter stones from the soil. The main reason is you may want to use the stones for something else such as a pathway.
The crushed rock goes up to 1 foot below the polystyrene grade edging. Fold the filter fabric over the crushed rock. The last foot will be soil. The soil forms a fairly waterproof cap over the crushed rock.
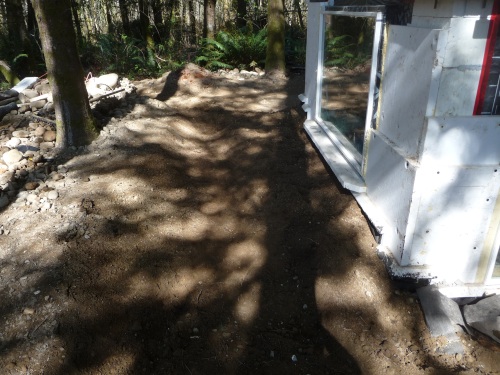
Final layer of soil
Slope the soil away from the walls with a 5% slope. If needed by the terrain, implement a swale about 3 feet from the wall so the water has somewhere to run away.
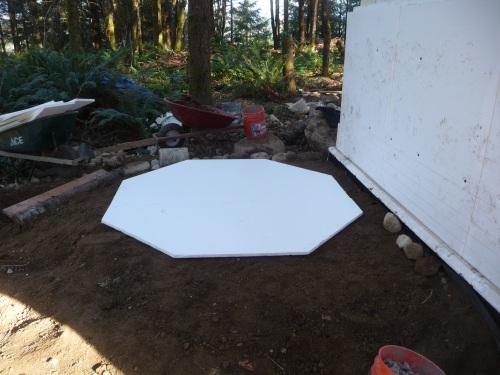
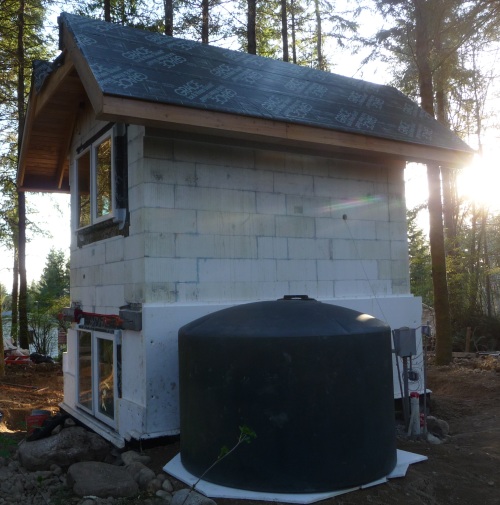
If a water tank (to store rain water) is going to be installed, make a flat area.
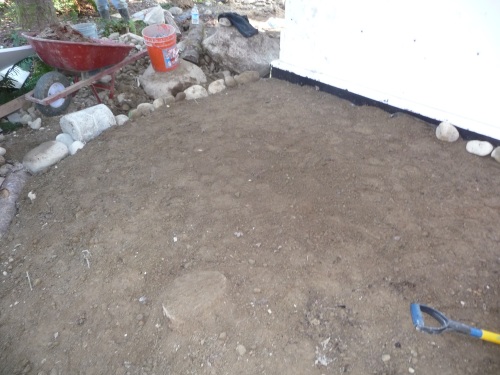
On the flat area, put a layer of polystyrene down to act as a protection cushion.