


Home Site Map - Steps - Basement Walls and Ceiling -
Concrete Pour
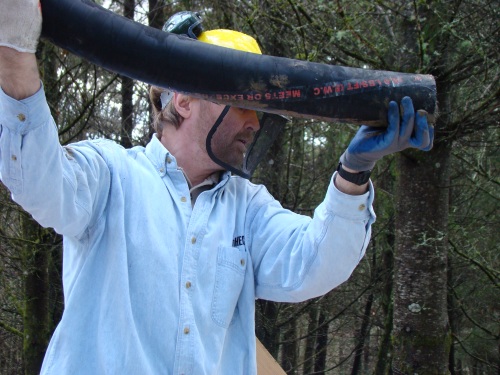
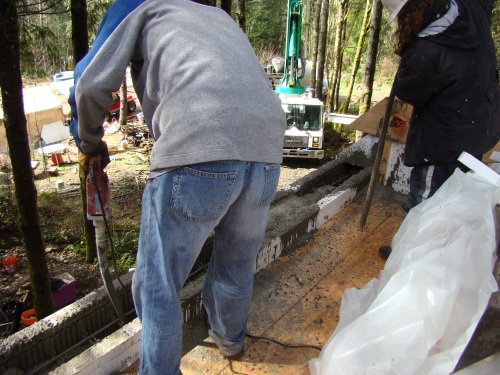
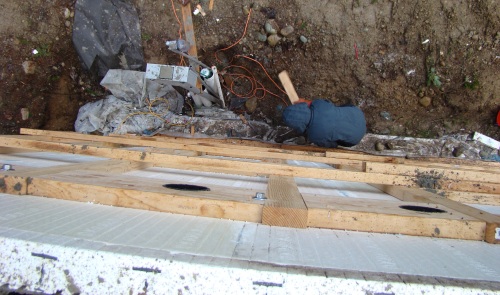
![]() Pump concrete into the wall forming to make your concrete wall
structure.
Pump concrete into the wall forming to make your concrete wall
structure.
Order concrete
Calculate accurately the wall area from the house drawings. The wall cavity is 8", ie two thirds of a foot, and 12" in other places. After calculating the area in square feet then in the 8" areas multiply by 2 over 3, to get the number of cubic feet. Dividing by 27 gives the number of cubic yards.
Here's the calculation for the evaluation building...
North and south without windows (center of wall) 9.9 x 18.5 x 2 =
366.3
East and west without windows (center of wall) 13.95 x 17 x 2 =
474.3
Total area if no windows 841 sqft
Areas of windows...
- 14.3 x 5.7 = 81.5
- 12.8 x 5.7 = 73
- 6.7 x 4.7 = 31.5
- 3.6 x 4.7 = 17
- 6.9 x 4.7 = 32.5
- 6.9 x 4.7 = 32.5
Area of windows to subtract = 268 sqft
Subtracting windows gives 573 sqft
573 sqft x 8/12 = 382 cuft
382 cuft is 14.15 cuyd
Will be less than this because of rebar volume.
Two trucks each with 7 cuyds each.
For details of the concrete mix to use, see here . The short version of the spec is...
6 Sacks of Type I-II Portland cement per yard
3/8" Gravel
5000 psi (might have to accept 4000 psi)
4" slump (delivered as
9" because of the HRWR)
Absolutely No flyash or slag
.53 w/c ratio
No air entrainment
No waterproofing
No retarder
HRWR (plasticizer) - 20 ounces Glenium 7500 per yard
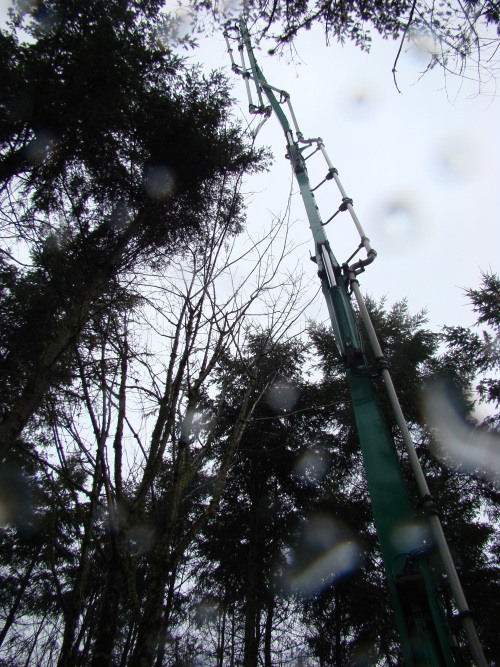
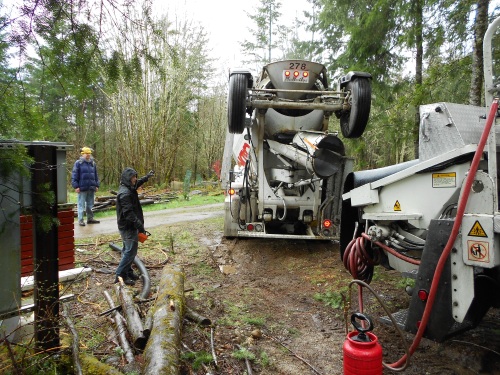
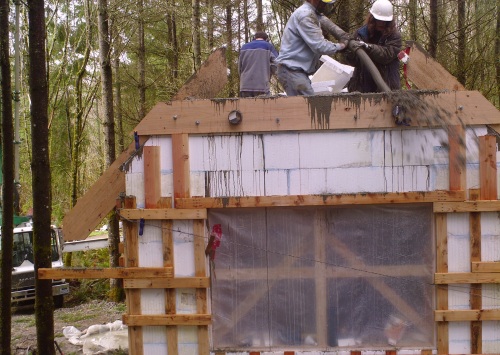
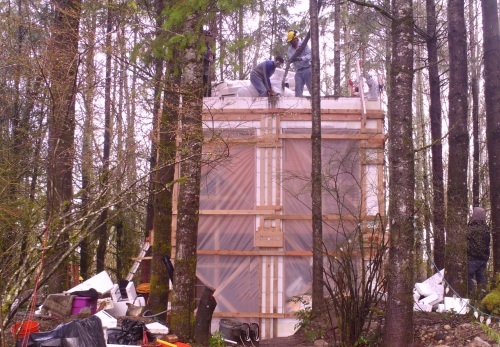
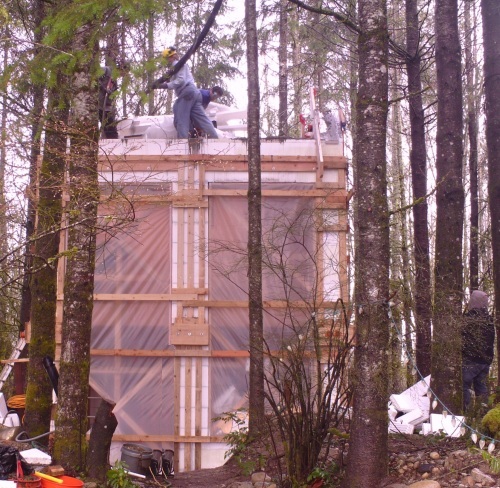
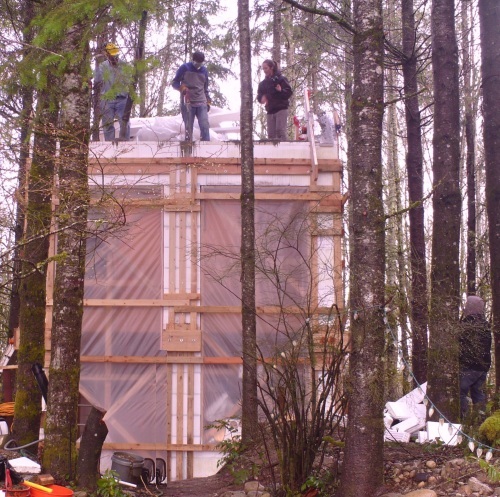
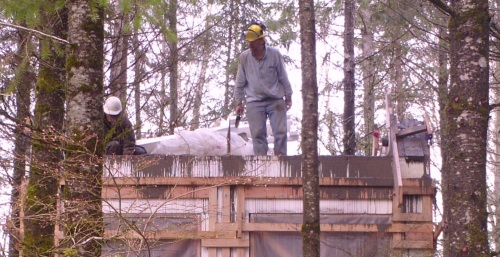
Concrete placement
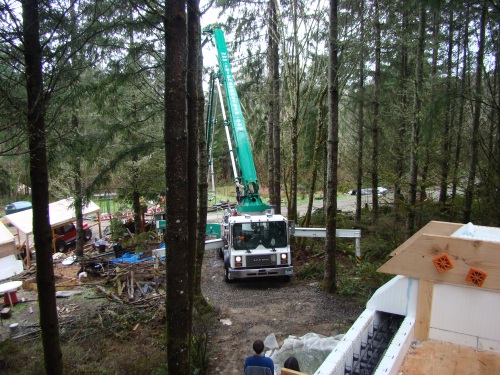
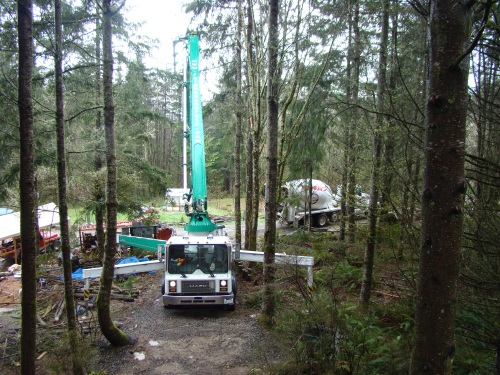
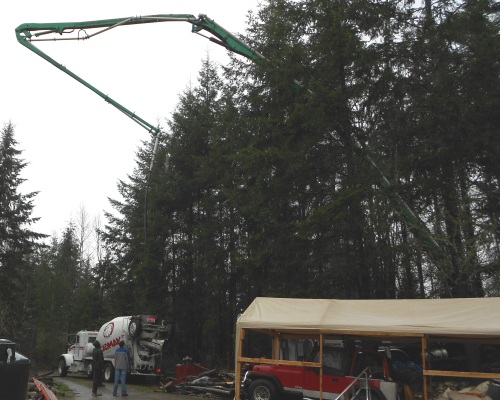
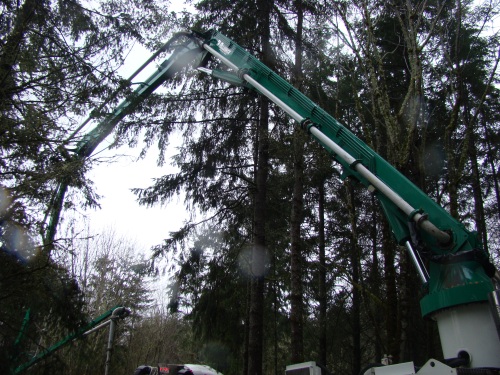
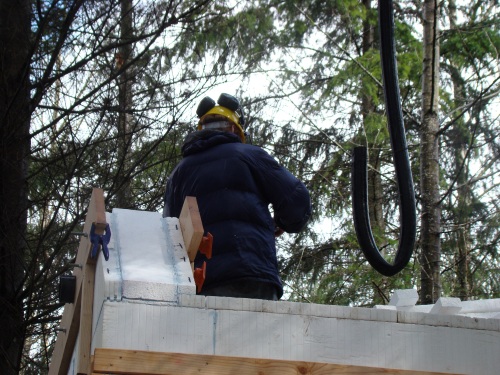
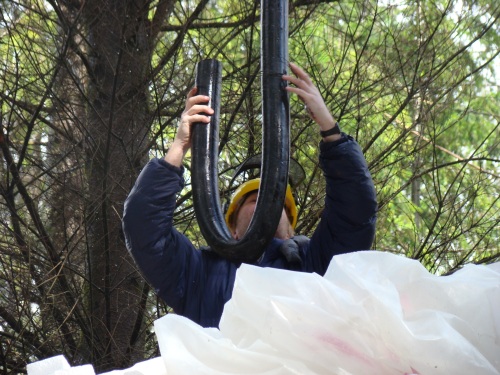
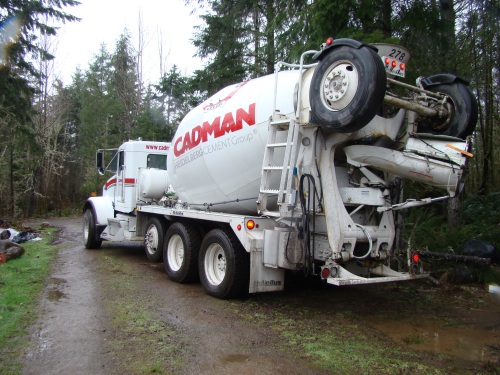
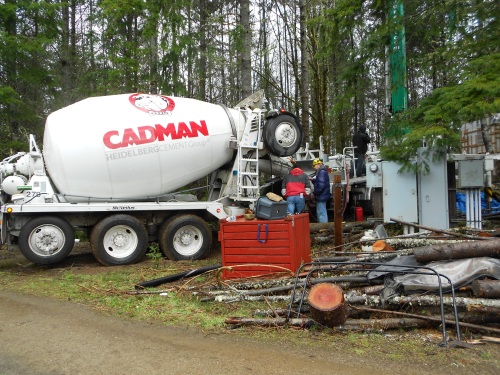
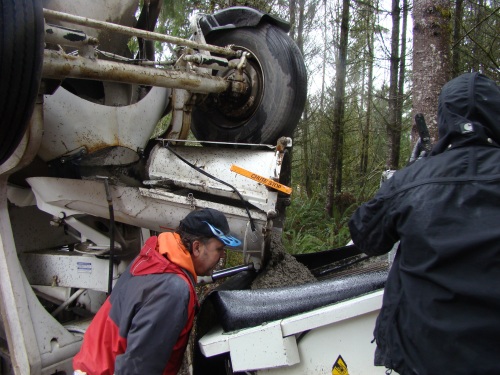
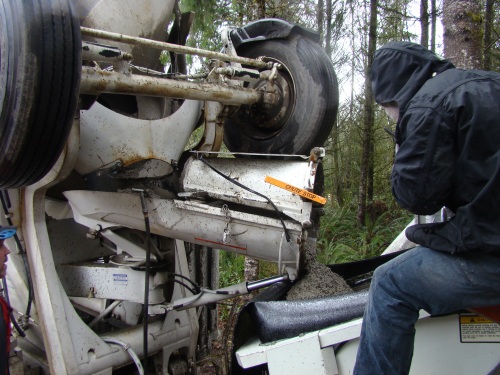
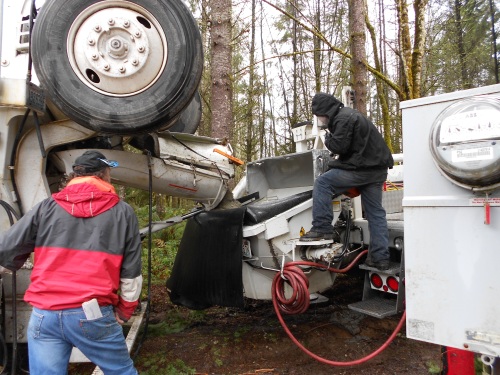
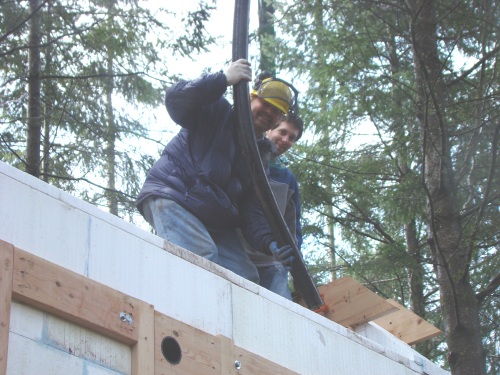
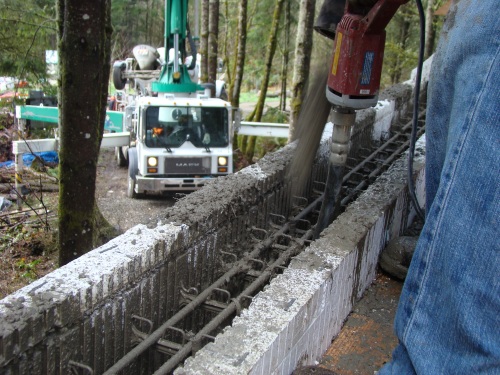
Use a boom pump truck
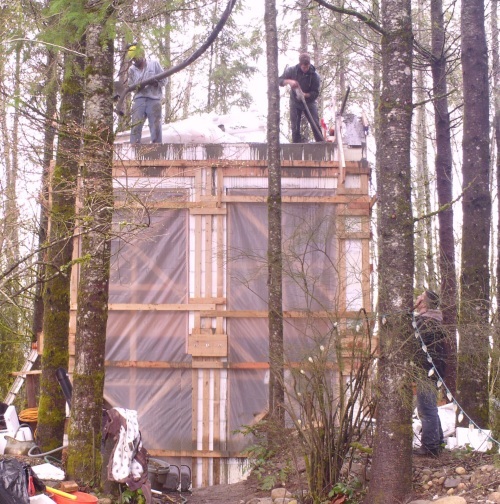
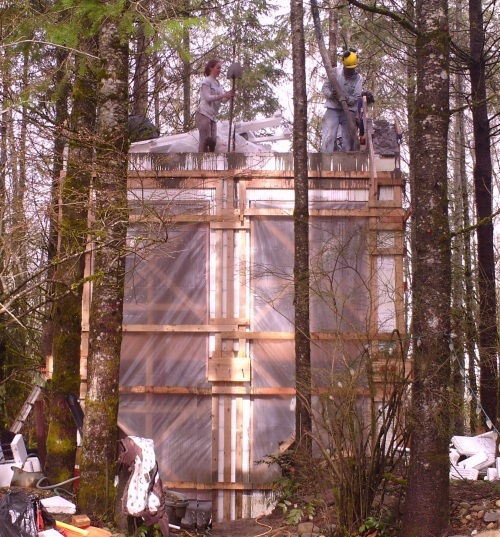
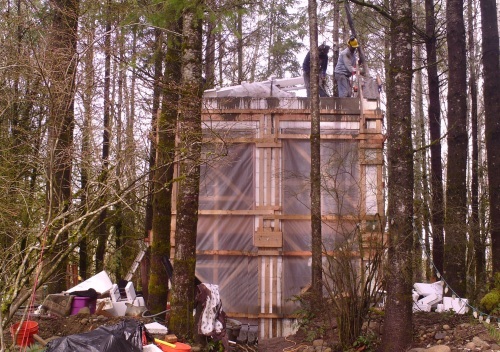
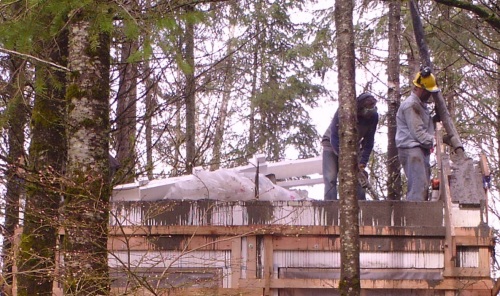
The concrete needs to be placed in the walls using a boom pump truck.
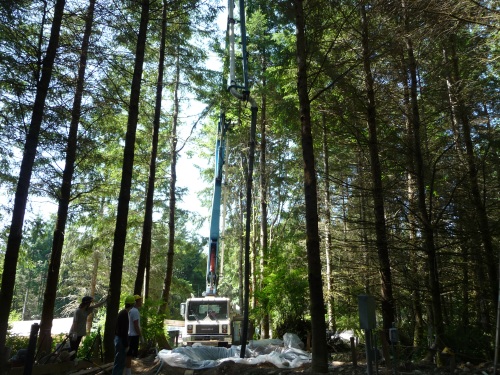
Ideally you want to reduce the force with which it comes out of the end of the flexible pipe. Metal constriction devices are no longer allowed due to safety worries. The boom truck is likely to have both a 3" and a 4" flexible tube ends available. You want the 3" tube. If the pump operator tells you that the concrete will not flow properly through the 3" flexible tube then you need to increase the slump on the concrete because it will not flow through the walls either.
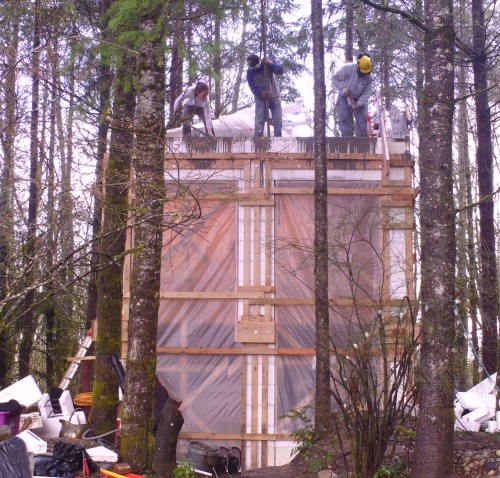
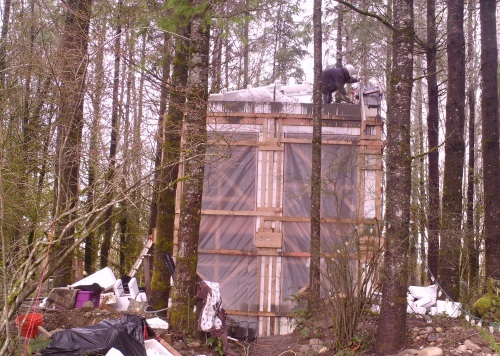
Lift height
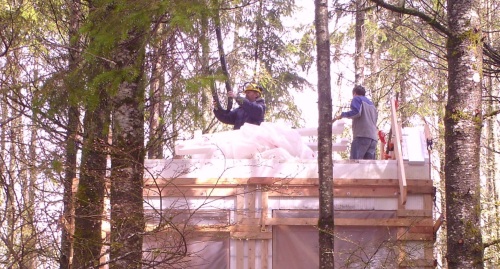
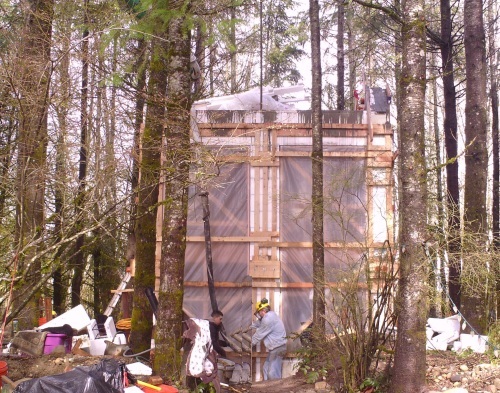
Conventional wisdom says that you should not place concrete in walls to greater than a height of 4 feet in one go. In practice however the height is going to be primarily dictated by the floor area of the building. If it is a large building (such as my main house), one truck load of concrete will only raise the concrete height by one and a half feet. On my evaluation building, one truck load will raise the height by over 12 feet. A small building is more problematic and requires much stronger wall bracing.
A high lift height will mean more pressure on the ICF polystyrene, but there are some benefits to a higher lift height. The weight of all that wet concrete above will force the concrete below into all the nooks and crannies and will reduce the possibility of air voids. It is unfortunate that in this regard, my evaluation building is not a good simulation of what to expect on the main house.
Timing is everything
The concrete mix used will have a plasticizer to make it flow better. The plasticizer only works for about 2 hours after being added to the mix at the concrete plant. If the driving time from the concrete plant is 45 minutes then that means you only have just over an hour to get the concrete into the walls.
If the concrete truck driver gets lost on route to your site then you will have a problem. The best bet is to send someone in a car to the concrete plant so the concrete truck can follow them. That person can also ensure that there are no delays between the mixing of the batch and the truck setting off. Tell the concrete supplier that they should not do the mix until your coordination person is outside the gates of the plant and makes a phone call to say proceed. That same person will also be responsible for adjusting the timing between trucks if problems during the pour make it necessary. Make sure they have the telephone number of the dispatcher person at the concrete plant.
For a large building, a good spacing between concrete trucks is about 30 minutes. For a small building it is better to make it 90 minutes as that will give some time for the concrete to solidify a bit so that the wet concrete pressure on the polystyrene is reduced.
Place for excess concrete
You will want to have ordered enough concrete such that you do not run out. You should calculate accurately what you need and then add an 5%. In practice that means you will probably have some left over. It is worth framing up something (eg a patio) so you can put the excess there.
The other reason for having somewhere to place concrete is that a blow out might occur in the walls such that you have to abort the pour. You will probably be able to ring up to stop other truck deliveries, but you will need somewhere to put the rest of the current truck.
Filling sequence
Make a plan for how you expect to fill the walls. Before the day of the pour, act out the sequence to memorize it and to try to find snags. Here is my evaluation building plan...
One pass along back wall to add about 18" of
concrete to get the feel of things and get rid of bad mix.
Hurry the boom to the south wall to fill column between windows
until concrete fills under the door.
Observe via the inspection hole, then
put plug in under door and let it fill completely under door.
Keep filling center south column
Observe via the inspection hole, then
put plug in under window
Let it fill completely under south
window.
Fill south west corner until concrete fills under west window.
Observe via the inspection hole, then
put plug in under window and let it fill completely under west
window.
Fill south east corner until concrete fills under east
window.
Observe via the inspection hole, then
put plug in under window
Let it fill completely under east
window.
Fill along back wall to get it up to about 6 foot (one foot below
lip).
Fill south center column to 6 foot.
Fill south west corner to 6 foot.
Fill south east corner to 6 foot.
*** Wait until 45 minutes from start ***
Fill along back wall to get it up to about 9 foot (one foot above
lip, ie top of floor).
Fill south center column to 9 foot.
Fill south west corner to 9 foot.
Fill south east corner to 9 foot.
*** Wait for second truck (should be 90 minutes from start) ***
One pass along back wall to add about 18" of concrete to get the
feel of things and get rid of bad mix.
Hurry the boom to the south wall to fill column between windows to
height of 12 foot.
Fill south west corner until concrete fills under upper west window.
Observe via the inspection hole, then
put plug in under window
Let it fill completely under west
window.
Fill south east corner until concrete fills under upper east window.
Observe via the inspection hole, then
put plug in under window
Let it fill completely under east
window.
Fill along back wall to get it up to about 13 foot (one foot above
upper window sill).
Fill south center column to 14 foot.
Fill south west corner to 14 foot.
Fill south east corner to 14 foot.
*** Wait until 45 minutes from start ***
Fill along back wall to get it up to about full height (17 foot).
Fill south center column and along south wall to full height foot
(17 foot).
Fill east gable to pen marked height.
Fill west gable to pen marked height.
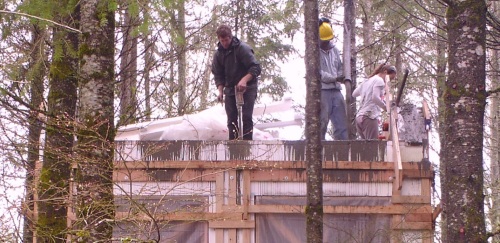
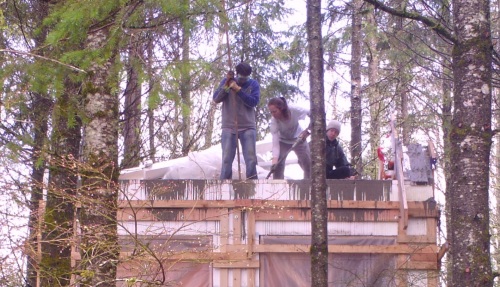
Lots of people
It is important to have lots of people during the pumping of concrete into the walls. Designate specific walls for each person to watch so they can shout if the wall starts to bulge or leak concrete. You need one person to watch the outside of the wall and one to watch the inside. More are needed inside because the inside people need to also handle the inspection holes. Typically each inside person will also be responsible for a couple of inspection holes in their wall.
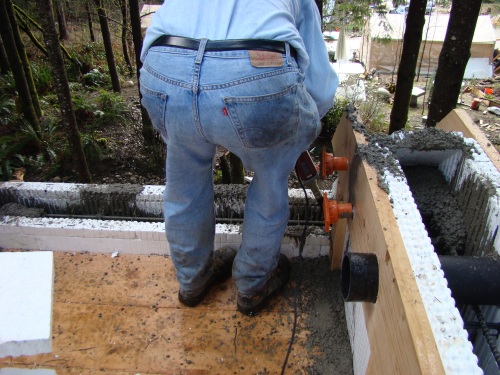
Inspection holes
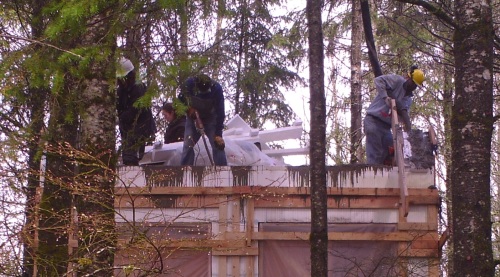
Initially all the plugs will be out so that air can freely escape via the inspection holes. The person monitoring a hole needs to shout when the concrete level reaches the bottom of the hole. The boom operator will pause adding concrete. The inspection hole person will then use a concrete vibrator through the hole to consolidate the concrete. If may be that they need to call for more concrete if the vibration causes the concrete level to drop.
After vibration, the pumping of concrete into the walls can resume. The inspection hole person is responsible for fitting the plug at the very last minute as the concrete level rises. The plug needs to be screwed in place with 2.5" wood screws.
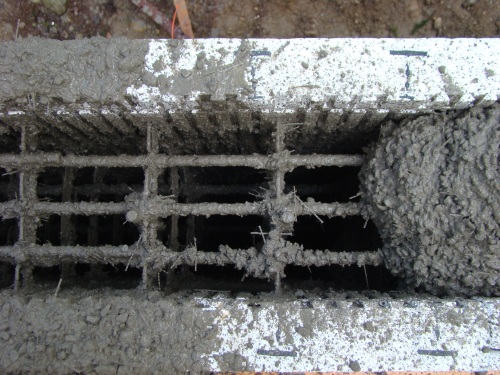
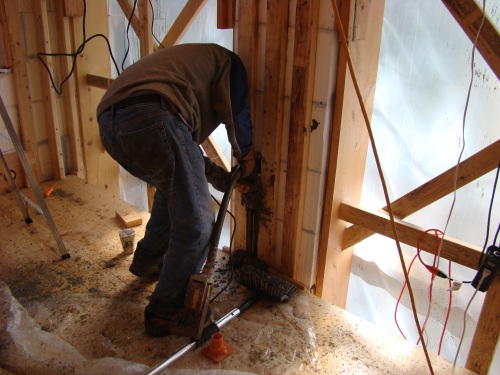
Vibration and consolidation
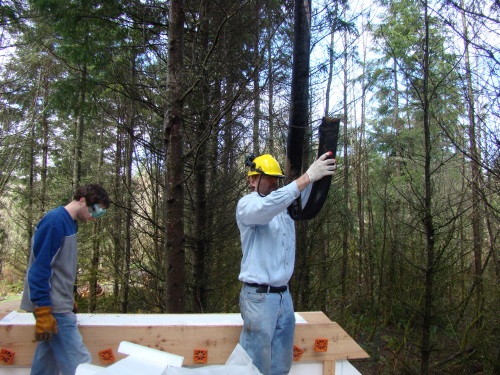
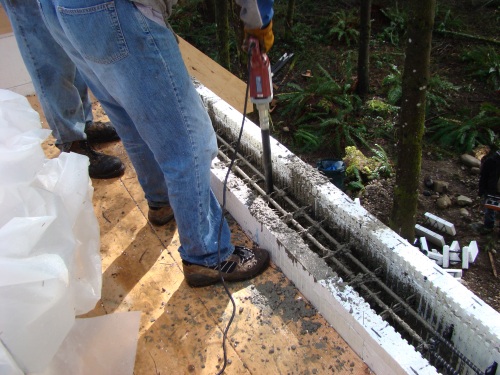
A concrete vibrator such as shown below needs to be used. It is poked into the wall via the inspection holes after the concrete level has reached the bottom of the inspection hole. Do not over vibrate. The vibrator should only be dipped in for about 5 seconds at a time.

It is worth having a couple of vibrators, just in case one stops working. This type of vibrator requires you to kick the end with your boot to start it properly vibrating.
Other methods to consolidate the concrete are also useful (but not as much so as a vibrator). Banging on the 2x4 bracing with a hammer is a useful technique. It is also good to bang on the window bucking with a white rubber mallet (not a hammer as you don't want to leave dents).
Blowouts
The term blowout refers to the pressure of wet concrete causing the polystyrene/plywood wall forming to fail, thus spewing concrete. Hopefully it won't happen, but it is still worth being prepared. If a bulge or blowout happens then you will need to quickly implement a screwed on patch using 2-by lumber (so have plenty of lumber standing by).
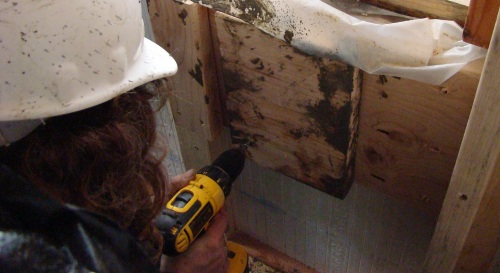
Apply concrete latex bonding agent
The bonding agent makes fresh concrete stick to old dry concrete. You need to apply it along the key notch and the concrete on either side that forms the bottom of the wall. Details of which latex bonding agent to use are here .
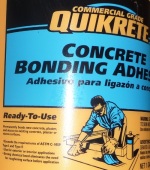
It needs to be applied the day before the pour. Use a gardening sprayer poked through the lower wall inspection holes. Try to do it evenly and avoid big puddles of it. You can look via the inspection holes to make sure the old concrete is properly coated.
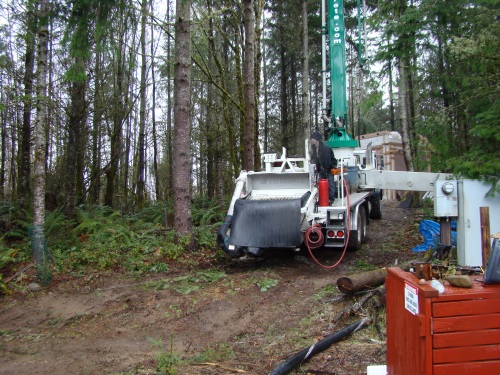
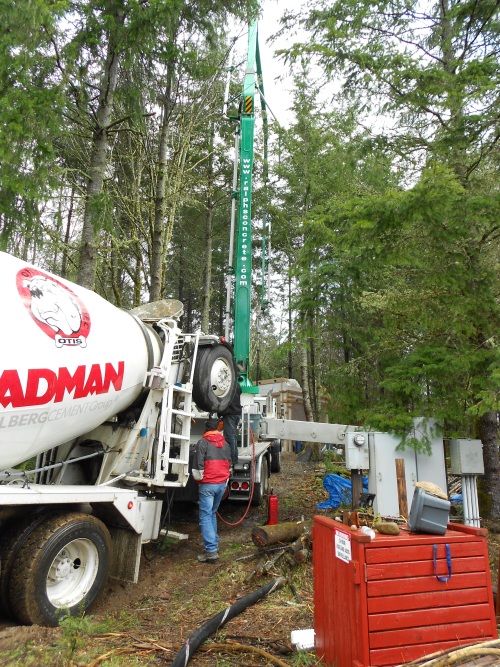
Pump the concrete
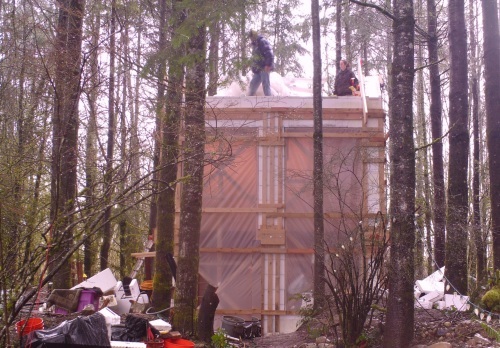
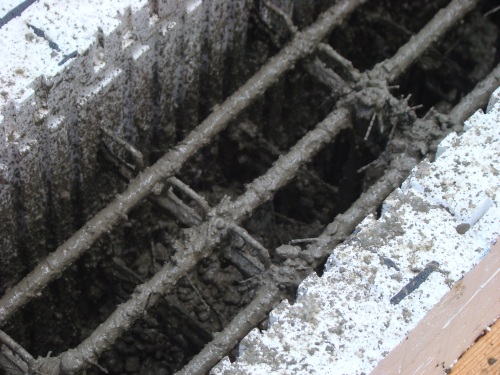
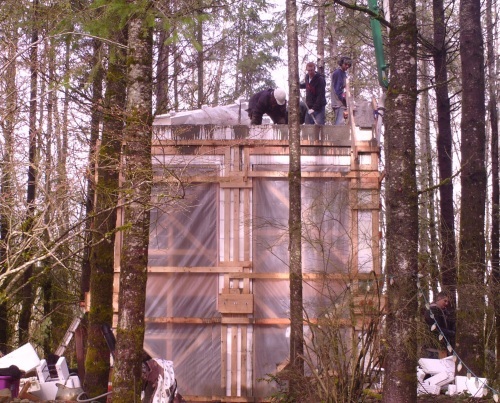
Here are some pictures from the concrete wall pour on the evaluation building.


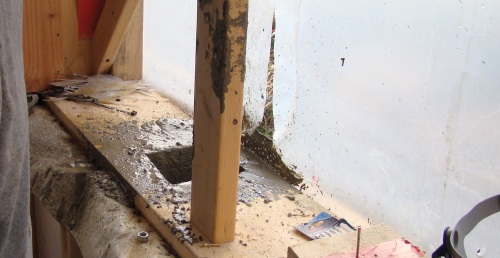

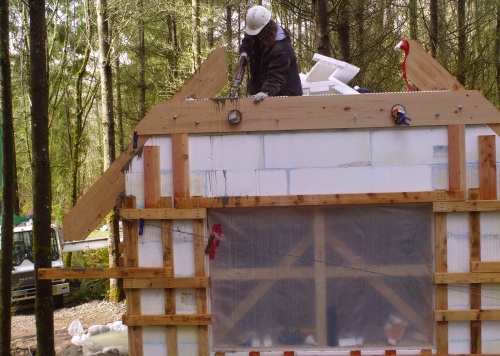

Form a key notch in the top of the wall
Assuming there will be an additional story above the story currently being poured then you need to form a key notch in the concrete all the way round. For an 8" concrete cavity it is good to have a 3.5" wide key notch that is 1.5" deep. This can be formed using 2x4 lumber cut to a width of 2.5"x1" on a table saw and then surrounded with half inch polystyrene. Holes are drilled to allow the vertical rebar through. This will hold the rebar in alignment and hold the lumber in the center of the cavity.
Check for plumb and squareness
Straight after finishing the pour (before the concrete has hardened), do a check to make sure the walls are still straight, and exactly vertical, and square. Squareness can be done by measuring the diagonals and making sure they are the same. Straight and square can be checked with a self leveling laser.
Curing
Concrete becomes much stronger if it is allowed to cure slowly and is kept a bit warmer. Inside the insulated cocoon that the wall forming provides is reasonable environment for concrete curing. The EPS on the outside avoids issues with frost or excessive sun. The plywood on the inside does not provide much protection but protection is not needed on the inside of the building.