


Home Site Map - Steps - Foundations -
Form Footing - Setting And Staking
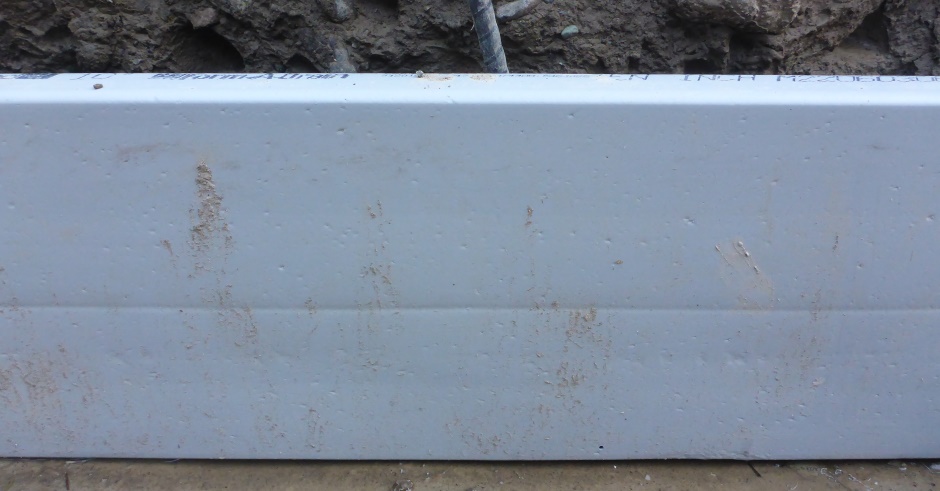
![]() Accurately setting the position of the Form-A-Drain and fixing it in
place.
Accurately setting the position of the Form-A-Drain and fixing it in
place.
Set Form-a-drain locations accurately
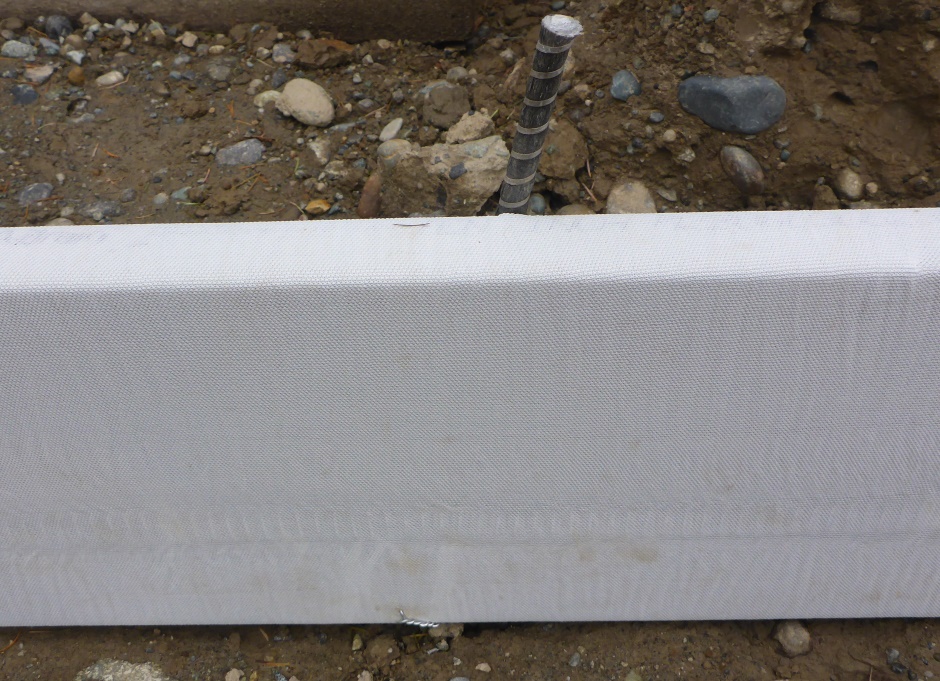
Position the lower inner and lower outer Form-a-drain in the exactly right positions. This is done using a Plumb Bob hung down temporarily from the batter board strings. A hook made out of a bit of garden wire allows the Plumb Bob to easily be moved to different places.
![]()
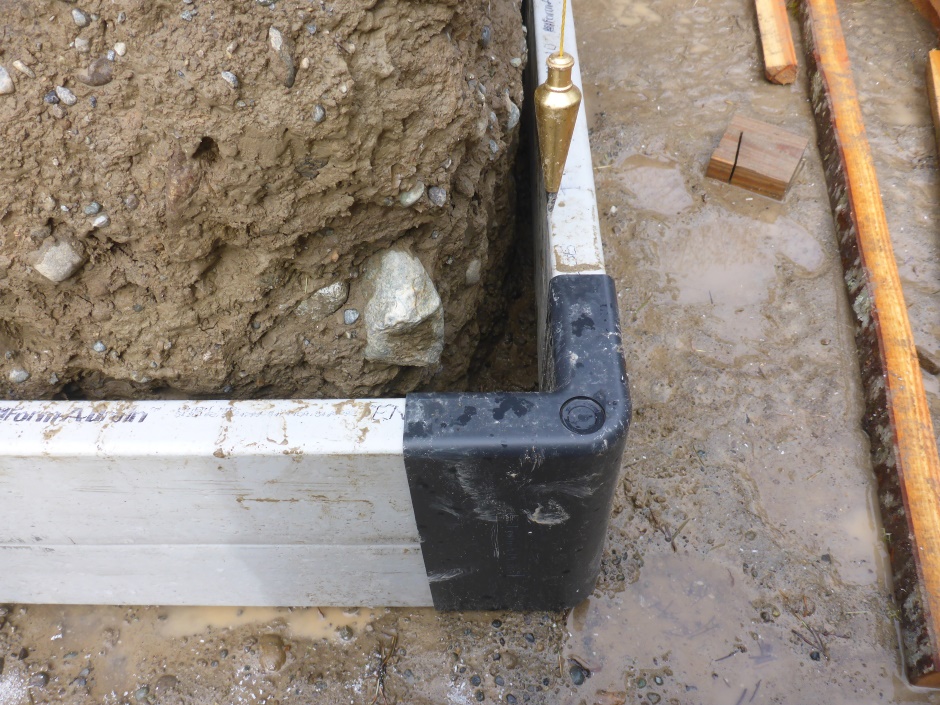
Use two Plumb Bobs to set a corner position, one on the north south string and one on the east west string. The Plumb Bob denotes the outer edge of the Form-a-drain and therefore denotes the outer corner (either convex or concave) (rather than the center of the bend where the Form-a-drain corner hole is).
If you cannot get the Form-a-drain edges all to the right locations when you have all the jigs in place that set the distance apart of the Form-a-drain and the Form-a-drain is all the right AutoCAD lengths then you have a problem that needs to be investigated. You need to get the forming to accurately match the AutoCAD drawings. Perhaps you have cut a length of Form-a-drain to the wrong length.
If you find the angles are not 90 degrees then you have a problem with your batterboards and strings. For the squareness of the foundation you are relying on the batterboards being accurately set. If you think there is a possibility that the batterboards have moved then you need to find a way to accurately check the squareness and get the batterboard strings set to their correct positions. This is not easy to do, which is why setting the batterboards and strings accurately during the mark-out phase was so important.
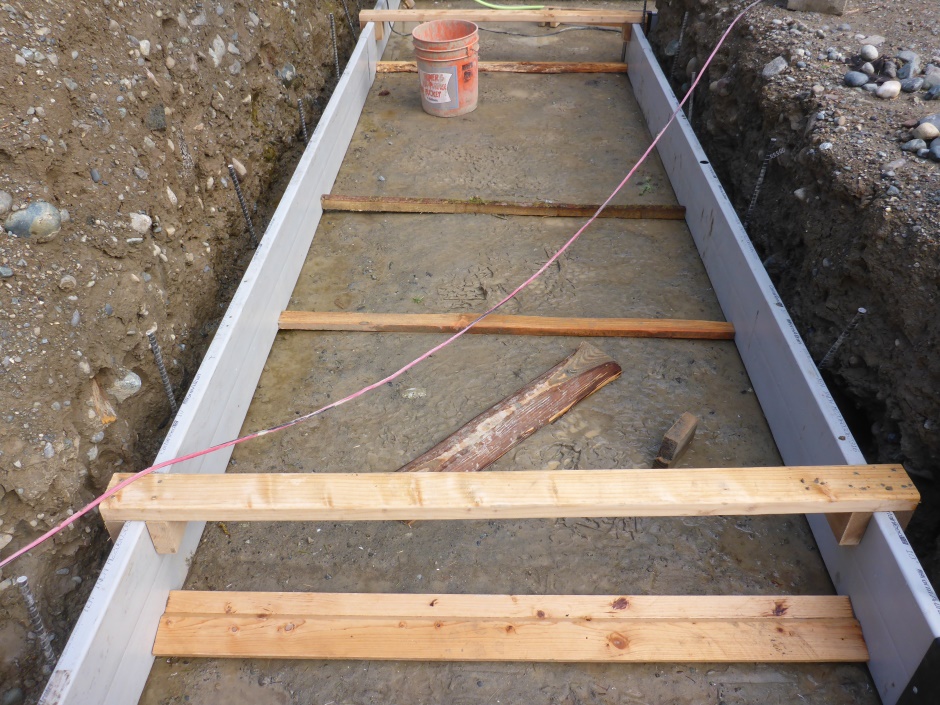
In the above photo, note the liberal use of 4'5" lengths of lumber to stop the Form-A-Drain being pushed inwards (by the crushed rock that is added later).
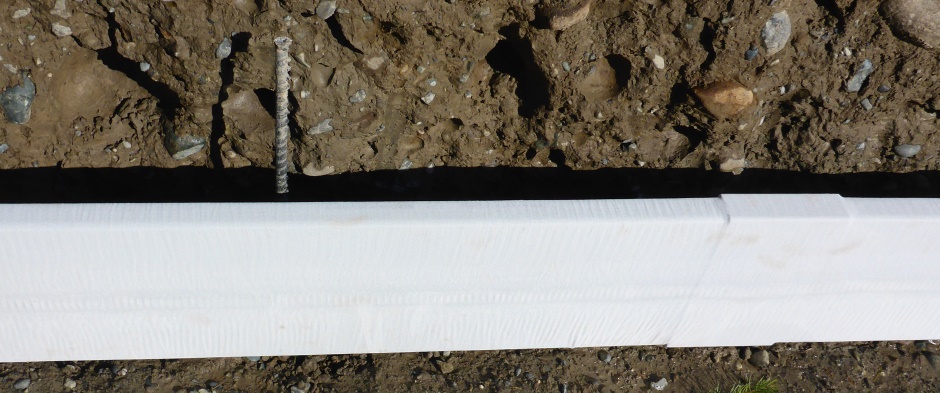
Rebar stakes
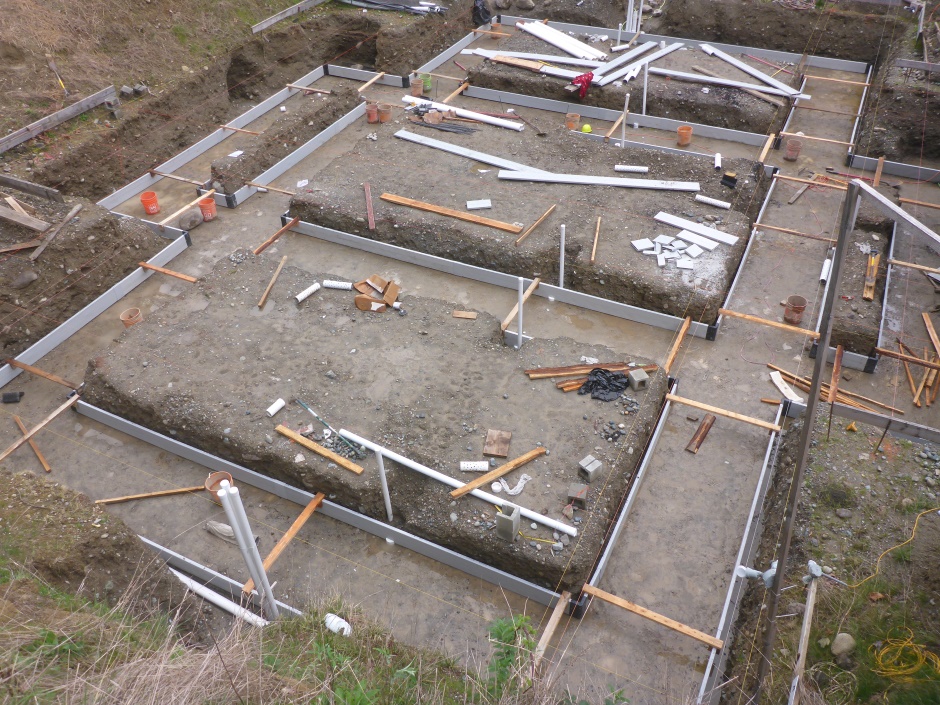
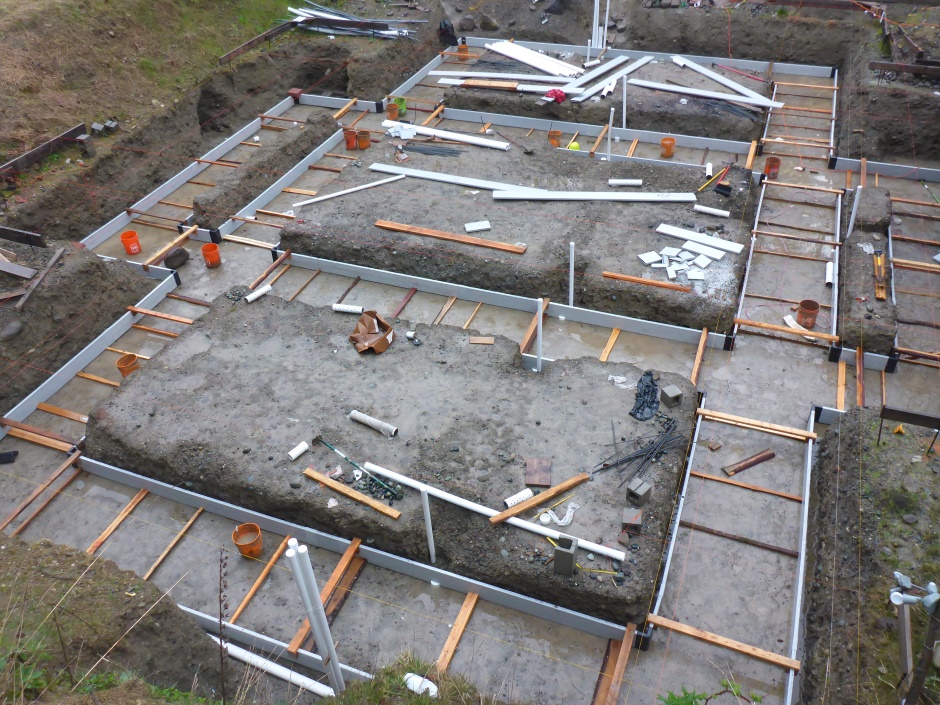
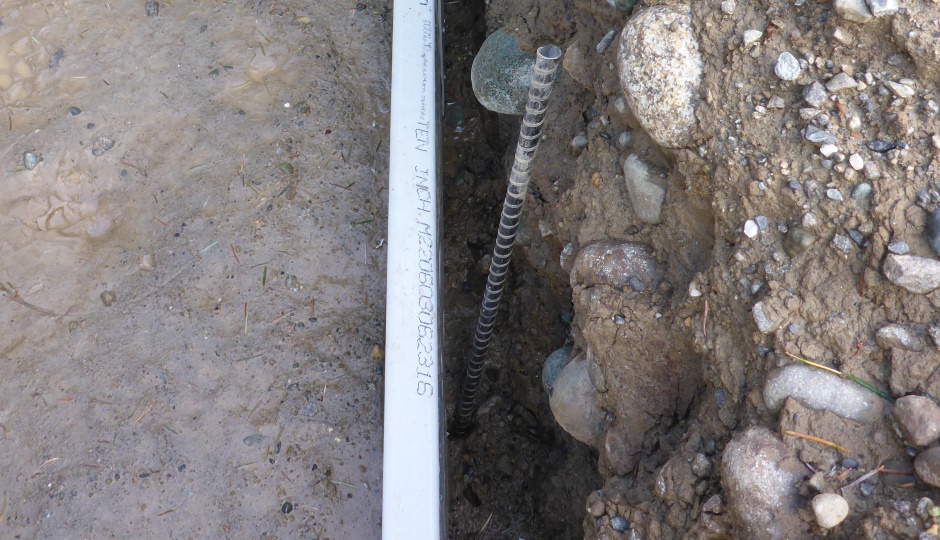
Looking at the foundation drawing you will see that there is Form-a-drain at the bottom of the footing trench on the inner and outside edges, just inside where the stakes will be banged in. The stakes make sure the bottom Form-a-drain stays in place laterally. You could use steel rebar stakes as it does not matter if they rust away after the concrete pour, but I chose to use corrosion-proof rebar.
Stake lengths
As you can see in the foundation drawings, vertical rebar stakes are driven into the ground at the bottom of the footing trench and the lower Form-a-drain is attached to the rebar stakes.
The stakes will be cut off (as needed) at the top of the lower Form-a-drain, so the stake length is 10" plus the length in the ground. The length of stake depends on how hard your soil is, but about a 2 foot stake is a good length. In my case the soil is so hard that I used slightly shorter stakes. If because of a rock you are not able to hammer it in 14" then it will protrude a bit above the top of the lower Form-a-drain. If you have lots of rocks you may have to have several attempts at finding a suitable location along the Form-a-drain where it will go in. It does not matter if it goes in a bit crocked, but try to get the bottom next to the bottom of the Form-a-drain so the bottom Form-a-drain cannot move. There can be a slight gap as the force is all inwards and the wire can span the gap.
Bang in the stakes
You will need to put rebar stakes about every 2 or 3 feet to provide enough retention for the Form-a-drain. The exact spacing and positioning along the Form-a-drain length does not matter. Use the Form-a-drain to guide where the stakes need to be, but make sure the Form-a-drain is in the right location using a plumb bob off the batter board strings. Use the 4'5" wood spacers to help stop the Form-a-drain from moving. Make sure the Form-a-drain does not move when banging in the stakes and if it does then use the plumb bob to get it back to the right location. Also make sure the Form-a-drain is not warped and if it is then compensate for this when putting in the stakes (fixing the Form-a-drain to the stakes should un-warp the Form-a-drain).
Bang the stakes in vertically with a Club Hammer. Realistically the stakes may wander a bit when banged in, but as long as they are within half an inch of the edge of the Form-a-drain then you will be fine. They also may not be exactly vertical due to rocks, but a bit of variation is ok.
Drill holes for the wire
It is easier to drill the holes for the wire before fitting the filter sock. Drill a hole at the bottom of the Form-a-drain (about 3/8" up) in line with where the stake goes into the ground. The other end of the wire on the other side of the stake will go under the Form-a-drain.
You can drill the holes after fitting the sock but you will need to cut the cloth with a craft knife to create a bare area or the drill will wind up the cloth.
Form-a-drain filter sock
For this step you need to pull up the Form-a-drain that has been temporarily placed in the right position. When pulling up a section use the opportunity get rid of any soil that has fallen inside the Form-a-drain.
Over the life of the building you need to avoid the Form-a-drain getting clogged up with soil as it is hard to clean out compared with 4" perforated drain pipe. To avoid soil getting in you need to cover the slots with filter cloth. You need this on the Form-a-drain that goes at the bottom of the footing ditch and on the inner top Form-a-drain. The outer top Form-a-drain is used as a reference rather than for drainage so you don't need or want filter cloth on it.
The best filter cloth is the type that comes in rolls of sock for 4" drainage pipes. It will stretch over the 10" Form-a-drain ok.

Here's a picture of a section of 10" Form-a-drain covered in the sock...
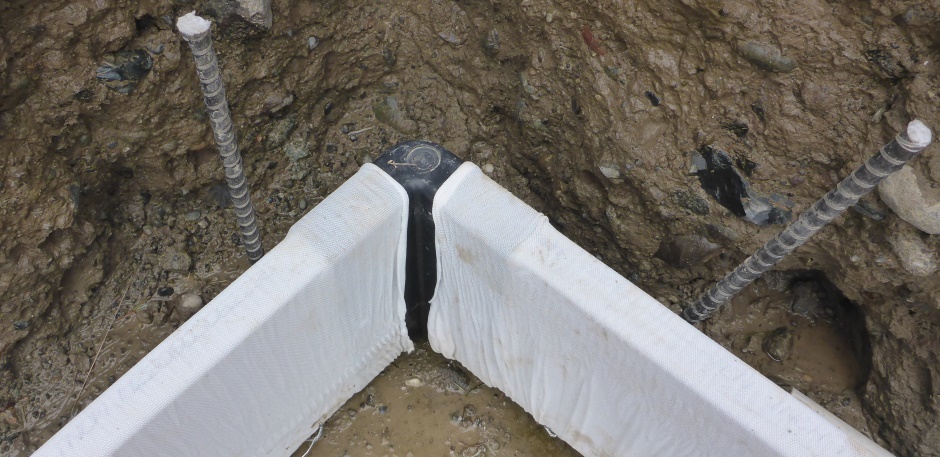
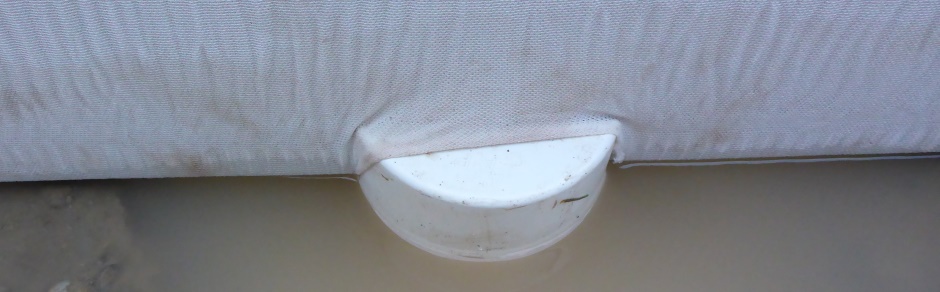
Here's what the sock covering looks like at the corners...
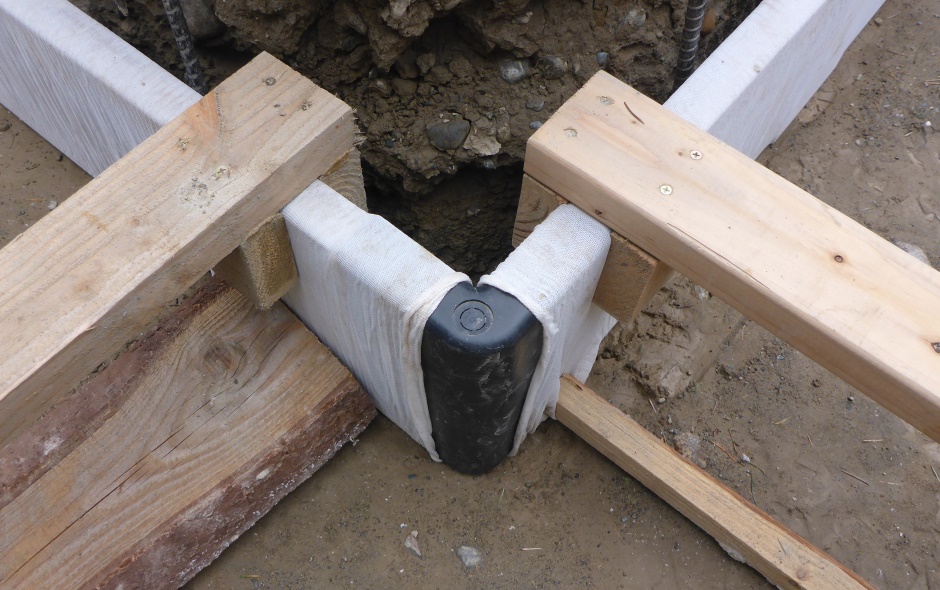
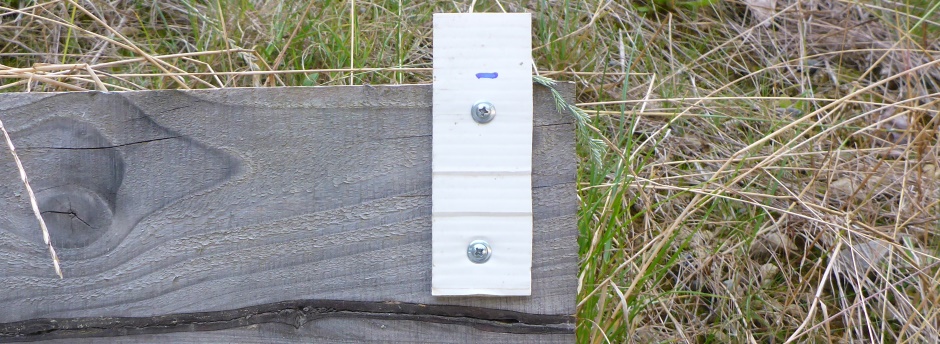
Fit screws back into the corner pieces when you have fitted the filter sock. It is not a bad idea to add more than just the one screw to hold the Form-A-Drain more securely.
Where there is an exit drainage connection then you need to cut a slit in the filter cloth.
Put the 4'5" lengths of lumber back in place to stop inwards movement of the Form-A-Drain.
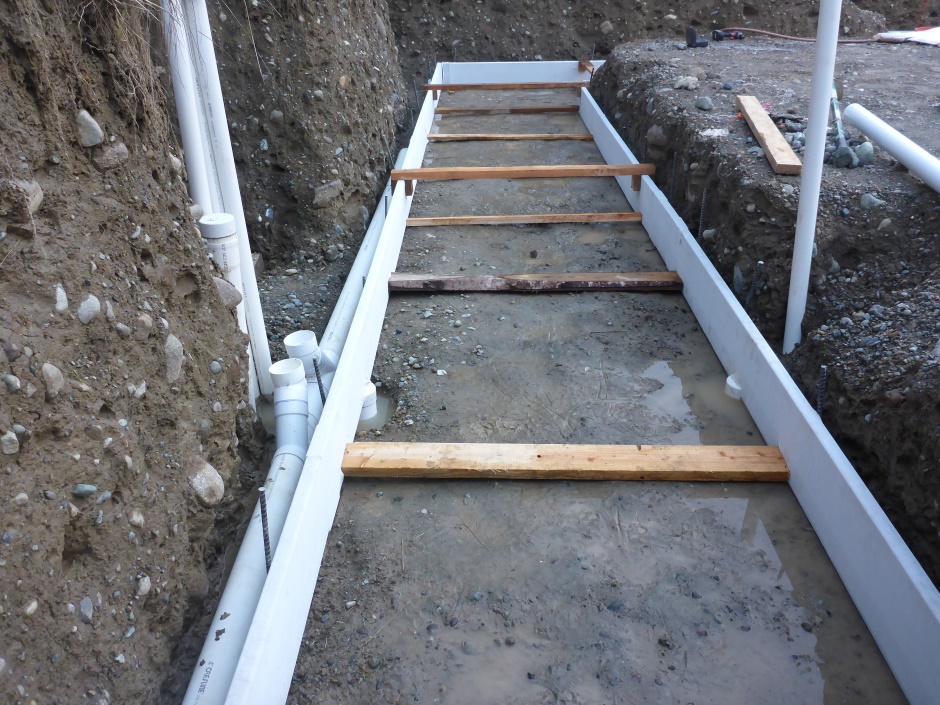
(Note that the 4" perforated white pipe in the photo is typically added at a later step.)
Form-a-drain stake fixing
This applies to both the inner and outer lower Form-a-drain. It helps stop the Form-a-drain being forced into the footing area by the crushed rock. It attaches to the stakes with 16 gauge galvanized wire. The hole will have previously been drilled in the Form-a-drain, but you will need to feel for the hole with your finger under the filter sock.
Before wiring you need to make sure the Form-a-drain is in the right place both longitudinally and laterally to within +/-1/4". You also need to make sure the height is about right. Certainly the Form-a-drain must not be sitting high because it is hard to remove soil and rocks under it once the Form-a-drain is wired to the stakes. Being up to 3/8" low is ok.
The wire end can make a hole in the filter cloth. Twist it on the footing trench side and bend the tail to get it out of the way. Make sure the sharp tail is down into the ground so it does not unnecessarily puncture the lining membranes that will be added later.
Form-a-drain shimming
The Form-a-drain needs to be laid exactly horizontal (on its edge). This will be what it is if you have done an accurate job with your footing trench excavation, but realistically you need to accurately check it using a self leveling laser set to batterboard height, and make any adjustments needed.
It is good to have a laser target on the far side of the build site to ensure the laser height has not moved.
The Form-a-drain needs to be (eventually) exactly level so that water does not accumulate in it. If necessary, add a few selected shims to get it padded out to the right height and levelness. Pieces of porcelain tile (2"x4") make good padding shims.

If the Form-a-drain is warped then it will have been laid such that the center is lower than the ends. To stop the ends artificially raising up when you put shims under the center then you may need to temporarily place paving slabs on the corners (or on the jigs next to the corners).
It is ok to leave the Form-A-Drain up to 3/8" low at this stage because some further shimming can be done after the upper Form-A-Drain has been installed. You will be able to do it more accurately once the upper Form-A-Drain has been installed because any bowing will have been taken out.