


Home Site Map - Techniques - Plot Infrastructure -
Sewage System - Implementation
![]() Here are the highly documented details of the installation of my
system.
Here are the highly documented details of the installation of my
system.
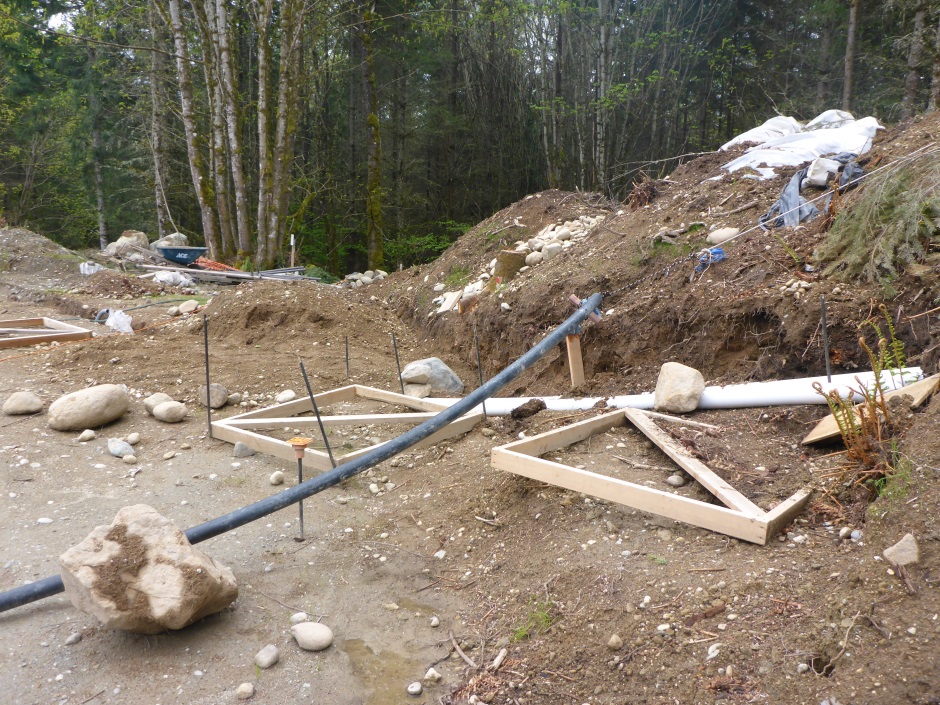
Tank Excavations
Excavating is easiest with an excavator or backhoe.
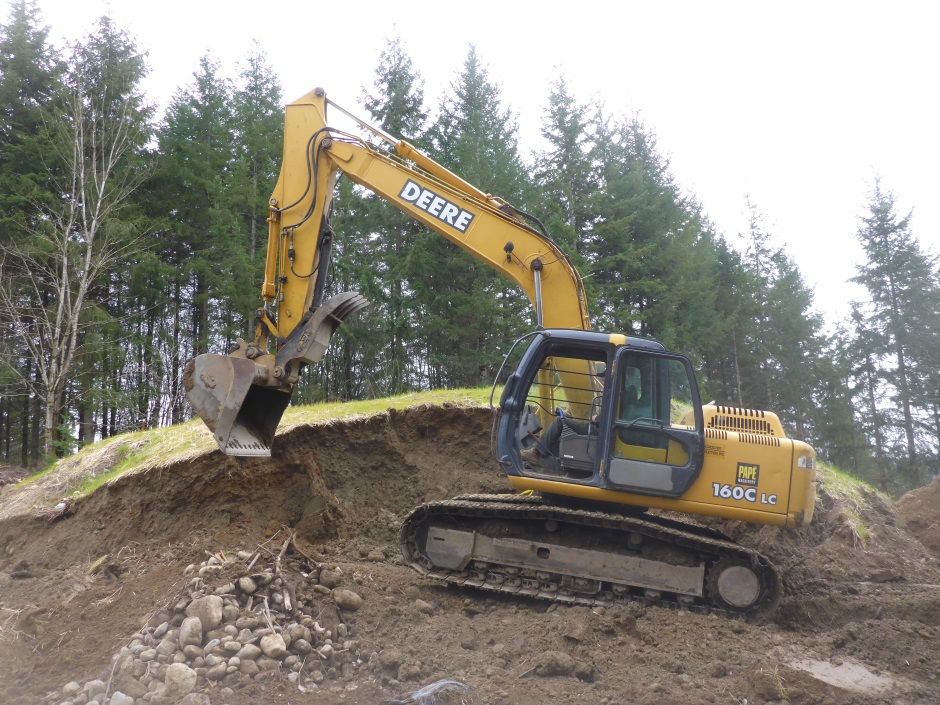
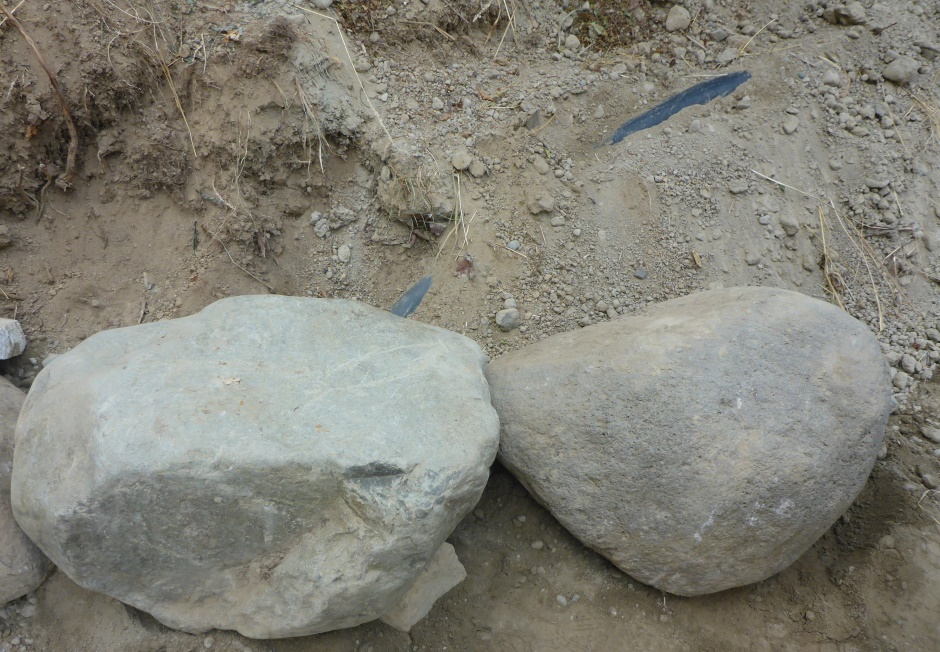
You can do it by hand if you want the exercise, but if you hit a big rock that requires extra effort.

The best way to assess the depth and make sure the depth is even across the whole bottom is to setup a self leveling laser at reference grade level and then use a sick with a white plastic card on the end. The length of the stick to a mark halfway up the card should be whatever you have determined is the required depth (from your CAD drawings).
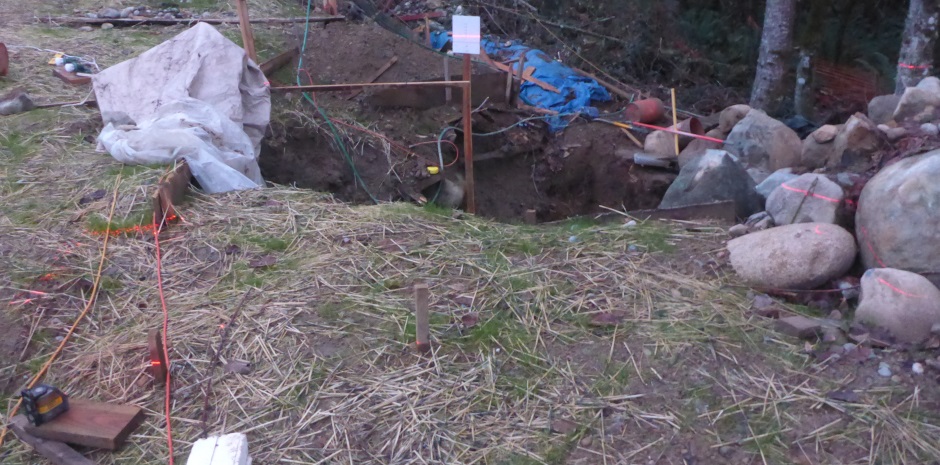
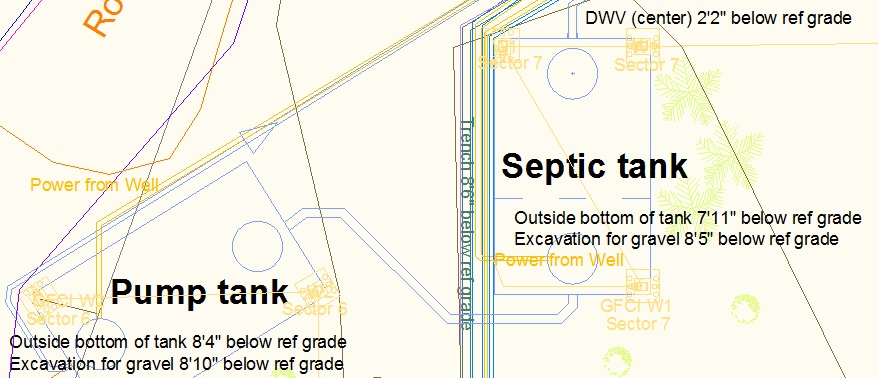
The pump tank wants to be 2 or 3 inches lower than the septic tank. You need to maintain at least a 1/4" per foot pipe slope from the output of the septic tank to the input of the pump tank.
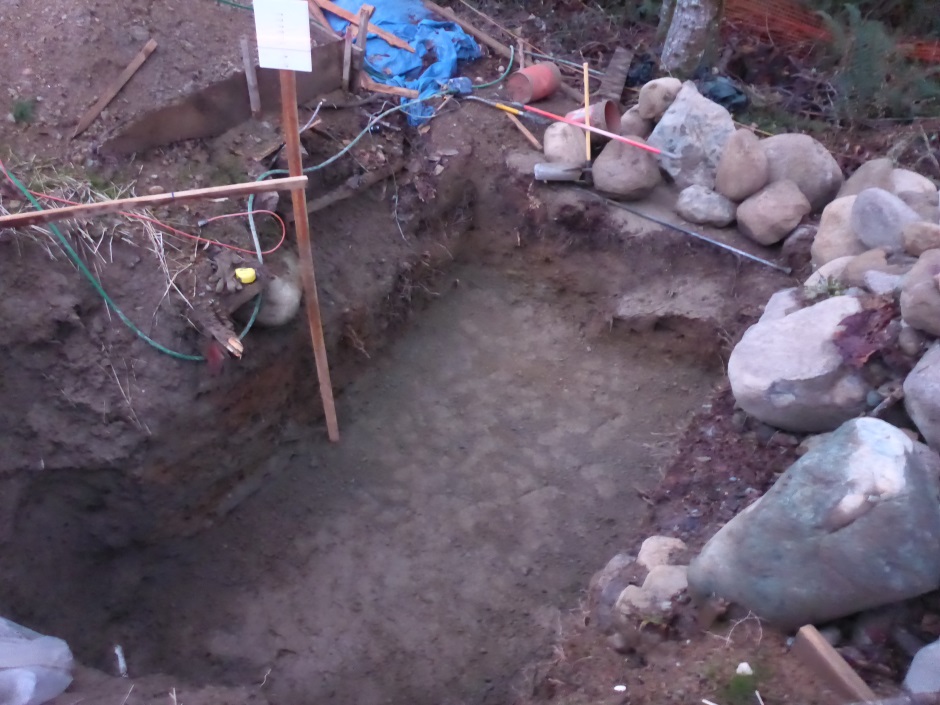
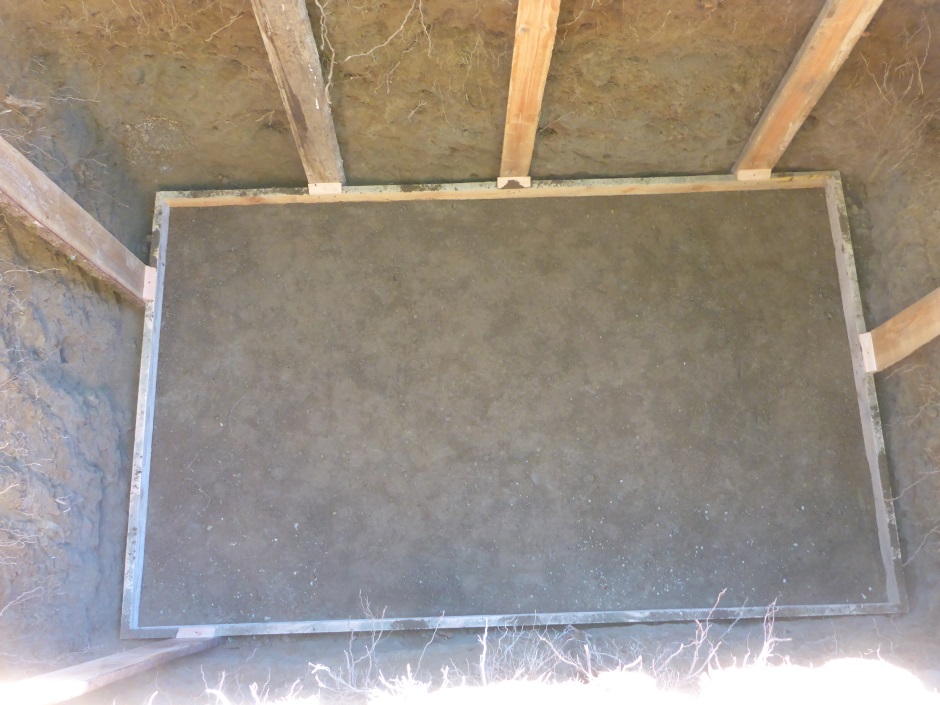
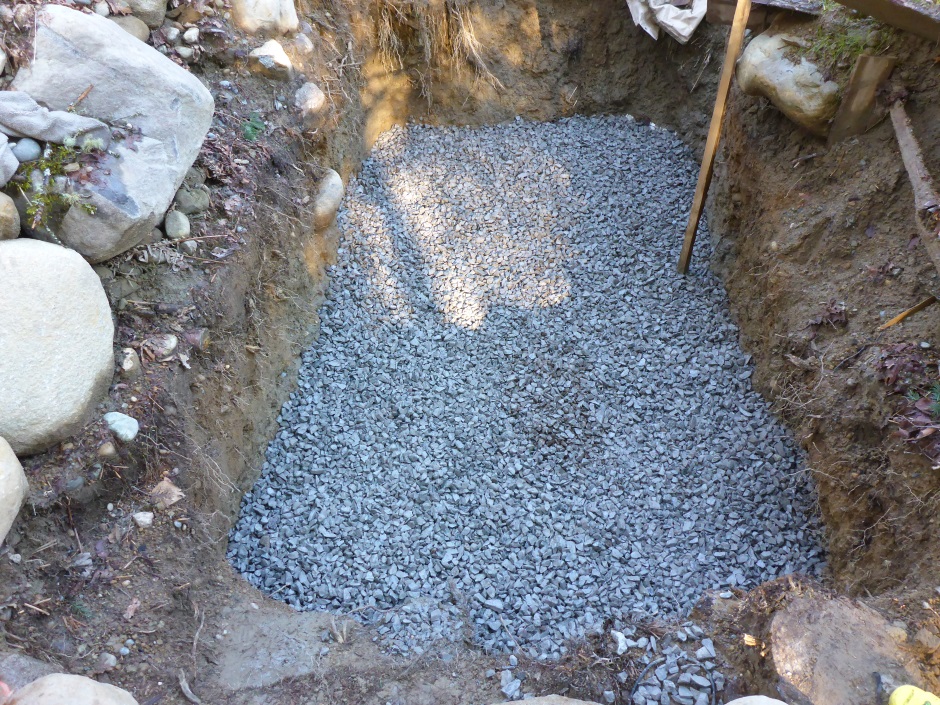
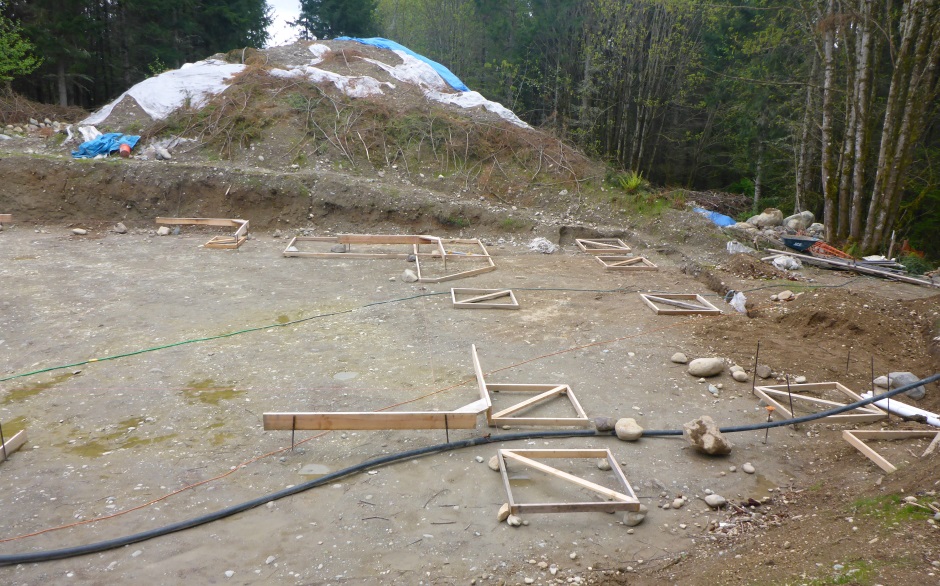
Get the soil at the bottom of the excavation completely level all around the outside where the walls of the tank will sit. This is best done using the laser line on the stick that has the white plastic card. Keep moving the stick to different places and check the laser line is at the same place. In the center of the excavation (where the middle of the tank will be), you need to excavate down an additional couple of inches. This is so that most of the weight of the tank is taken by the concrete walls of the tank rather than the concrete bottom of the tank.
A wooden frame can be useful to help guide the tank into the hole without caving in the sides, but is typically not necessary.
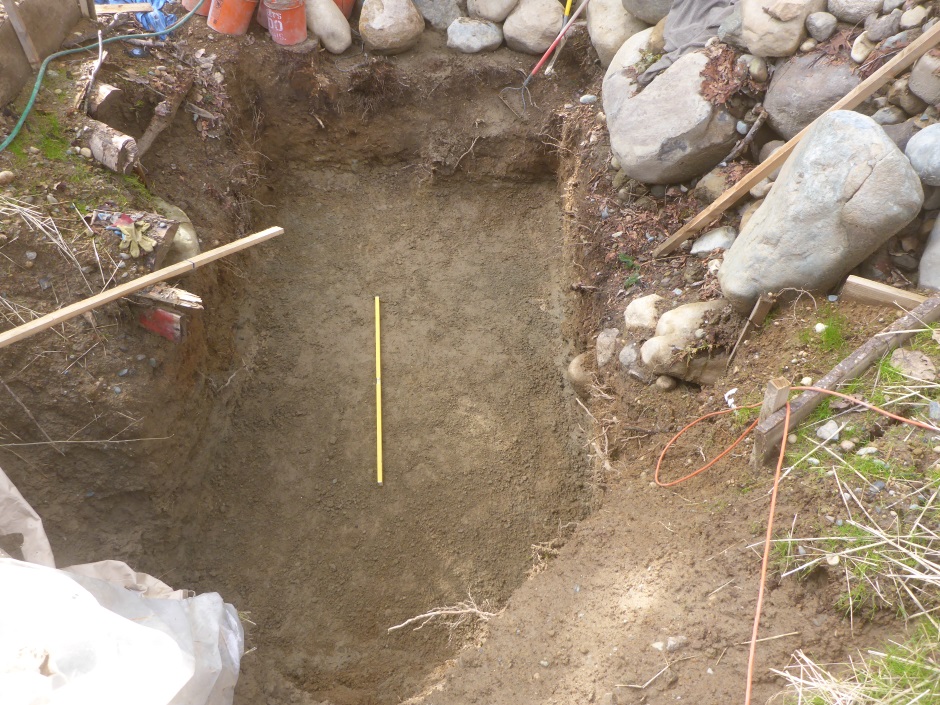
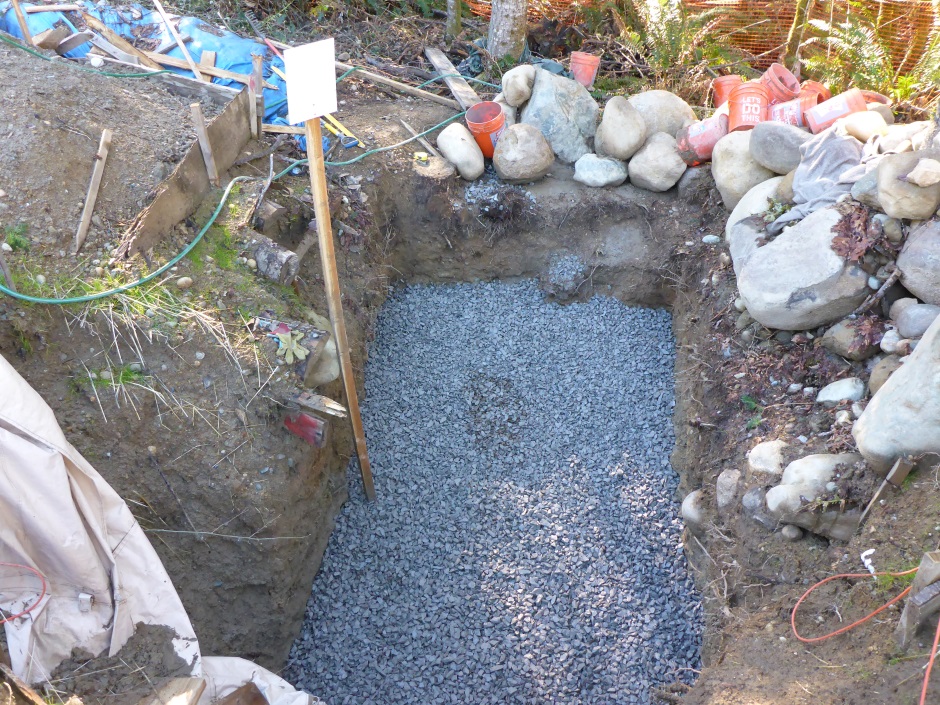
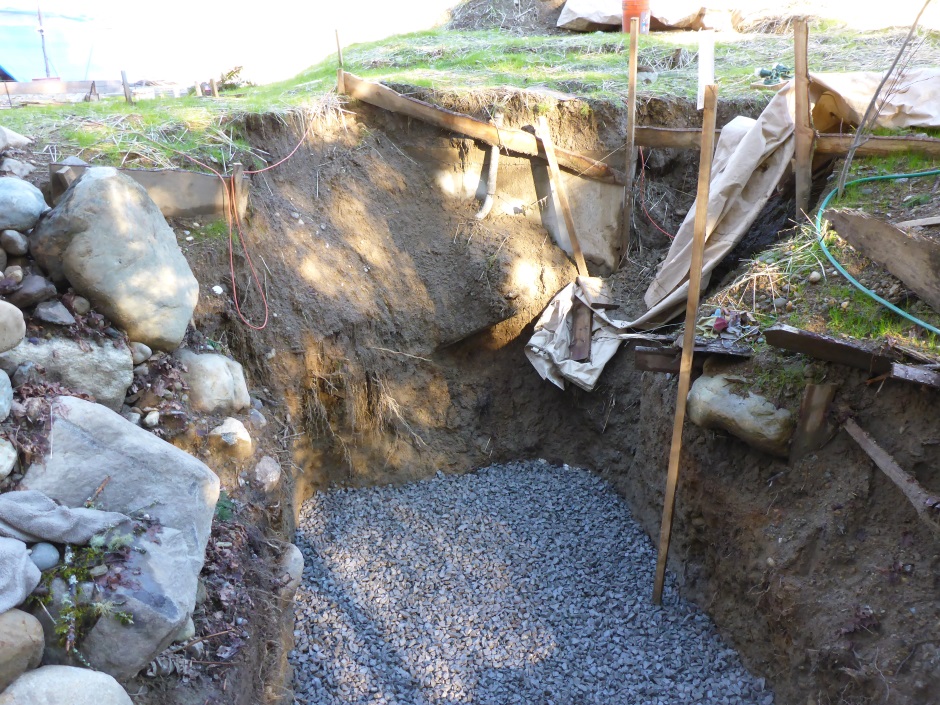
Once the soil is level (with a dip in the center area), add about 6" of gravel. Level the gravel using the laser stick method. Note that the thickness of the gravel bed needs to have been allowed for in your calculations about how deep the hole needs to be. In my case I needed to get the bottom of the septic tank at 7'11" below ref grade and the bottom of the pump tank at 8'2" below ref grade.
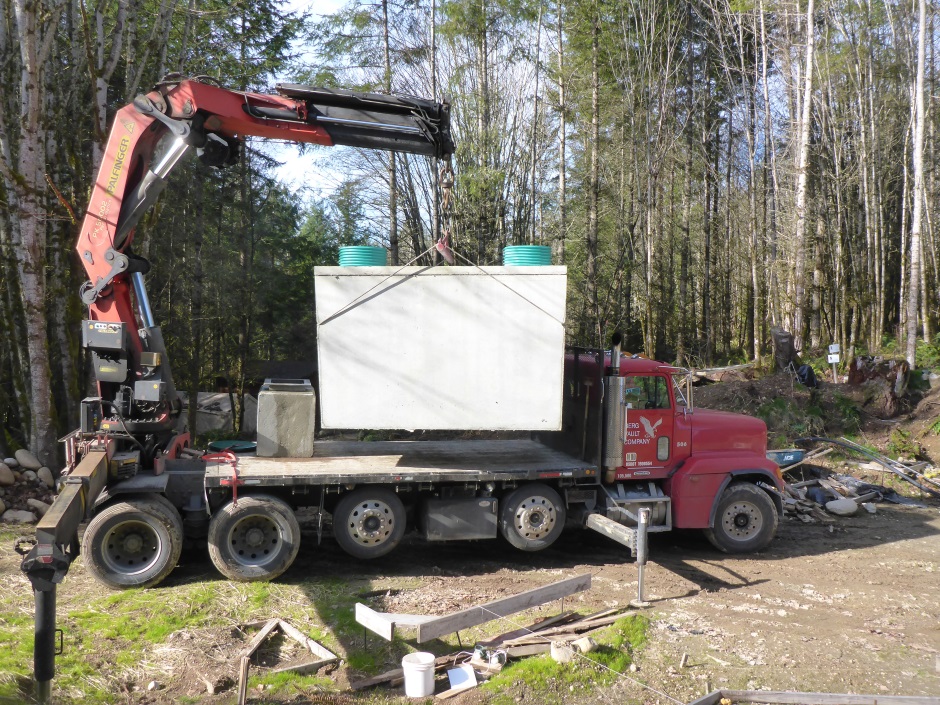
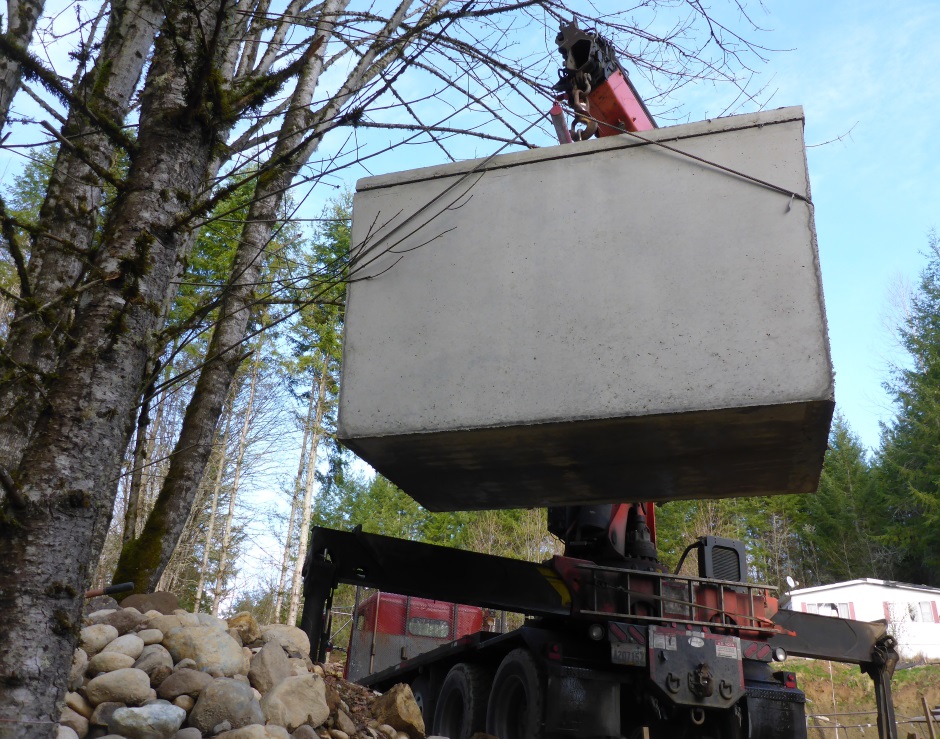
Septic Tank
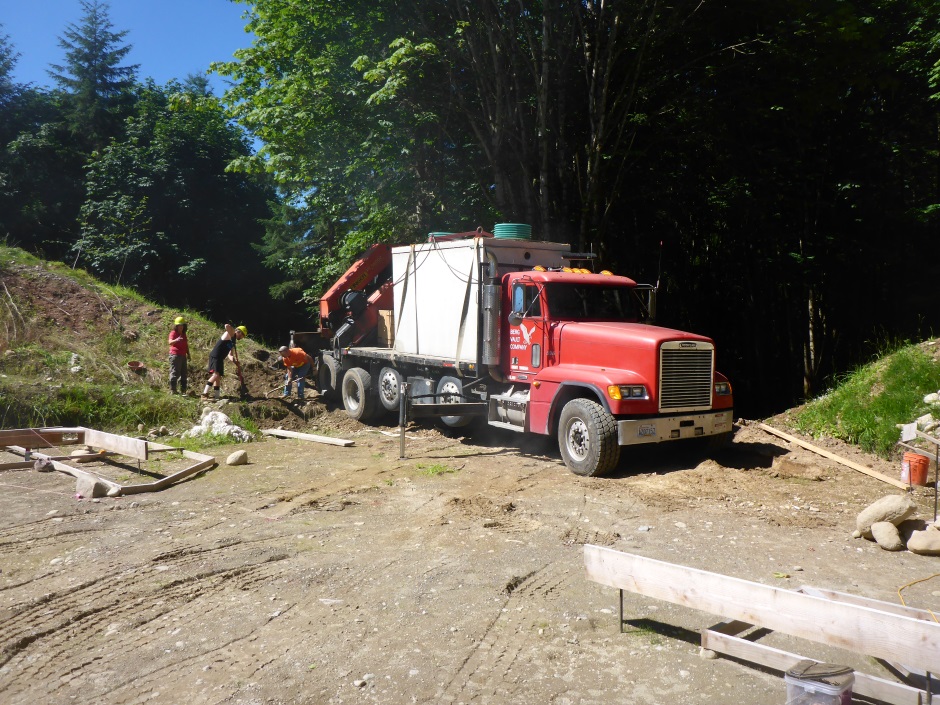
The delivery truck has outriggers an sometimes it is necessary to do some digging and moving of rocks to allow the outriggers to be extended.
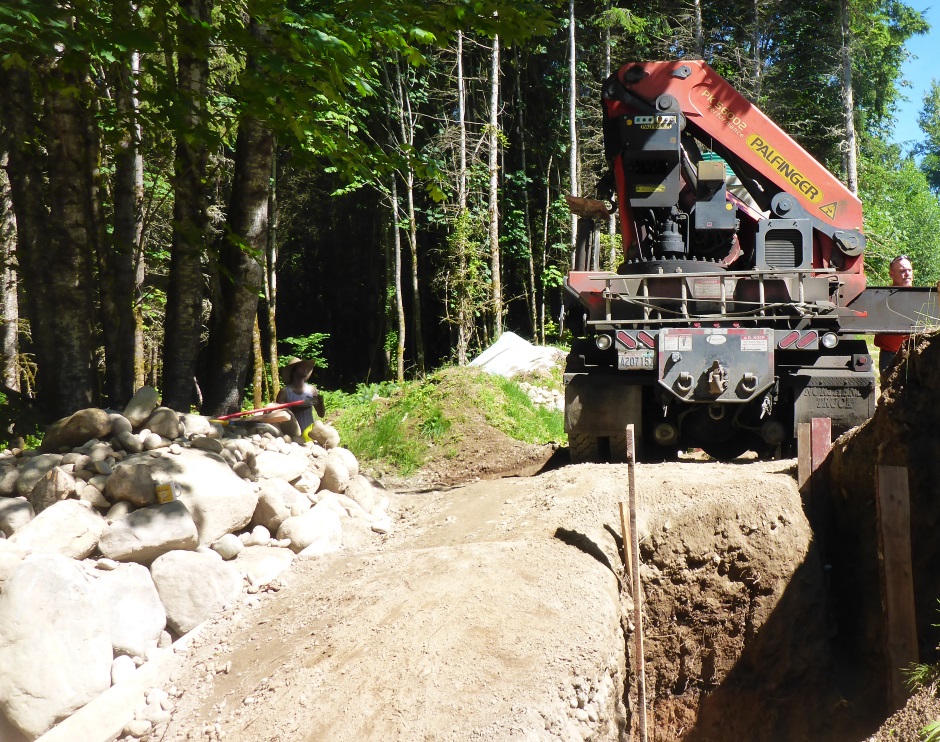
There is a crane on the back of the truck, but it only has a limited reach so the back of the truck needs to be fairly close to the hole. If you try to over-reach then the entire front of the truck will rise up into the air due to the weight of the tank (I have seen this happen and it is very spectacular, but dangerous).
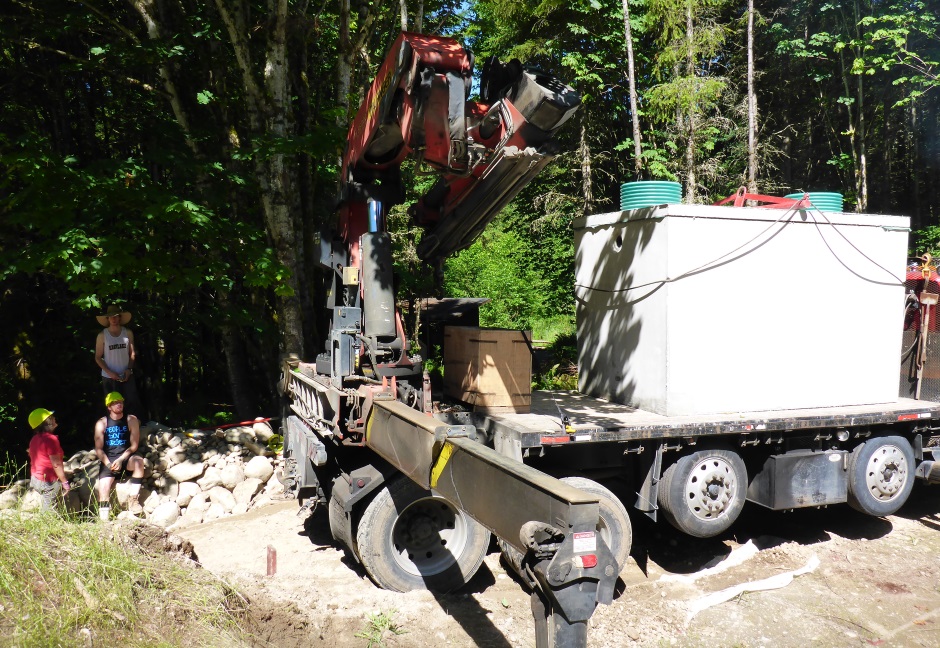
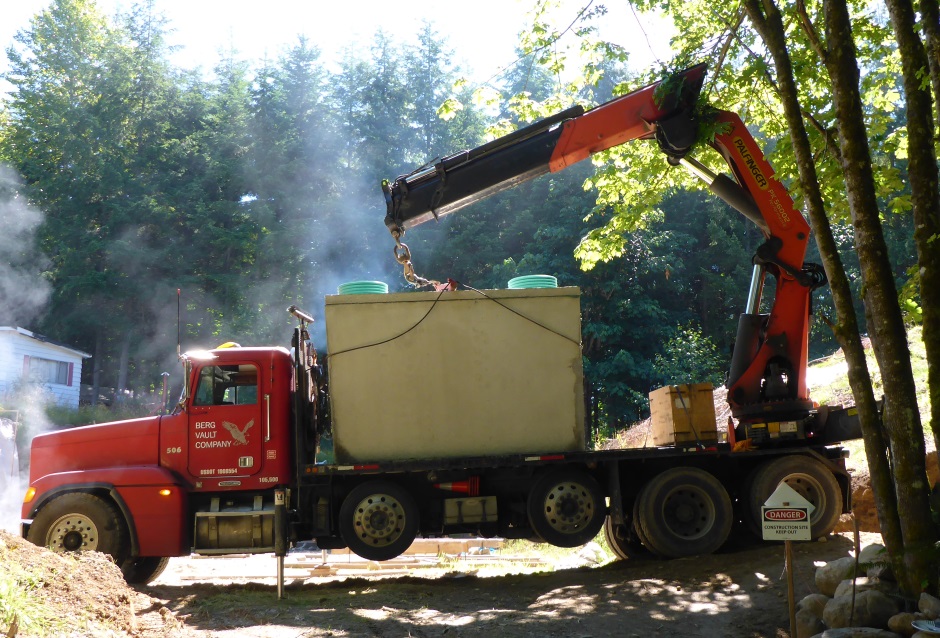
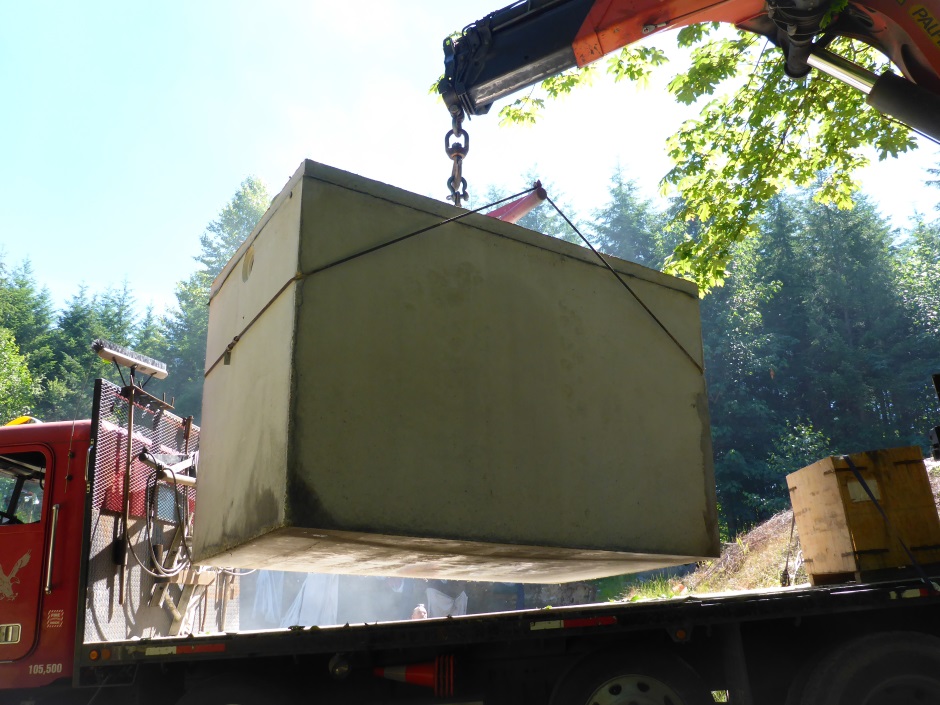
It is very important to get the dual compartment septic tank the right way round in the hole. The input end needs to be towards the house. The input end of a two compartment septic tank is the end with the biggest compartment.
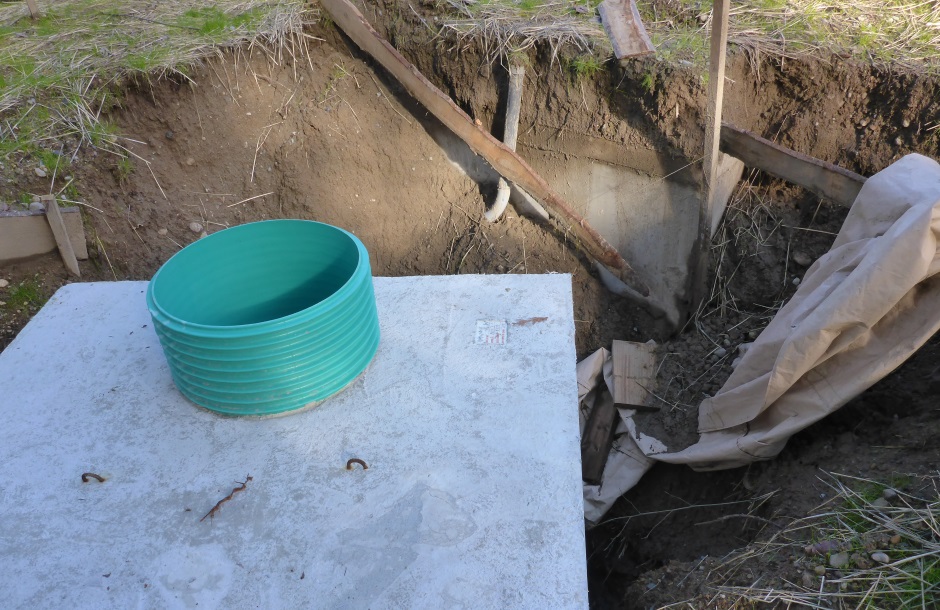
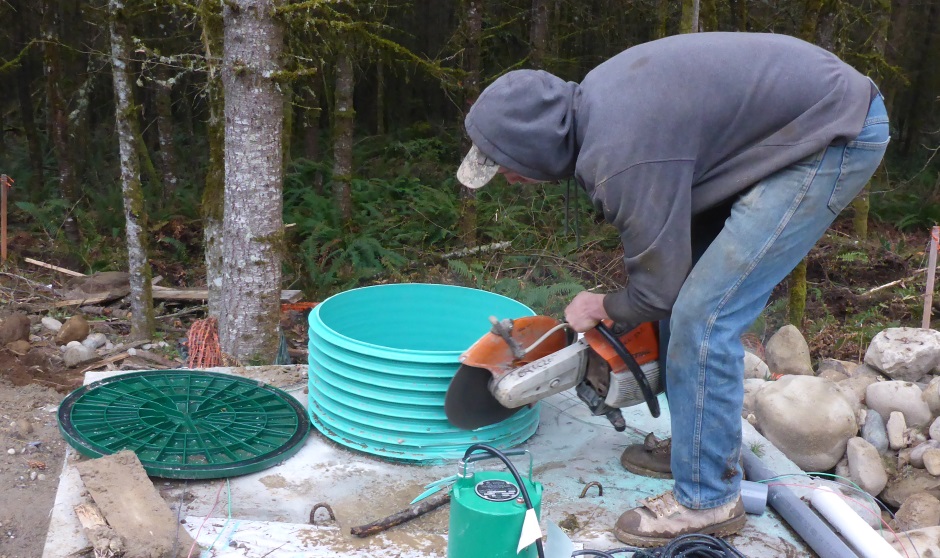
Pump Tank

Pipe between tanks
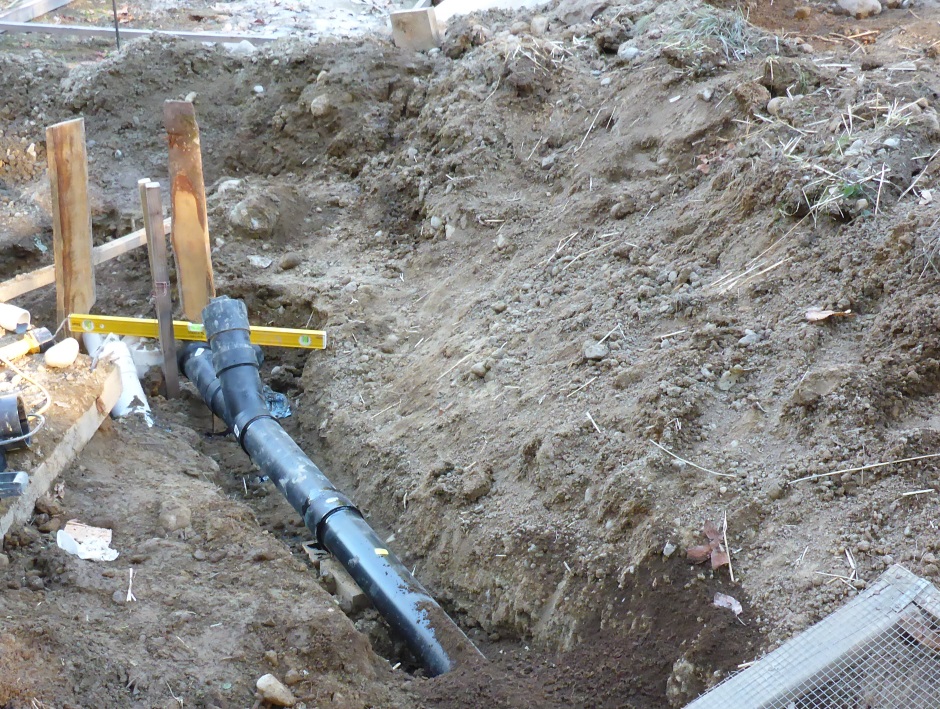
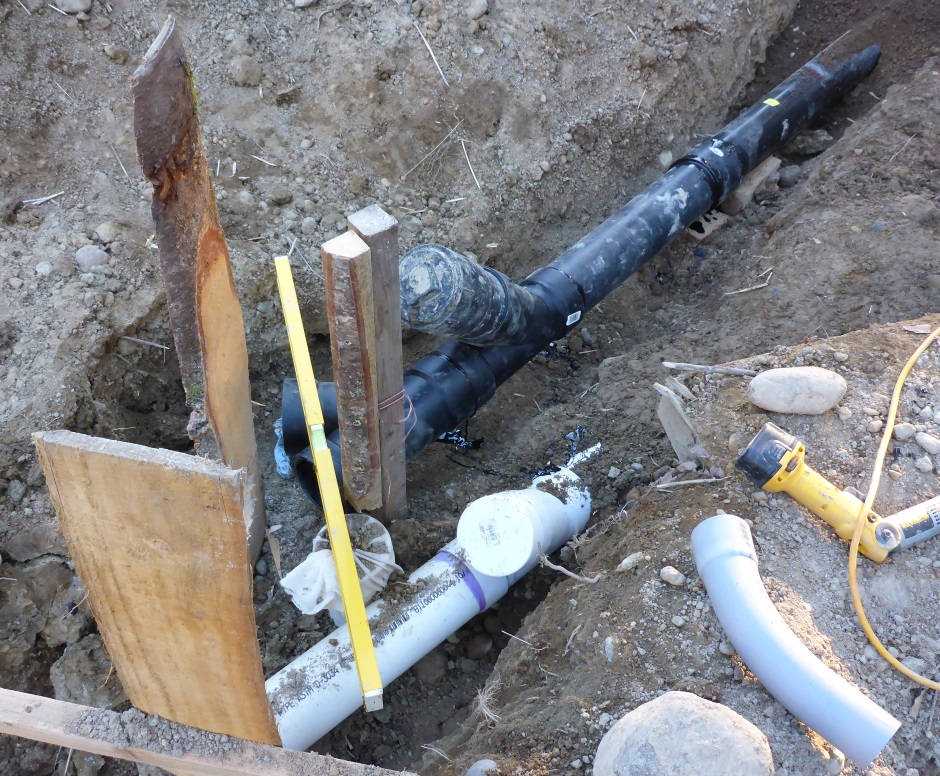
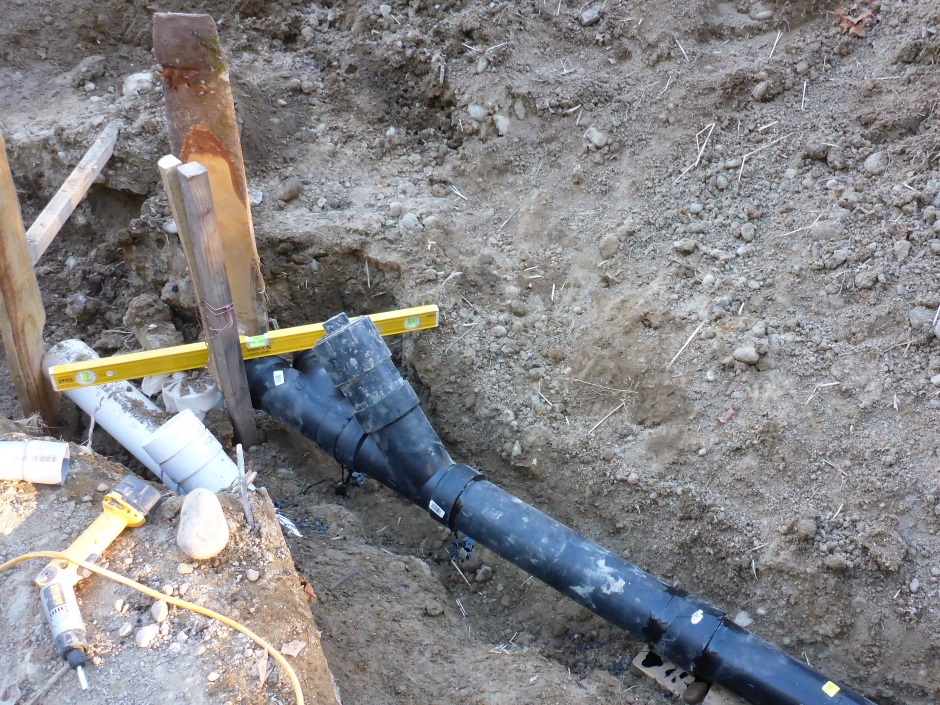
The pipe starts from the second compartment of the septic tank. A long tubular removable strainer filter is installed in the septic tank to make sure only effluent flows to the pump tank.
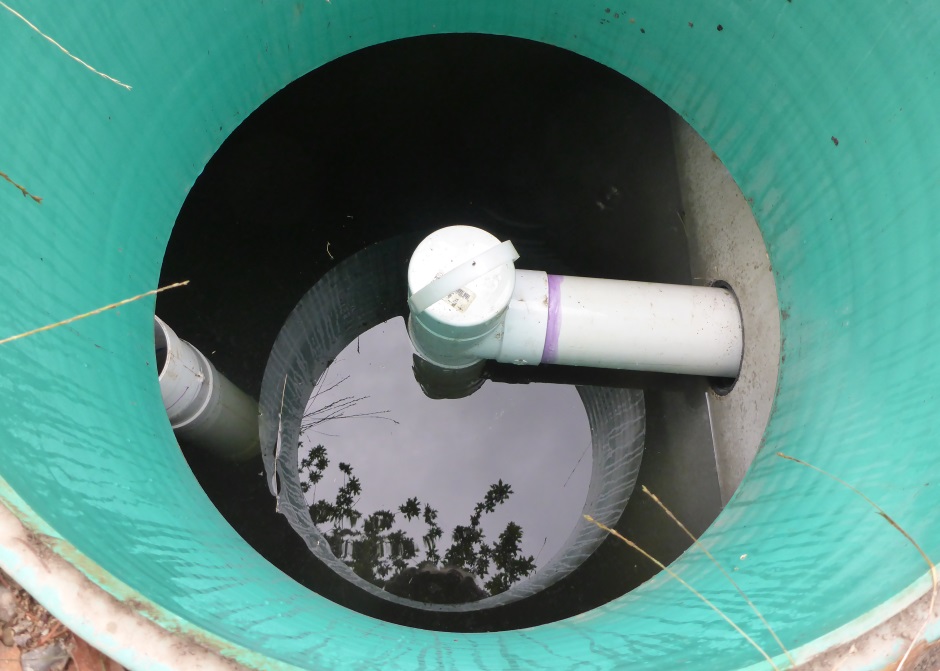
Also shown in the above picture is the pipe assembly fitted on the weir between the two compartments of the septic tank.
Rubber grommets with stainless steel jubilee clips are used on all pipe connections to the tanks.
Support the pipe between tanks using a couple of bits of pressure treated boards. Do not backfill until after the final signoff inspection.
The output port from the pump tank is not used and is therefore capped off.
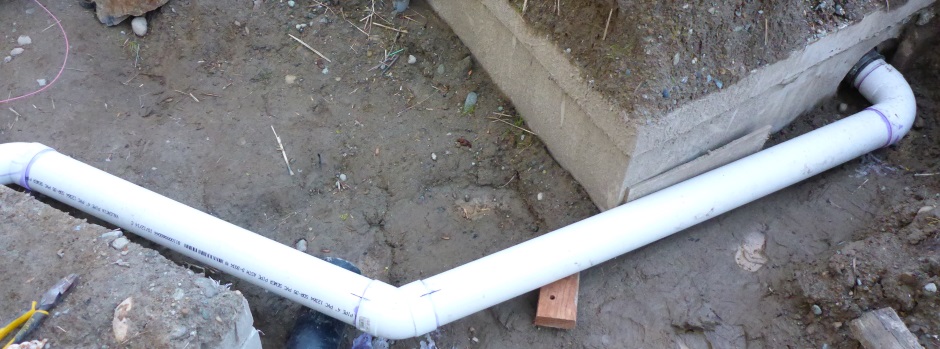
House DWV to Septic
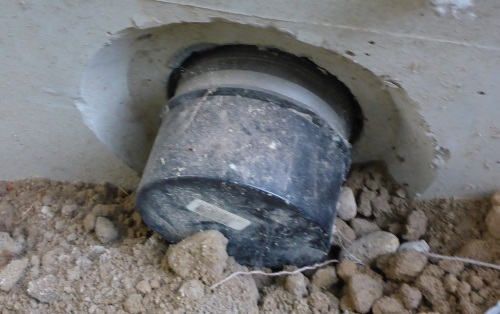
From the house to the septic you need a 4" sched 40 sewer pipe. I use ABS pipe because it is strongest (although a little more expensive than PVC pipe) and it avoids needing a Fernco connection from the DWV system for the house that is all ABS . The slope all the way from the house needs to be a nice even 1/4" per foot. At the septic end the pipe pushes through the rubber gasket that is molded into the side of the tank on the input side and a jubilee clip is used.
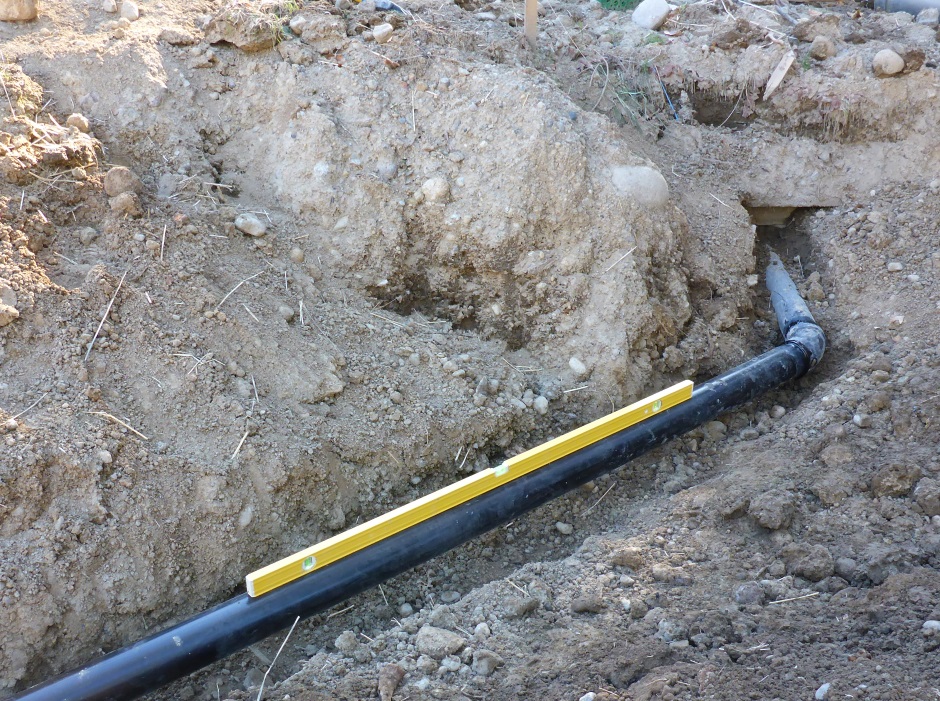
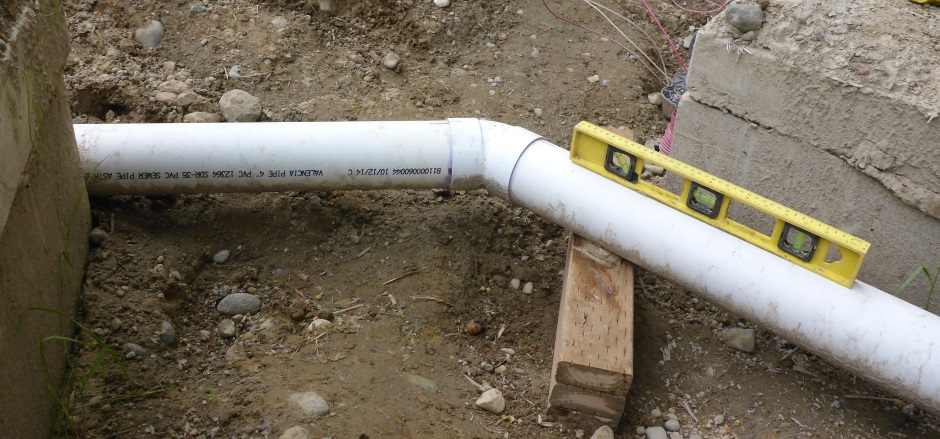
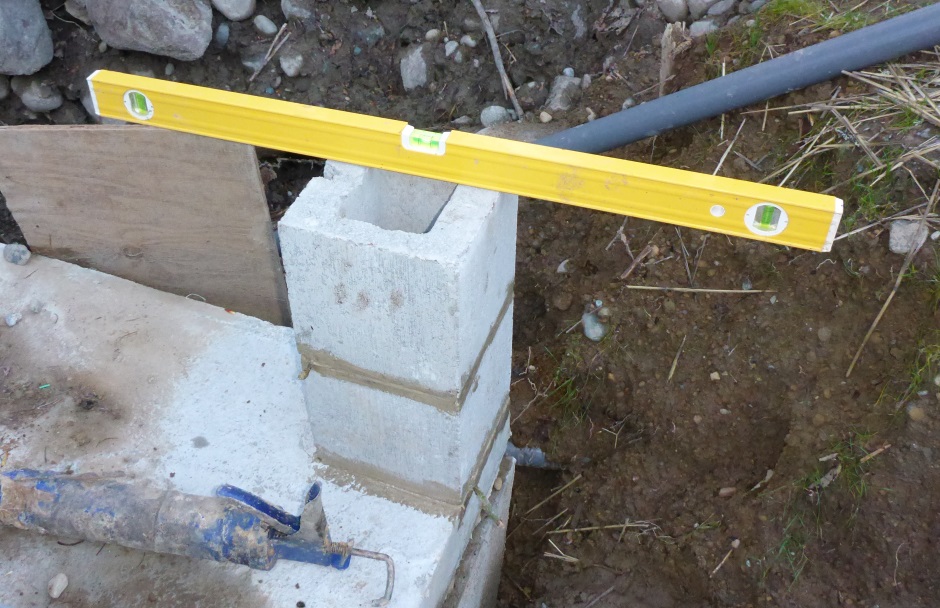
The best way to accurately set the slope is to measure the length of your level and cut a wooden spacer corresponding to the length in feet times 0.25". With the spacer the bubble of the level should be exactly in the center.
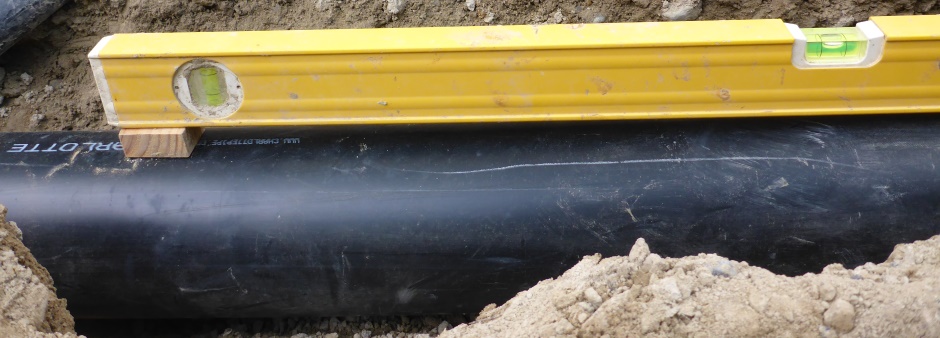
Make sure that the middle of the pipe cannot and does not sag down as the ground settles over time.
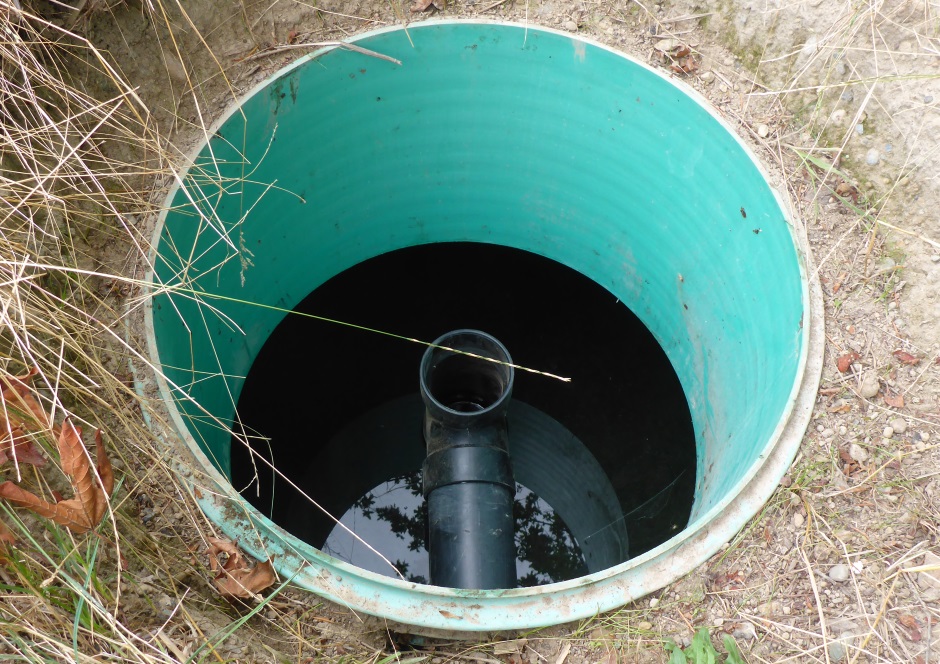
Inside the tank goes a 4" ABS Sanitary Tee and a vertical pipe.

Finally you need to fill round the sewer pipe with filtered soil so there is no danger of a sharp big rock damaging the pipe.
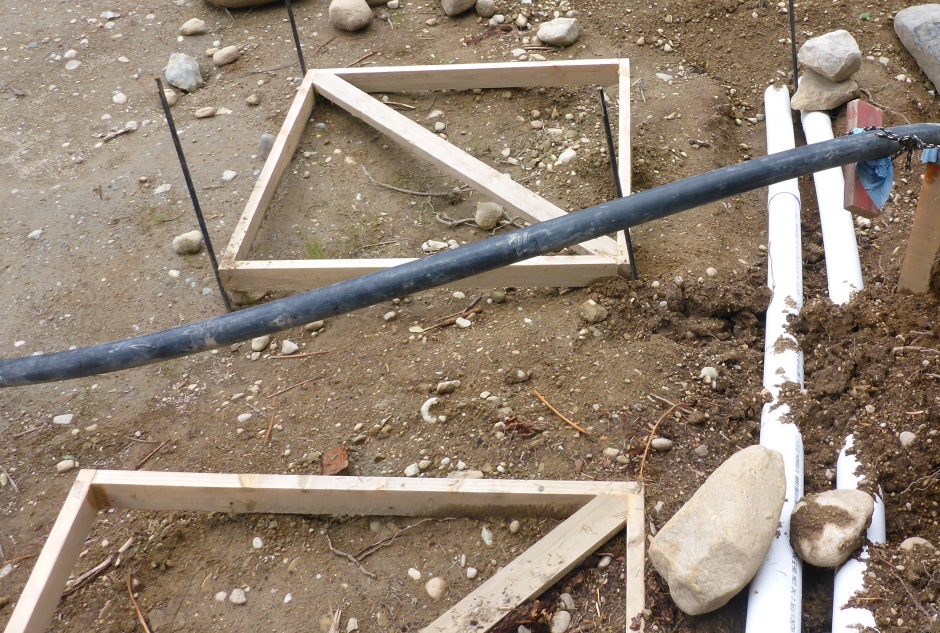
2" PVC pipe to Sand Filter
This is the pipe that gets the high pressure effluent from the pump tank to the sand filter.
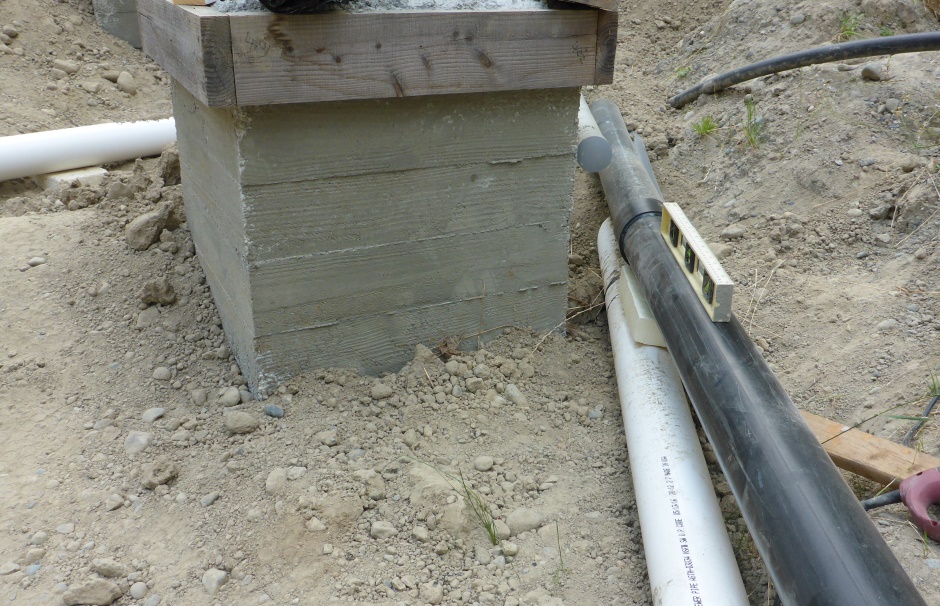
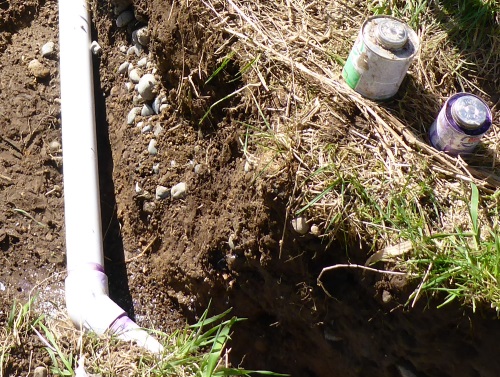
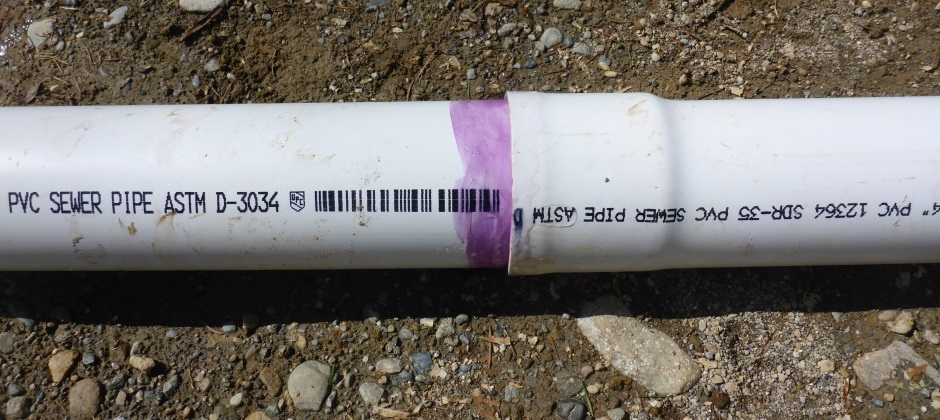
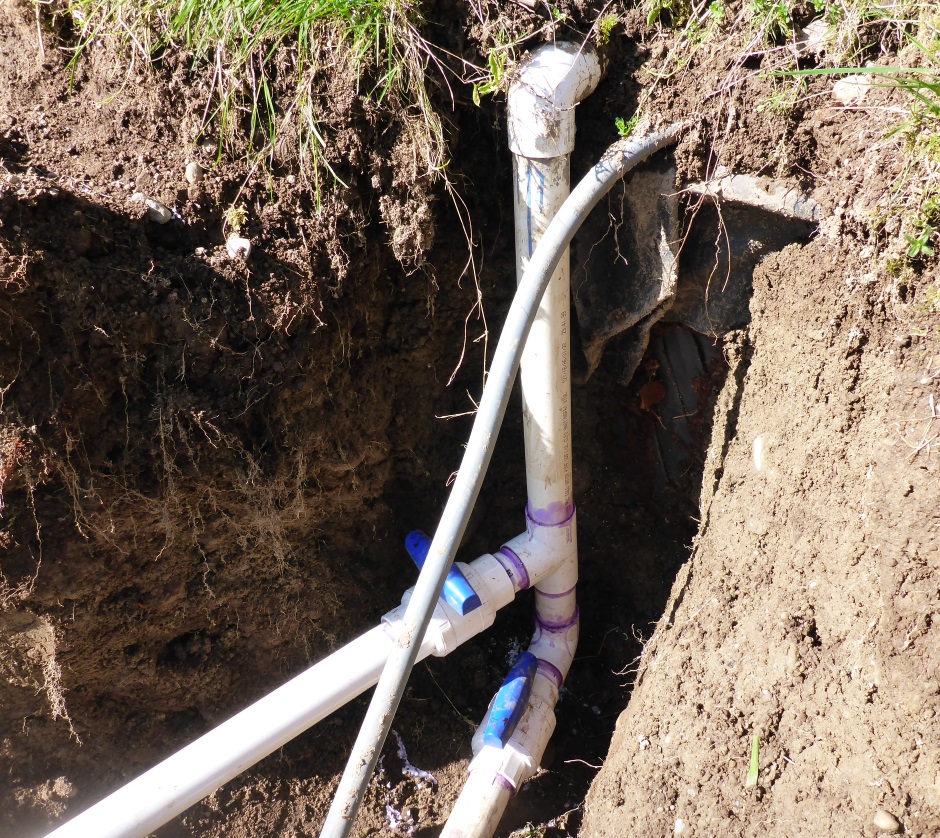
The septic system uses 4" ABS pipe whereas the pumped sewage uses 2" PVC pipe. The pumped (pressurized) effluent is carried by 2" schedule 40 PVC pipe in a ditch that is at least 18" deep. All connectors are high pressure sched 40 PVC glued and purple primer is used on all connections.
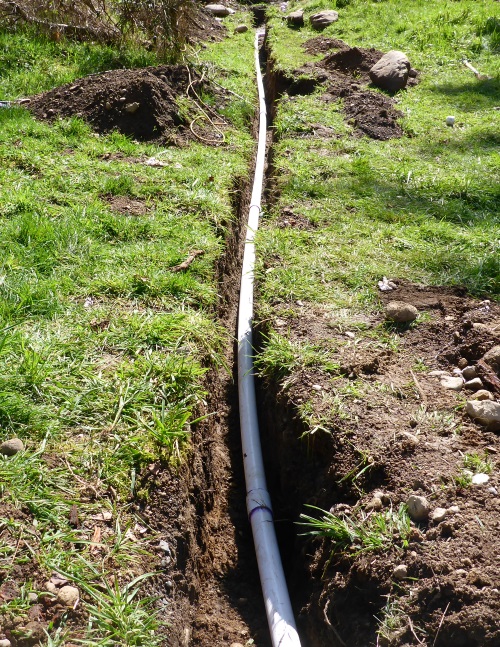
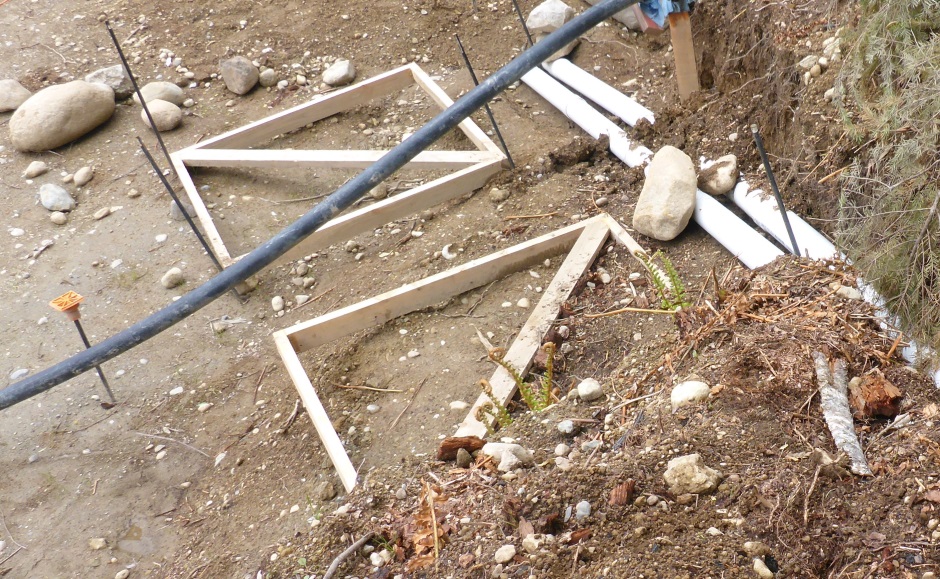
Where the 2" sewer pipe comes near to or crosses over a water pipe then it needs to be sleeved by an additional 4" pipe. If the sewage were to ever leak from the 2" pipe then the sewage would be caught by the 4" PVC outer pipe.
At a water / sewage crossover point, the water pipe must cross at least 18" above the sewer pipe (and the sewer pipe must be sleeved). In my case I made the separation 22" to be safe. Above the water pipe needs to be an additional minimum of 12" of soil.
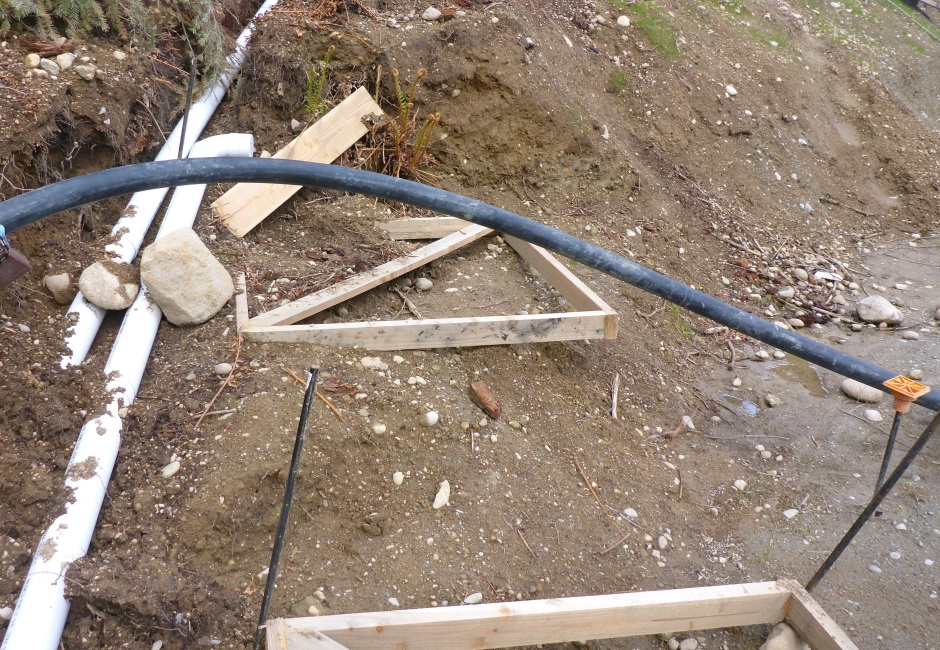
The health department requirement is for a fairly short length of outer sleeving pipe, but it my case I used 40 feet of sleeving.
Don't backfill the 2" pipe all the way before the inspection. Leave example sections exposed. Do put soil under it to support it all the way along.
Provide a wooden box to keep the shutoff taps accessible even after the full backfilling.
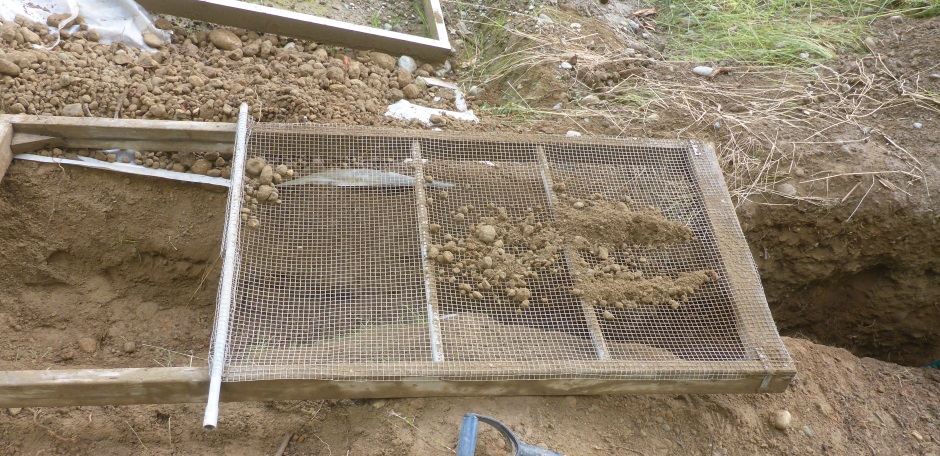
When filling the pipe trenches it is important to use filtered soil, ie soil with the rocks removed.
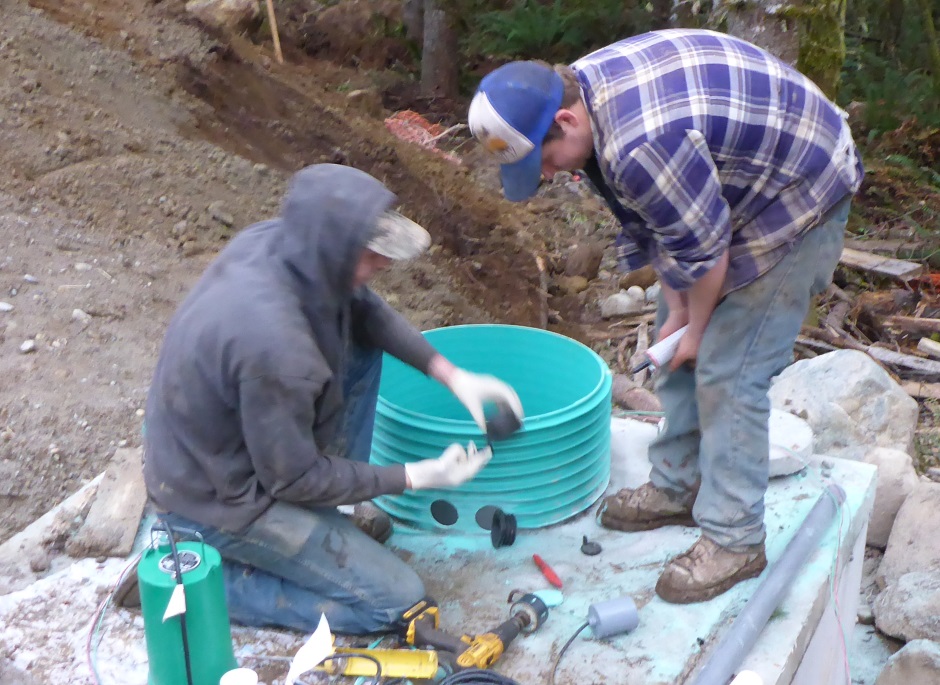
Pump Tank equipment
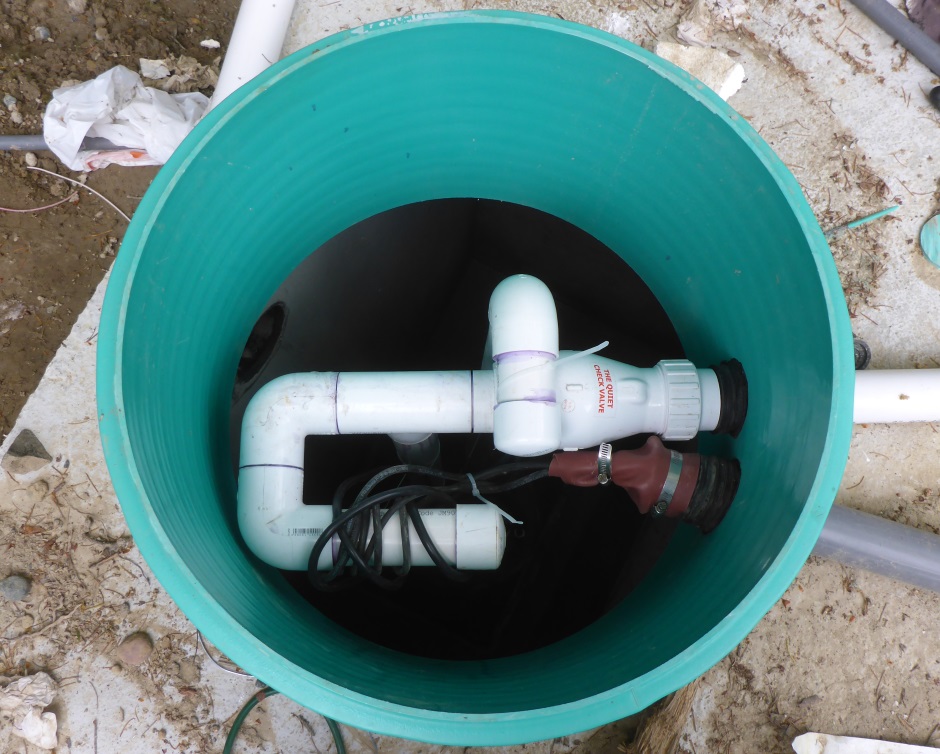
The 2" PVC pipe originates from the riser of the Pump Tank. This requires a rubber grommet to be installed in the plastic tank riser.
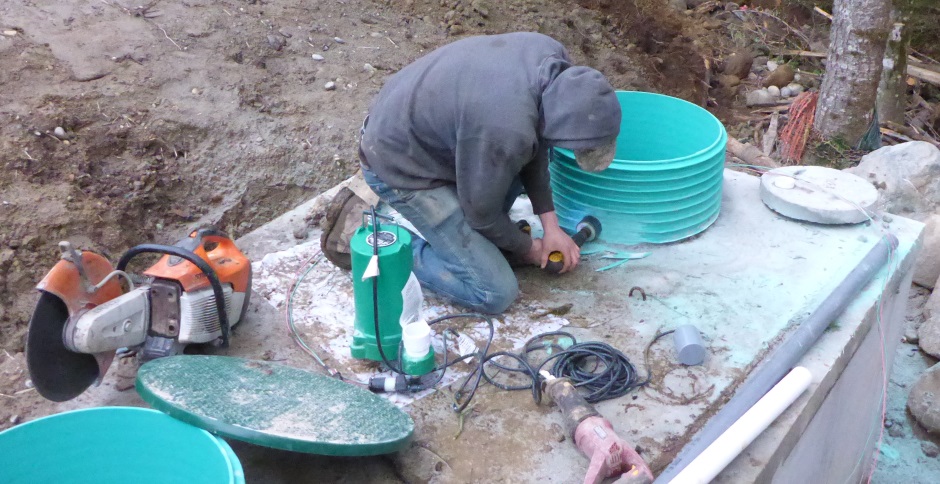
There are actually two grommets required so that power can be supplied to the pump.
The check valve must be accessible, ie in the riser.
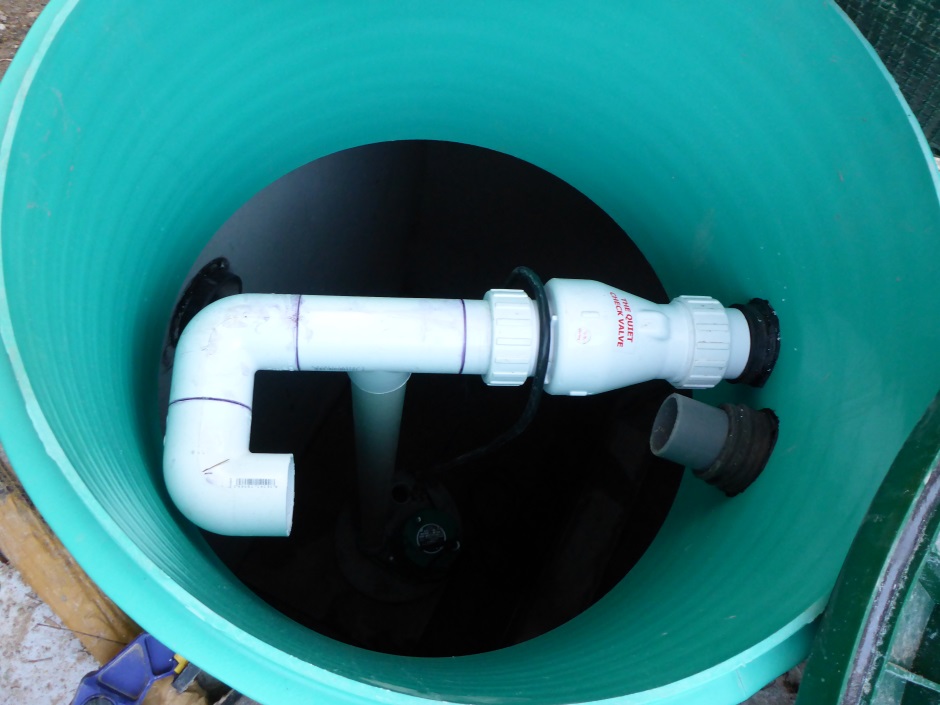
If the pump tank is lower than the drain field there is no point in adding a check valve to prevent siphoning as there is no risk of siphoning occurring. The official design from the licensed designer however shows an anti-siphon check valve so I have allowed space for it if the inspector insists. It would go the other side of the T piece after the 180 degree bend, but for the moment a sealed cap is used.
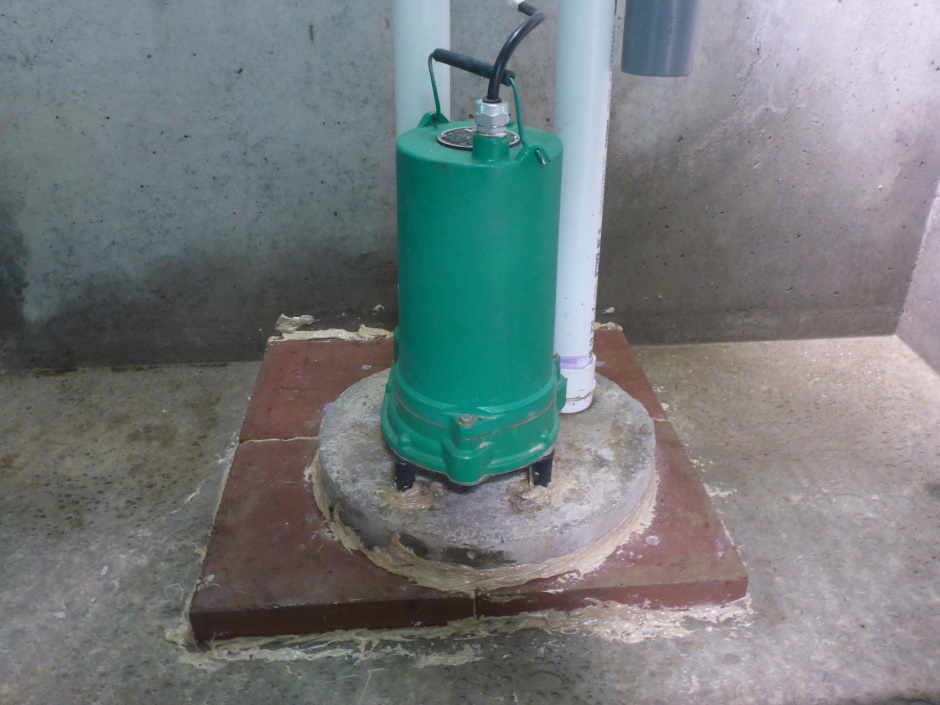
The pump stands on a concrete slab to raise it up from any sludge at the bottom of the pump tank. The provided round slab that has a plastic hole to hold the bottom of the float tree is only 2" thick so I also used some paving slabs to raise it to 3.5" as the design specifies a minimum of 3".
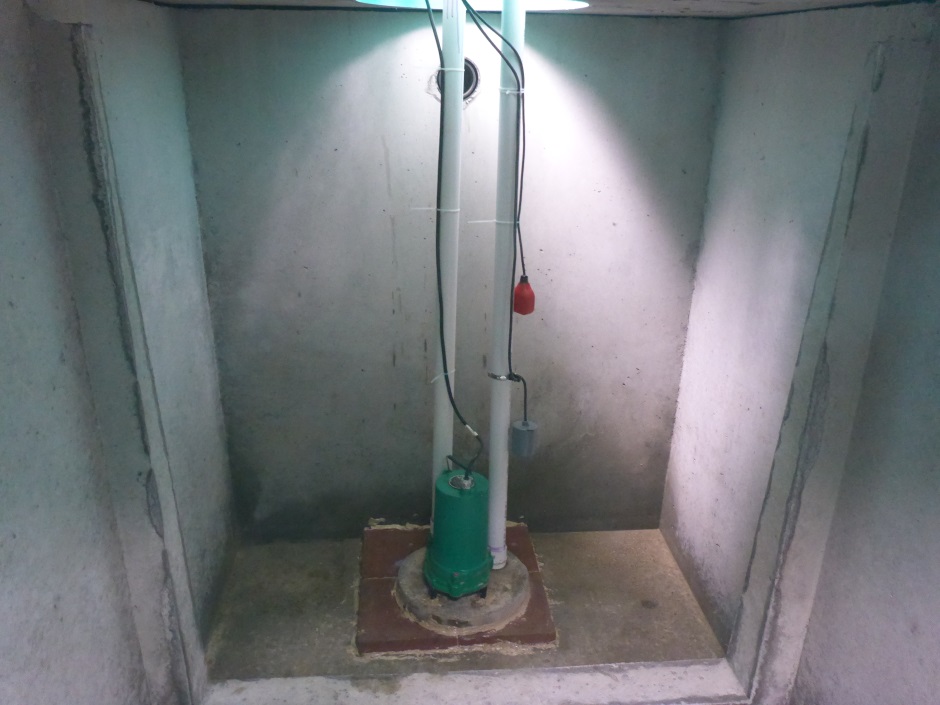
Provide enough cable length such that float tree can be lifted out. Coil up the excess wire with a cable tie.

It is worth using some PL-Premium adhesive to hold the concrete slabs and pump in place. For the pump itself it is more about providing a positive location for the feet rather than permanently gluing down the pump (as you may need to change the pump in the future).
The pipe with the floats has a 90 degree bend at the top to form a handle and a tie wrap round the handle holds it in place. A rubber boot stops water and gasses from going down the electrical conduit.
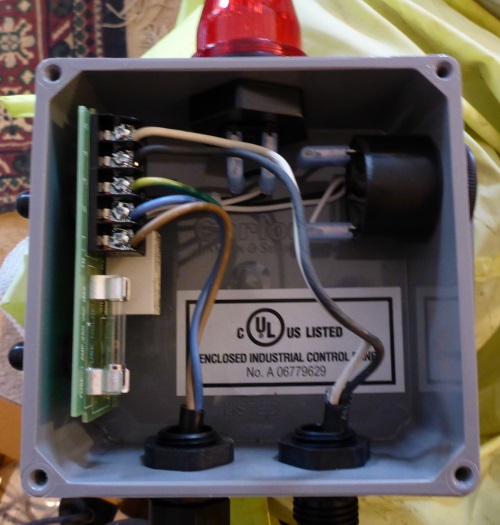
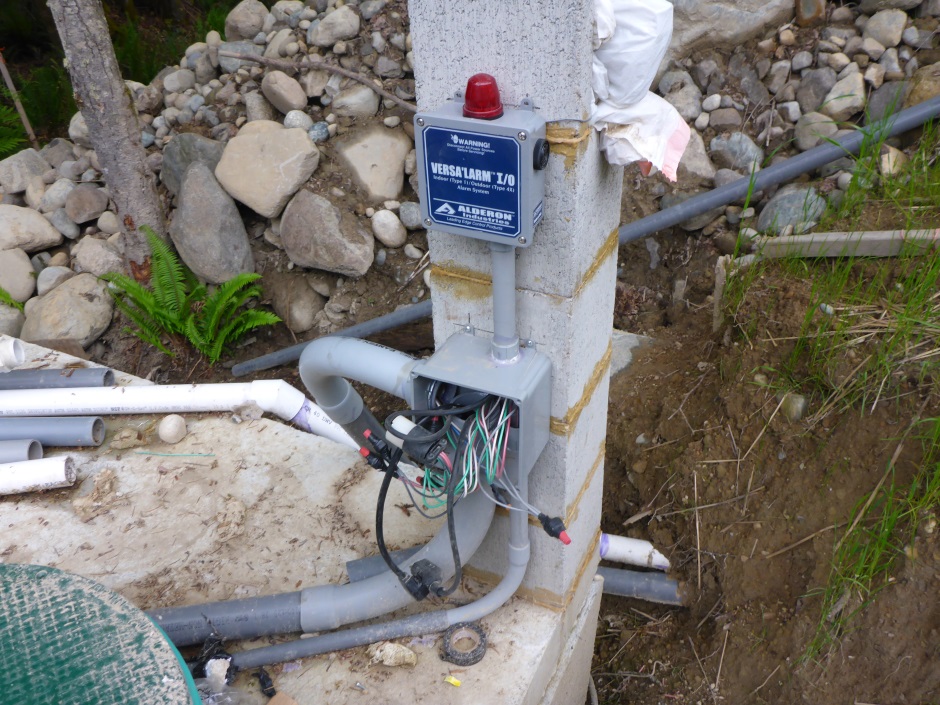
Alarm system
An alarm that provides both a visual and audio warning is installed
such that it can be seen both while standing on the tank and from the
house.
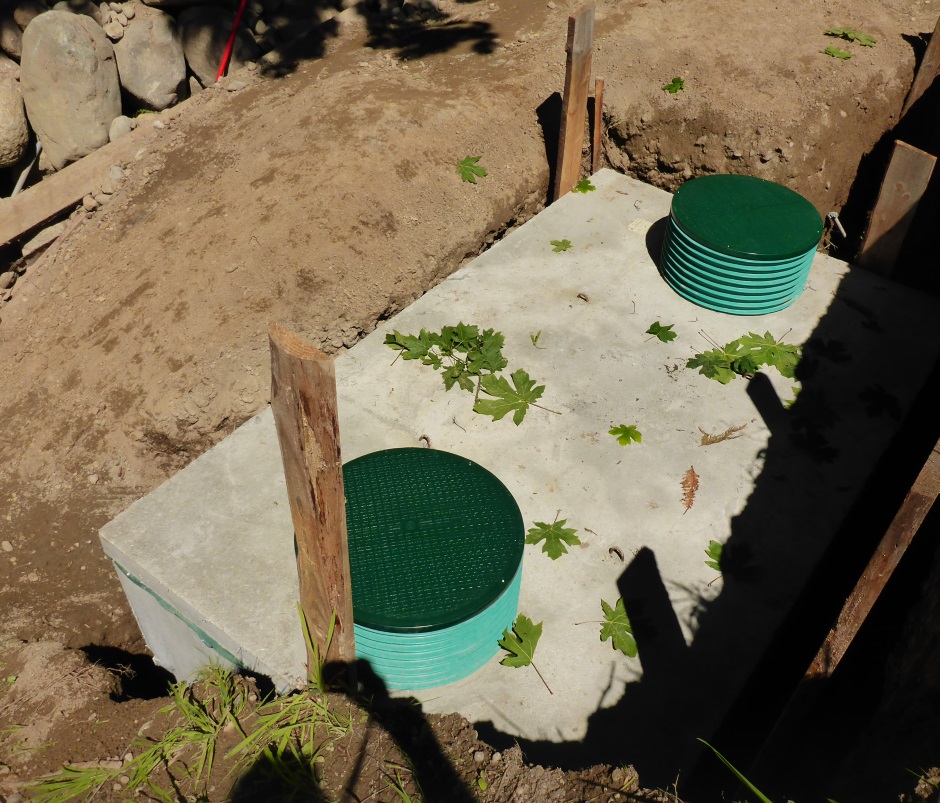
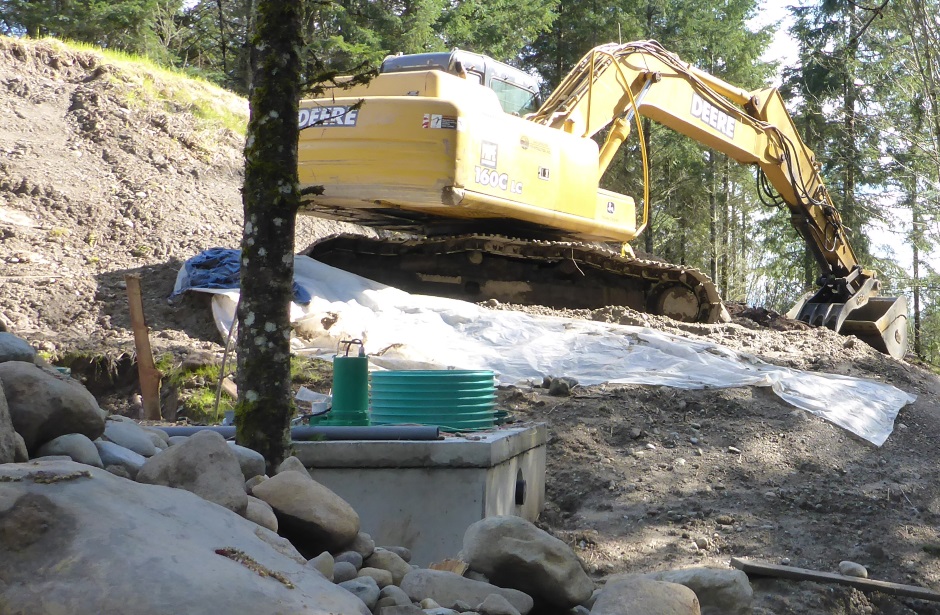
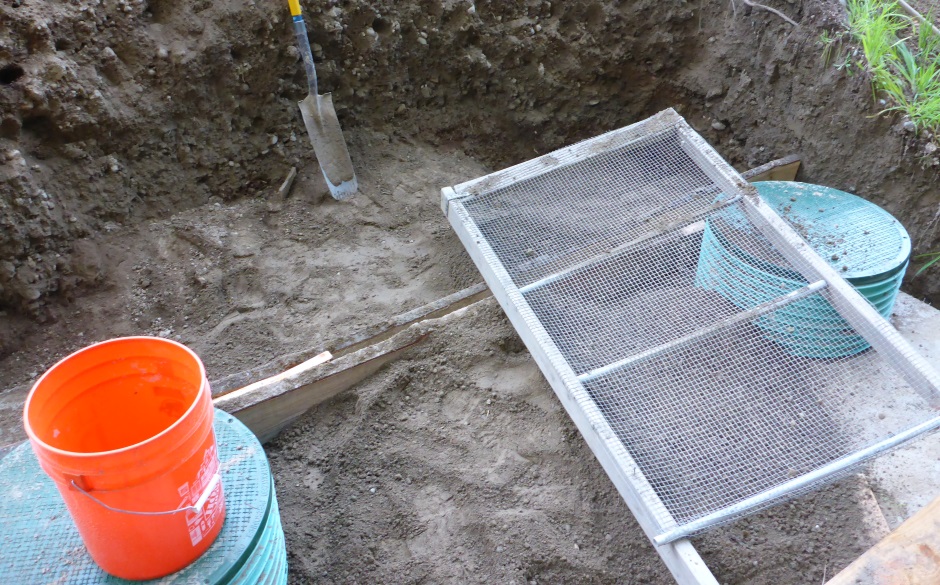
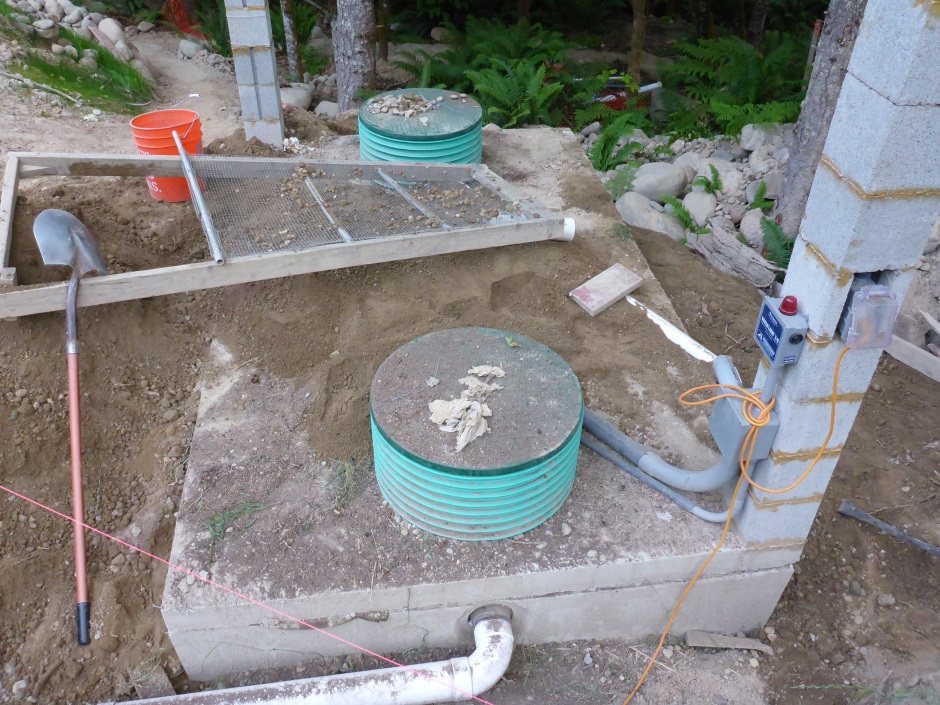
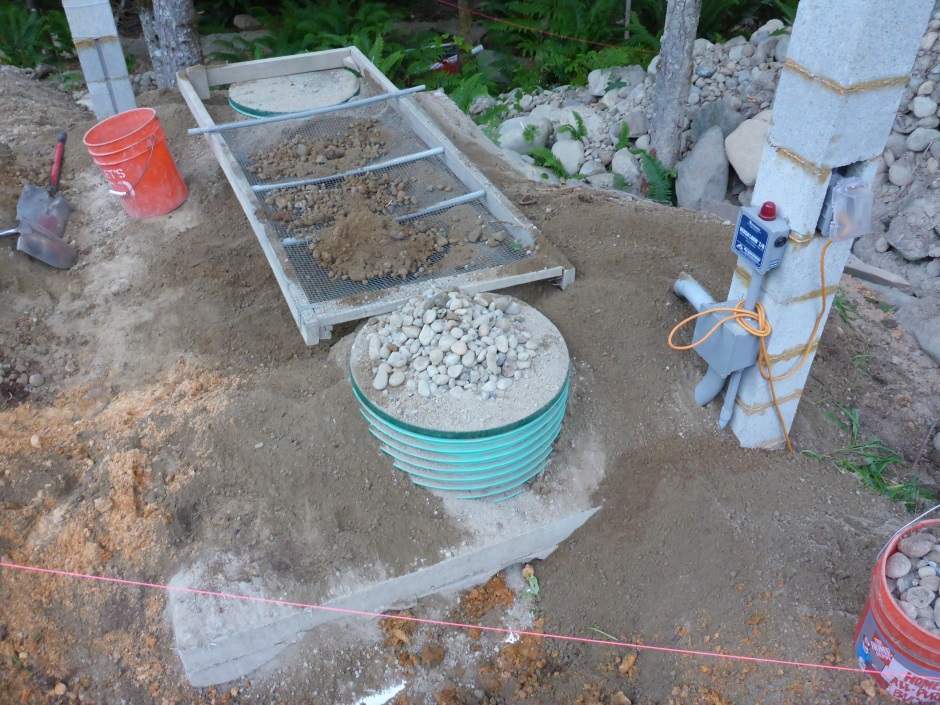
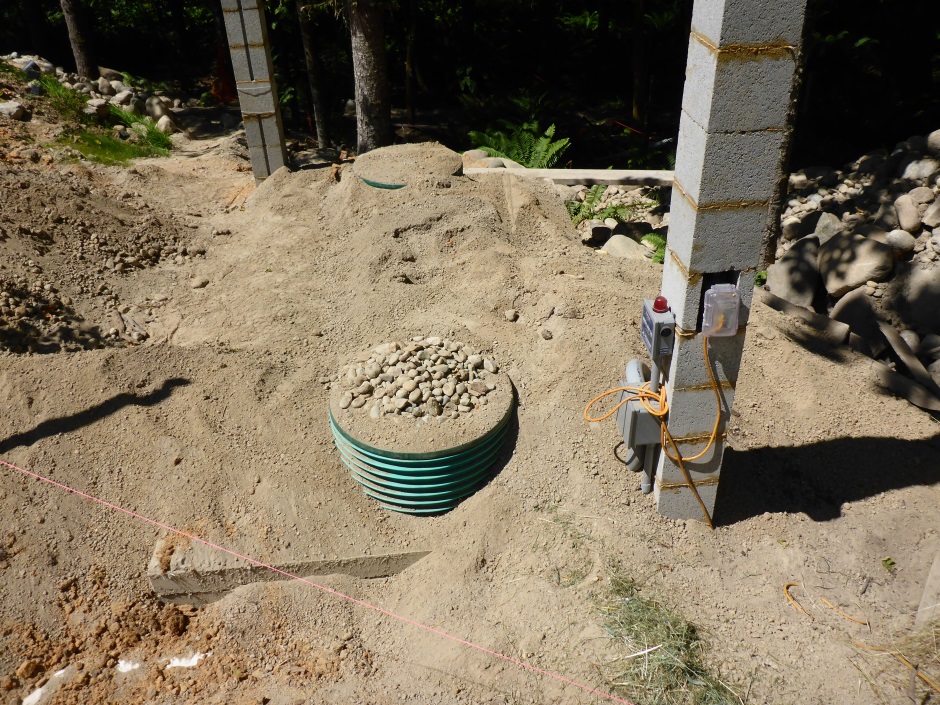
Filling-in over and around tanks
You should only fill around the tanks once the Licensed Septic Installer is happy that everything is ok and has approved the backfilling to be done.
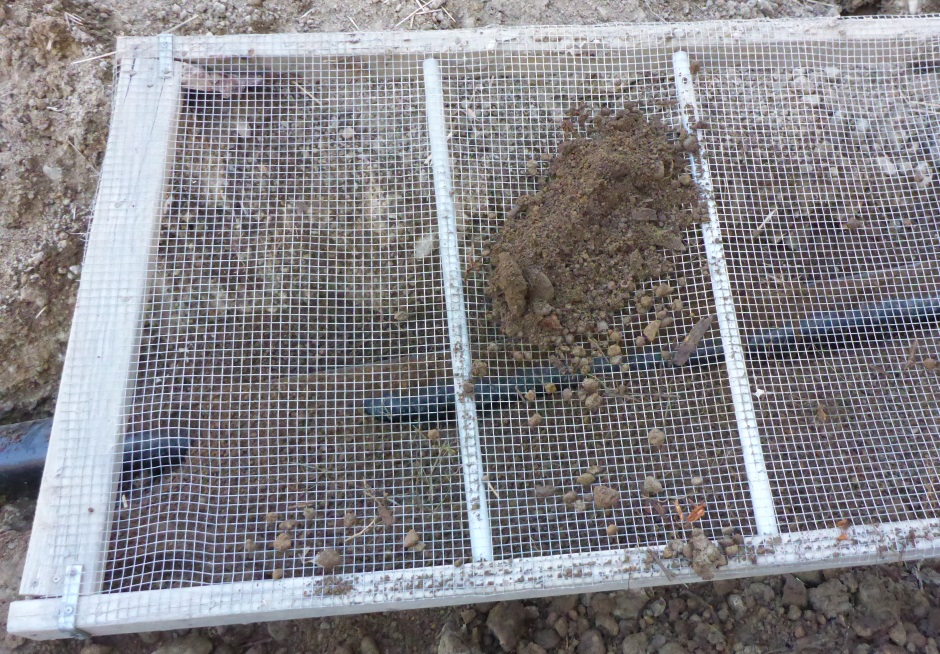
It is best to filter the soil so you don't have any big rocks. Use a piece of galvanized wire mesh over a wooden frame.
Septic tank
Pump tank

Preparing for startup
When the everything has been implemented, but before starting up the system, there are things you need to do.
Cleanout 2" PVC pipe
There will be plastic swarf in the pipe that must not be pumped into the sand filter or it will clog up the small holes in the sand filter pipes. With the pipe disconnected from the sand filter at the sand filter end, fill the pump tank with a couple of hundred gallons of clean water and pump it through the pipe to flush everything out.
Flush out sand filter pipes
One at a time, remove an end cap on one of the sand filter pipes, being careful not to pull them out of the ground. Turn the pump on for a few minutes. Crap (or at least crap sediment) will shoot out of the pipe so don't stand anywhere near. There will likely be 8 pipe caps.
Flush out Drain Field Lateral pipes
Connect the 2" PVC pipe to the sand filter. Make sure all the caps are on the sand filter pipes. Remove the sealed end caps from the ends of the Drain Field laterals. Fill the pump tank with about 300 gallons of clean water and pump it through the sand filter and out to the drain field.
Run clean water through sand filter and drain field
Put the sealed end caps on the ends of the Drain Field laterals and pump another 400 gallons of clean water through the system. This process helps revitalize the sand filter.
Things to note
Do not touch the valves on the sand filter (unless they are found to need it) as this will upset the balance.
Inspection
When all the installation work is done, then the licensed septic installer will request an inspection. On site for the inspection will be the licensed septic installer, the licensed septic designer, and the heath department inspector.
It is a good idea to have a complete pictorial record of the installation steps to give to the Health Department Inspector. I prepared a Word doc with all the pictures that you see on this web page.
The Inspector will look at your complete installation to make sure that all the work has been done properly. He will then request a "Squirt Test" on both the Sand Filter and the Drain Field. You need to do some work ahead of the Inspector arriving to prepare for this test...
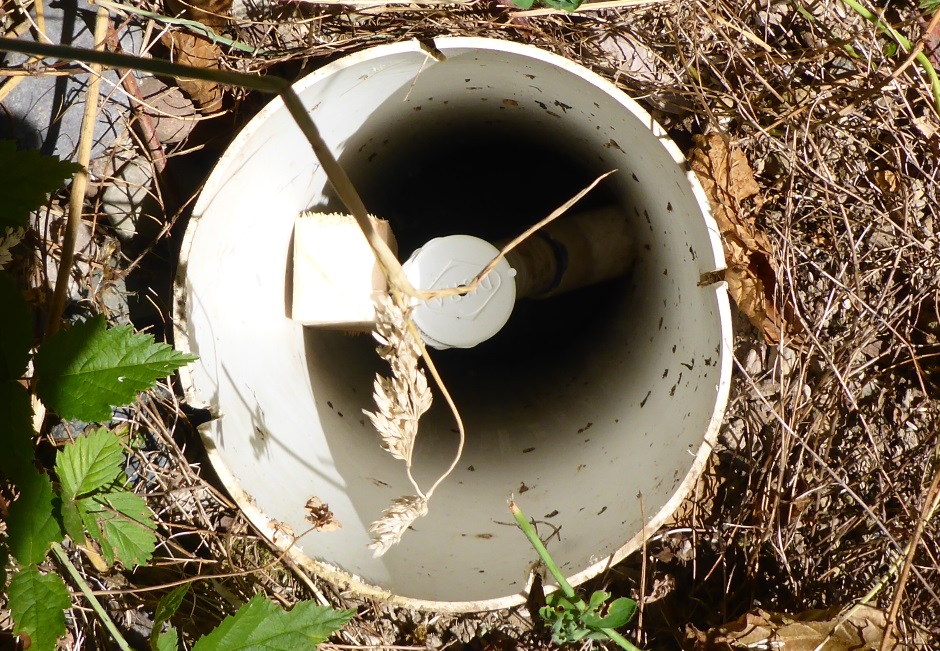
Buy more screw on caps for the ends of the laterals for both the Sand Filter and the Drain Field (the caps are typically different sizes). Drill holes in the ends of the caps using a hole size that is the same as the hole size used in the lateral pipes (probably 3/16").
Sand Filter lateral with end cap with 3/16" hole, of which there are eight in my system... (the temporary block of wood is to direct the fountain cleanly out of the hole).
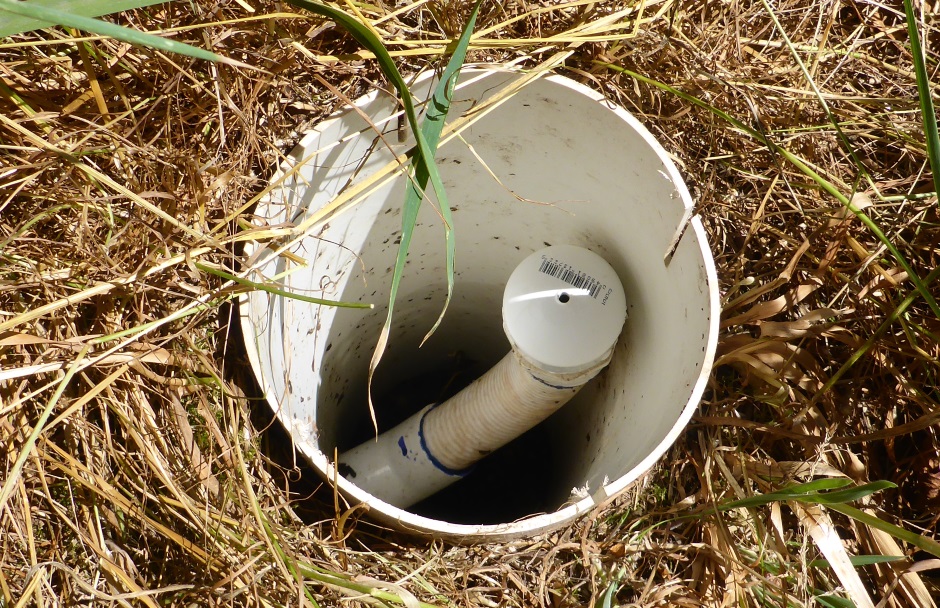
Drain Field lateral with end cap with 3/16" hole, of which there are six in my system...
To pass the squirt test for the Sand Filter you need to pump water from the Pump Tank and have a fountain of water from each Sand Filter lateral simultaneously of between 24" and 36". Assuming you pump in the Pump Tank is producing enough pressure, you can adjust the fountain height using the Sand Filter manifold that can be found on top of the Sand Filter.
To pass the squirt test for the Drain Field you need to pump water from the Sand Filter tank and have a fountain of water from each Drain Field lateral simultaneously of about 36" each. You can adjust the fountain height using the Drain Field manifold.
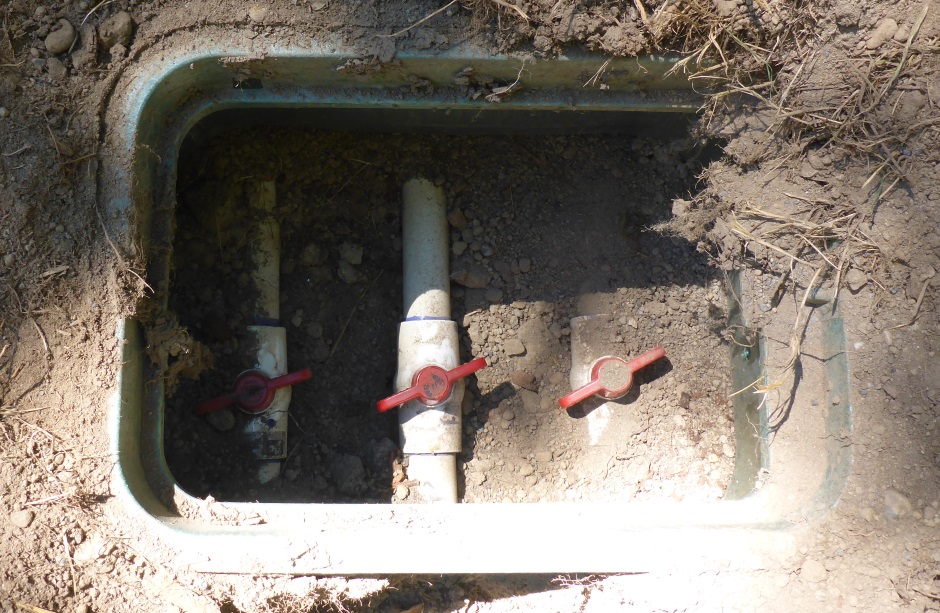
In my case I have a 6 Drain Field laterals so 6 valve taps (3 in each box).
Assuming you pass the inspection and squirt tests then the final step is that the Licensed Septic Designer will produce an official "As Built" drawing for the complete system and the Health Department Inspector will signoff on the permit.