


Home Site Map - Steps - Foundations -
Form Footing - Slab Crushed Rock
![]() Cover all the slab areas with crushed rock for under slab drainage.
Cover all the slab areas with crushed rock for under slab drainage.
Fill under-slab area
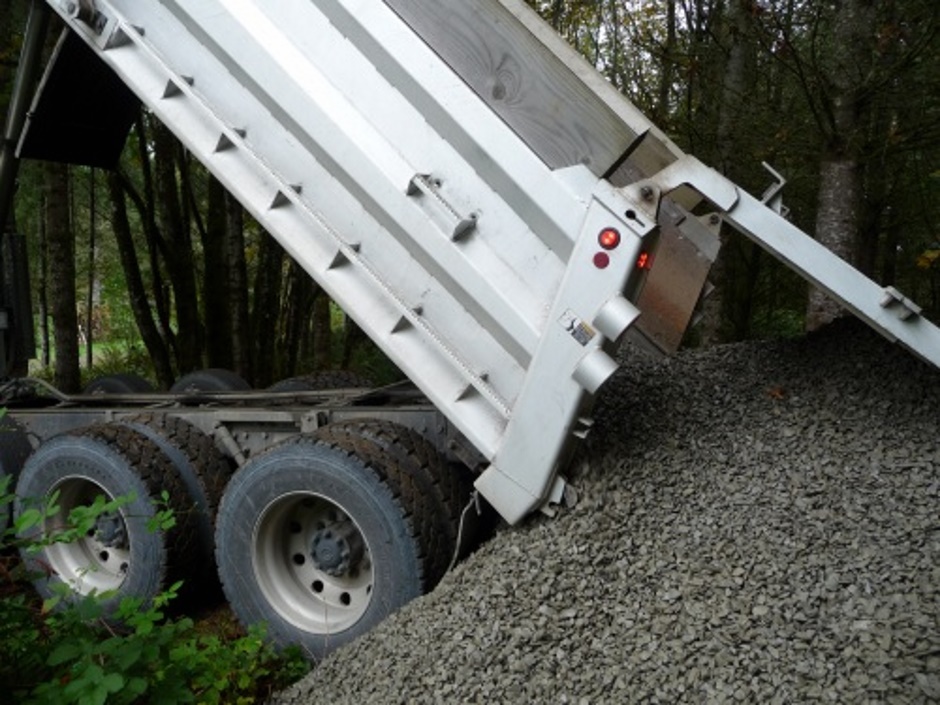
Get crushed rock delivered
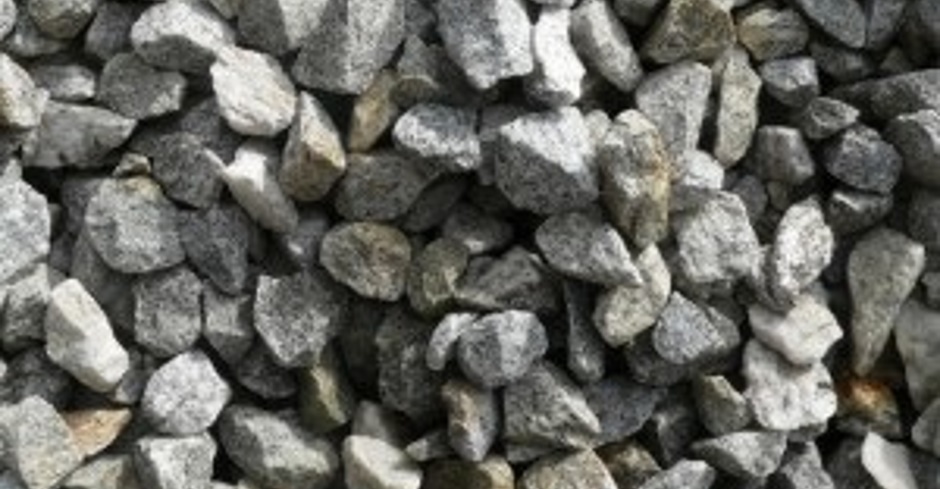
The best crushed rock to use depends on what's available in your area, but in my area it is "1.25 inch crushed rock without fines". This has jagged edges so locks together to form a good stable foundation base. Because the bits of crushed rock are a decent size it allows water to drain through.
Typically you need to order aggregate by the truck load. That means you get something like 15 tons at a time of your chosen aggregate. The trucks will dump it on your site in a place of your choosing in a big pile. Note that aggregate trucks are big so you will need to provide plenty of access for them to get to the place where you want it dumped.
Depending on the rock you get you may have to put it through a sieve to get rid of rock powder and dirt. Typically you will fill buckets with the clean crushed rock and carry to wherever it is required.
Fill the under-slab pipe ditches with non-organic soil
If not already done, fill the pipe ditches right up to the height of the under-slab excavation. Make sure the pipes are well supported and well surrounded. As needed use a manual tamper tool to get it well compacted.
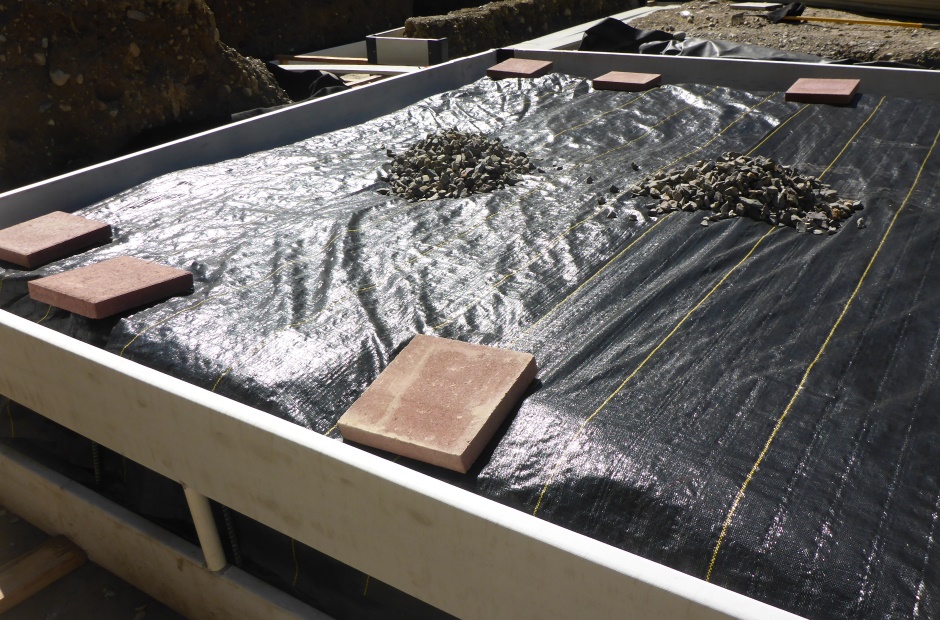
Put geo-fabric over the under-slab area
The geo-fabric is just a safety layer of protection. It's another thing to help dissuade termites. Geo-fabric lets water through ok. It is most efficient to use 6' wide geofabric.

Drape it down the gully between the edge of the under-slab earth mound and the Form-a-drain.
If needed you can add some non-organic soil behind the geo-fabric to fill in any big voids as you add crushed rock on the Form-a-drain side.
Add wood bracing between upper Form-A-Drain
These are 4'5" lengths of scrap lumber. The wood width does need to be wide enough to handle the height difference between the upper inner and upper outer Form-A-Drain. Using 2x6 lumber is ideal.
Make sure you still have 4'5" lengths of lumber between the lower Form-a-drain at footing trench earth level to stop it being pushed inwards.
Fill behind the inner Form-a-drain with crushed rock
Completely fill with "1.25 inch crushed rock without fines" up the inch or so gap between the inner Form-a-drain and the center soil mound that is under the slab. You will need to trickle it down there. Do not over force it or compact it as that may make the Form-a-drain bulge out. The crushed rock will be retained by the top and bottom inner Form-a-drain and the polystyrene.
It is ok to use crushed rock as the slots in the Form-a-drain are thin and the forces on the Form-a-drain are small so it won't be punctured (and it wouldn't matter even if it was punctured). Crushed rock is the best choice because it interlocks and is more structural than drain rock, so it will help resist lateral forces in an earthquake.
Put 3" of crushed rock over slab area
Add crushed rock
You will need to make yourself a ramp and carry buckets of crushed rock.
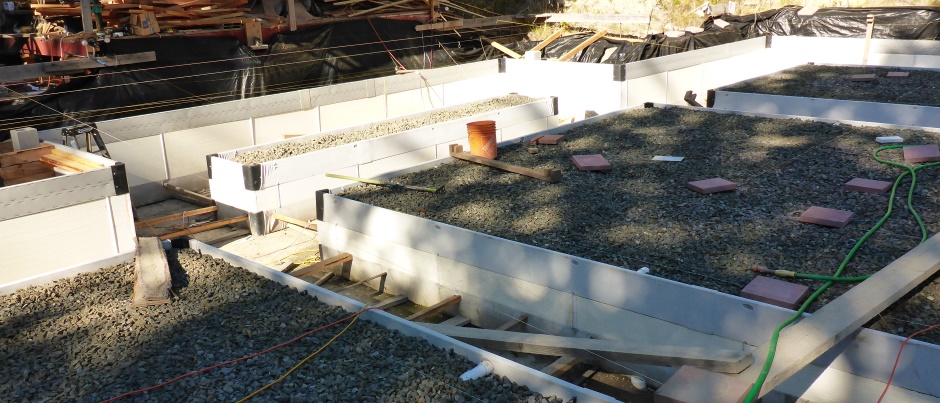
The crushed rock should come up to 1" below the top of the inner Form-a-drain.

Compact the crushed rock
Carefully compact the crushed rock. If the height of crushed rock dips then add more crushed rock as needed. The height needs to end up a uniform 1" below the top of the inner top Form-a-drain.
Even though the inner Form-a-drain is in place and back filled with drain rock, you still need to go easy with the compactor near the footing trench edges because you don't want to move the Form-a-drain from its correct location.
Use a long straight length of lumber resting on the top edge of the upper inner Form-a-drain to get the crushed rock the correct height right across the slab area.


Deck column forming
Overview
Even though the next expected step in the forming of the foundations would be to fit the outer top Form-a-drain, it is actually better to first do the forming for the deck columns that are near the building perimeter. It is partly because it is easier to access them before fitting the upper top Form-a-drain, and partly because you will want to buttress the Form-a-drain to the deck column forming to help hold the Form-a-drain in the right location and stop it flapping about.
The house is surrounded by a big wrap-around concrete deck at the same level as the main level floor. The columns that hold up this deck have their own square footings on undisturbed soil.
Details for forming square columns can be found here .